There’s no need to apologize for lack of blogging over the holidays, right? Yes? Good. Then forward we go.
I have been aiming to do sewing tutorials on my blog for some time now, and after the christmas doll rush was over, I had about a week to throw a few gifts for various family members together. I thought it would be fun to document that process, but didn’t get around to taking as many pictures as I wanted. But I did get a few. I have had some people ask about how I do the stenciling for some of my children’s clothing, etc., so I will try to explain how I do it.
I have also mentioned Natalie Chanin’s company on my blog before, and get most of my inspiration from her work. If you really want to know how to do some of this stuff, I can’t recommend these books highly enough.
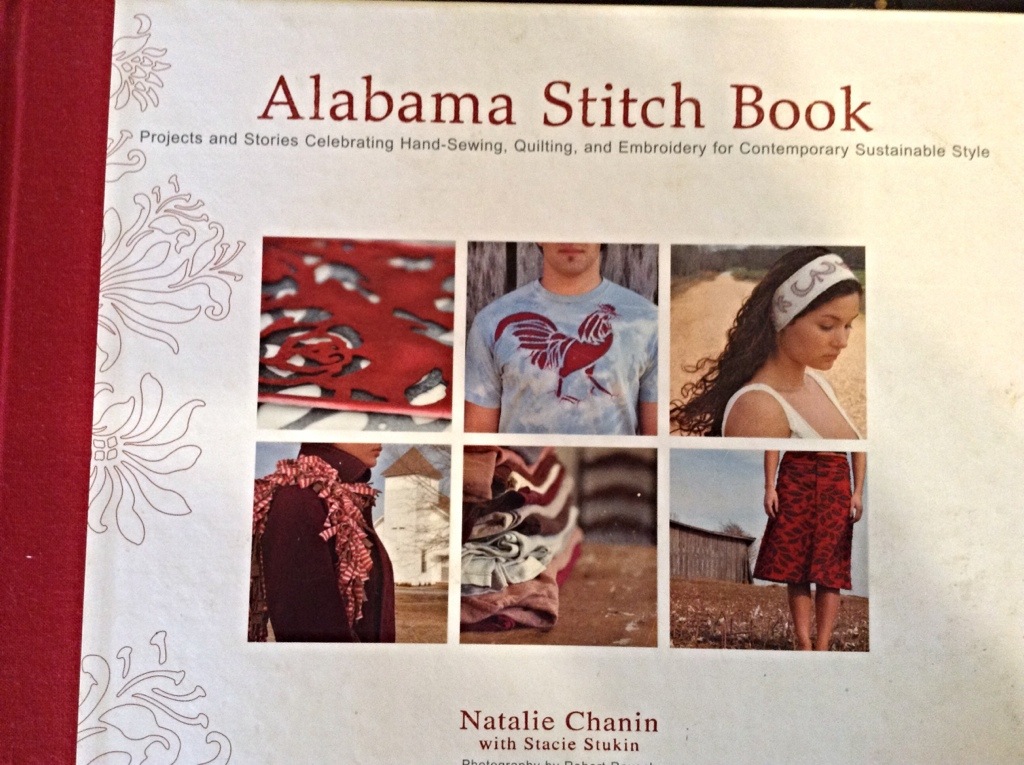

Not only do they include all the clothing patterns in the back, they also include some of her stencils, like these.
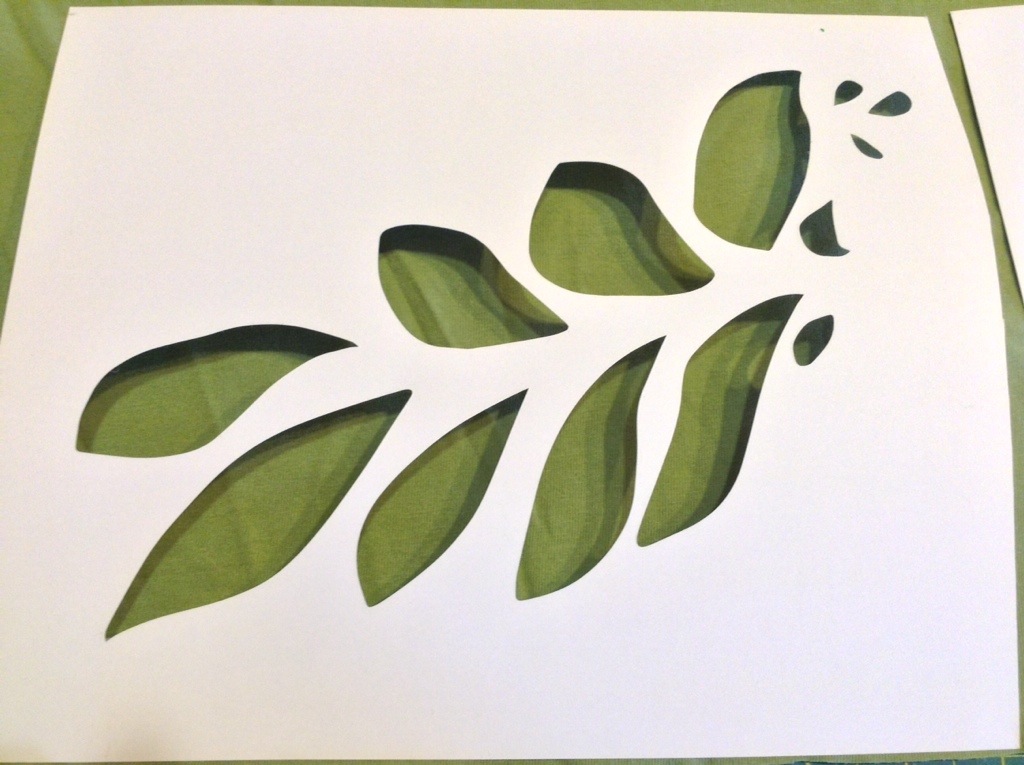
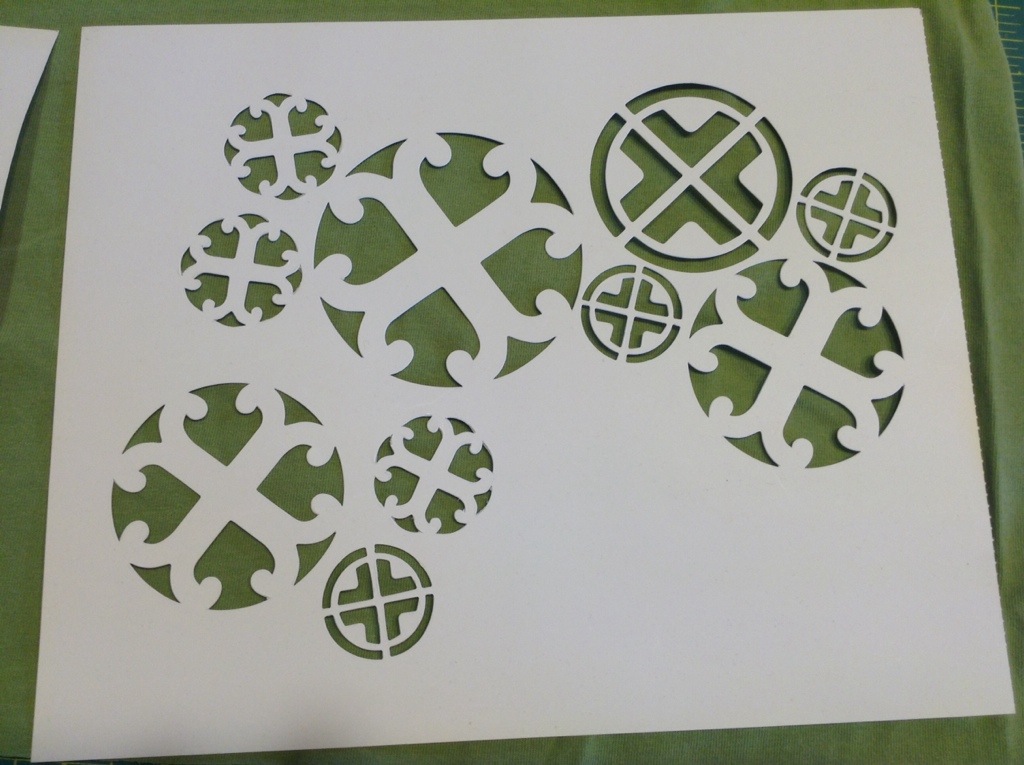
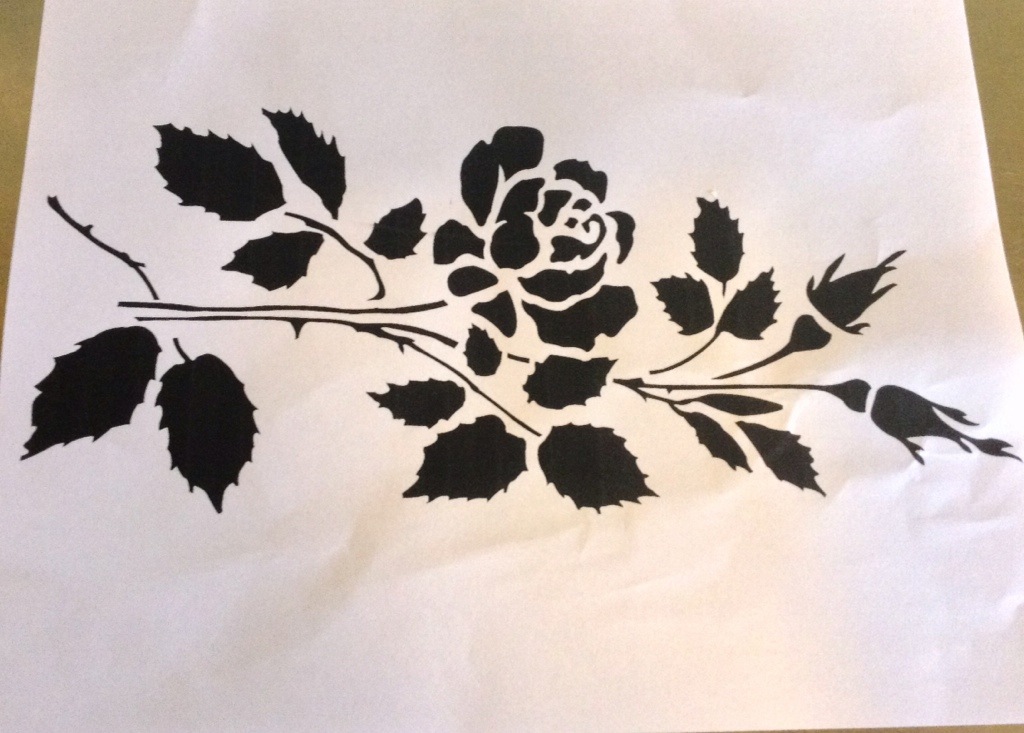
I wanted to do three gifts- a simple skirt for my niece, and two scarves- one for my mother and one for the while elephant gift exchange we did with my siblings. I decided on the leaf stencil for the skirt, and the medallion stencil for the gift exchange, but wanted a different one for my mother. I looked through the books and found a lovely rose stencil.
I was excited since my mother loves roses, but it wasn’t included with the book. Fortunately, you can download printable stencils straight off of the Alabama Chanin website. http://alabamachanin.com/resources They are also available precut for purchase, but they are quite spendy, so I prefer to print and cut them out myself.
Here it is, just freshly printed.
If you want to go this route, I highly recommend a little pair of cutting scissors like these, and a little patience. Just start cutting.

Now you can use the paper stencil, but it is quite flimsy, and since this is a business for me, I prefer to make them sturdier, so I can reuse them many times. I do this by tracing the paper stencil onto a sheet of flexible plastic. You can buy stenciling plastic at most craft stores, but what I have here is actually some kind of leftover orange plastic material that my husband uses when he lays tile. Hey, waste not, want not. I don’t know what it is called, but it works great. I also have this handy dandy heat stenciling tool that melts the plastic as you cut and makes the work much faster and the end result much more professional.

This may seem like a lot of work, but I have found it really pays off in the end if you want to do more than one project with the stencil. Since I started this business, I have built up a collection of several really beautiful stencils that will last forever.
Now we get to the fun part- transferring the pattern to fabric.
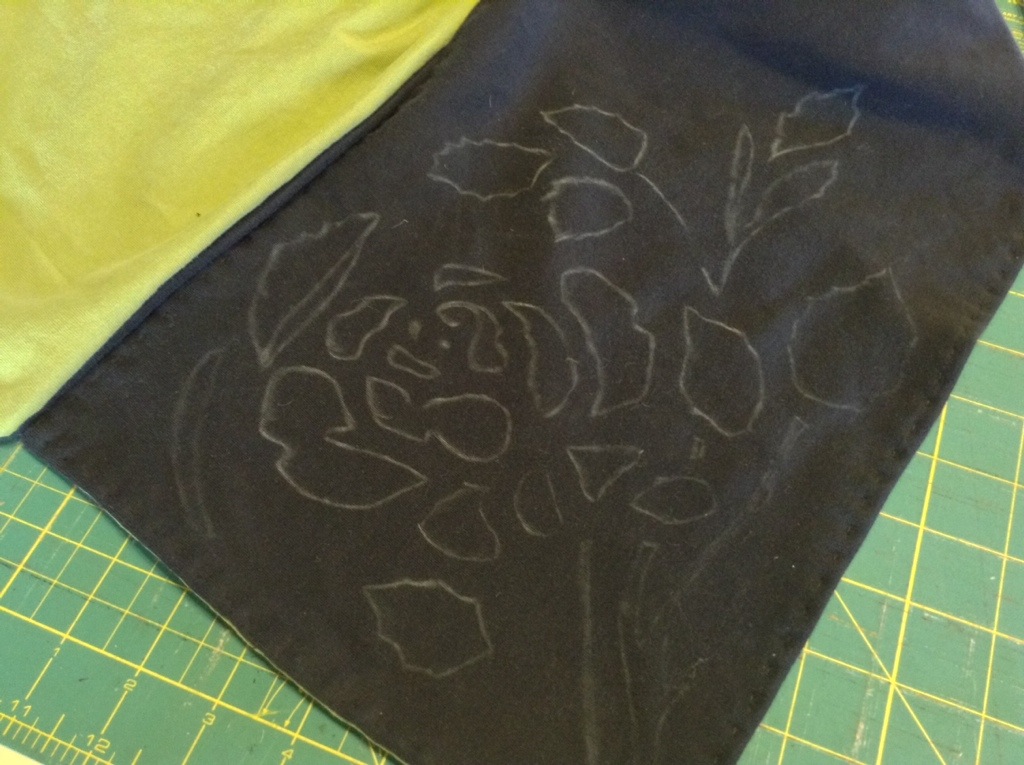

But before I get ahead of myself and before this post gets too long, I want to show you what fabric I use, and how I cut it. So until next time, happy stenciling!