Working on a wardrobe

So fashion has never really been my thing. I’m really bad at keeping up with the latest trends, and even worse at actually going shopping to buy them. If you have followed this blog at all, you know that I prefer to make my own clothes, both because I enjoy it and because it is harder and harder for me to find things that will work with my constantly evolving body shape. And when I find a pattern I like, or that works, I usually make it and wear it, whether it’s in style or not.
All that to say, even though I’m not particularly good at dressing myself, I have been looking forward for a long time to dressing my baby girl. But having been inundated with baby clothes before she was even born, I haven’t really needed to get or make her anything yet.

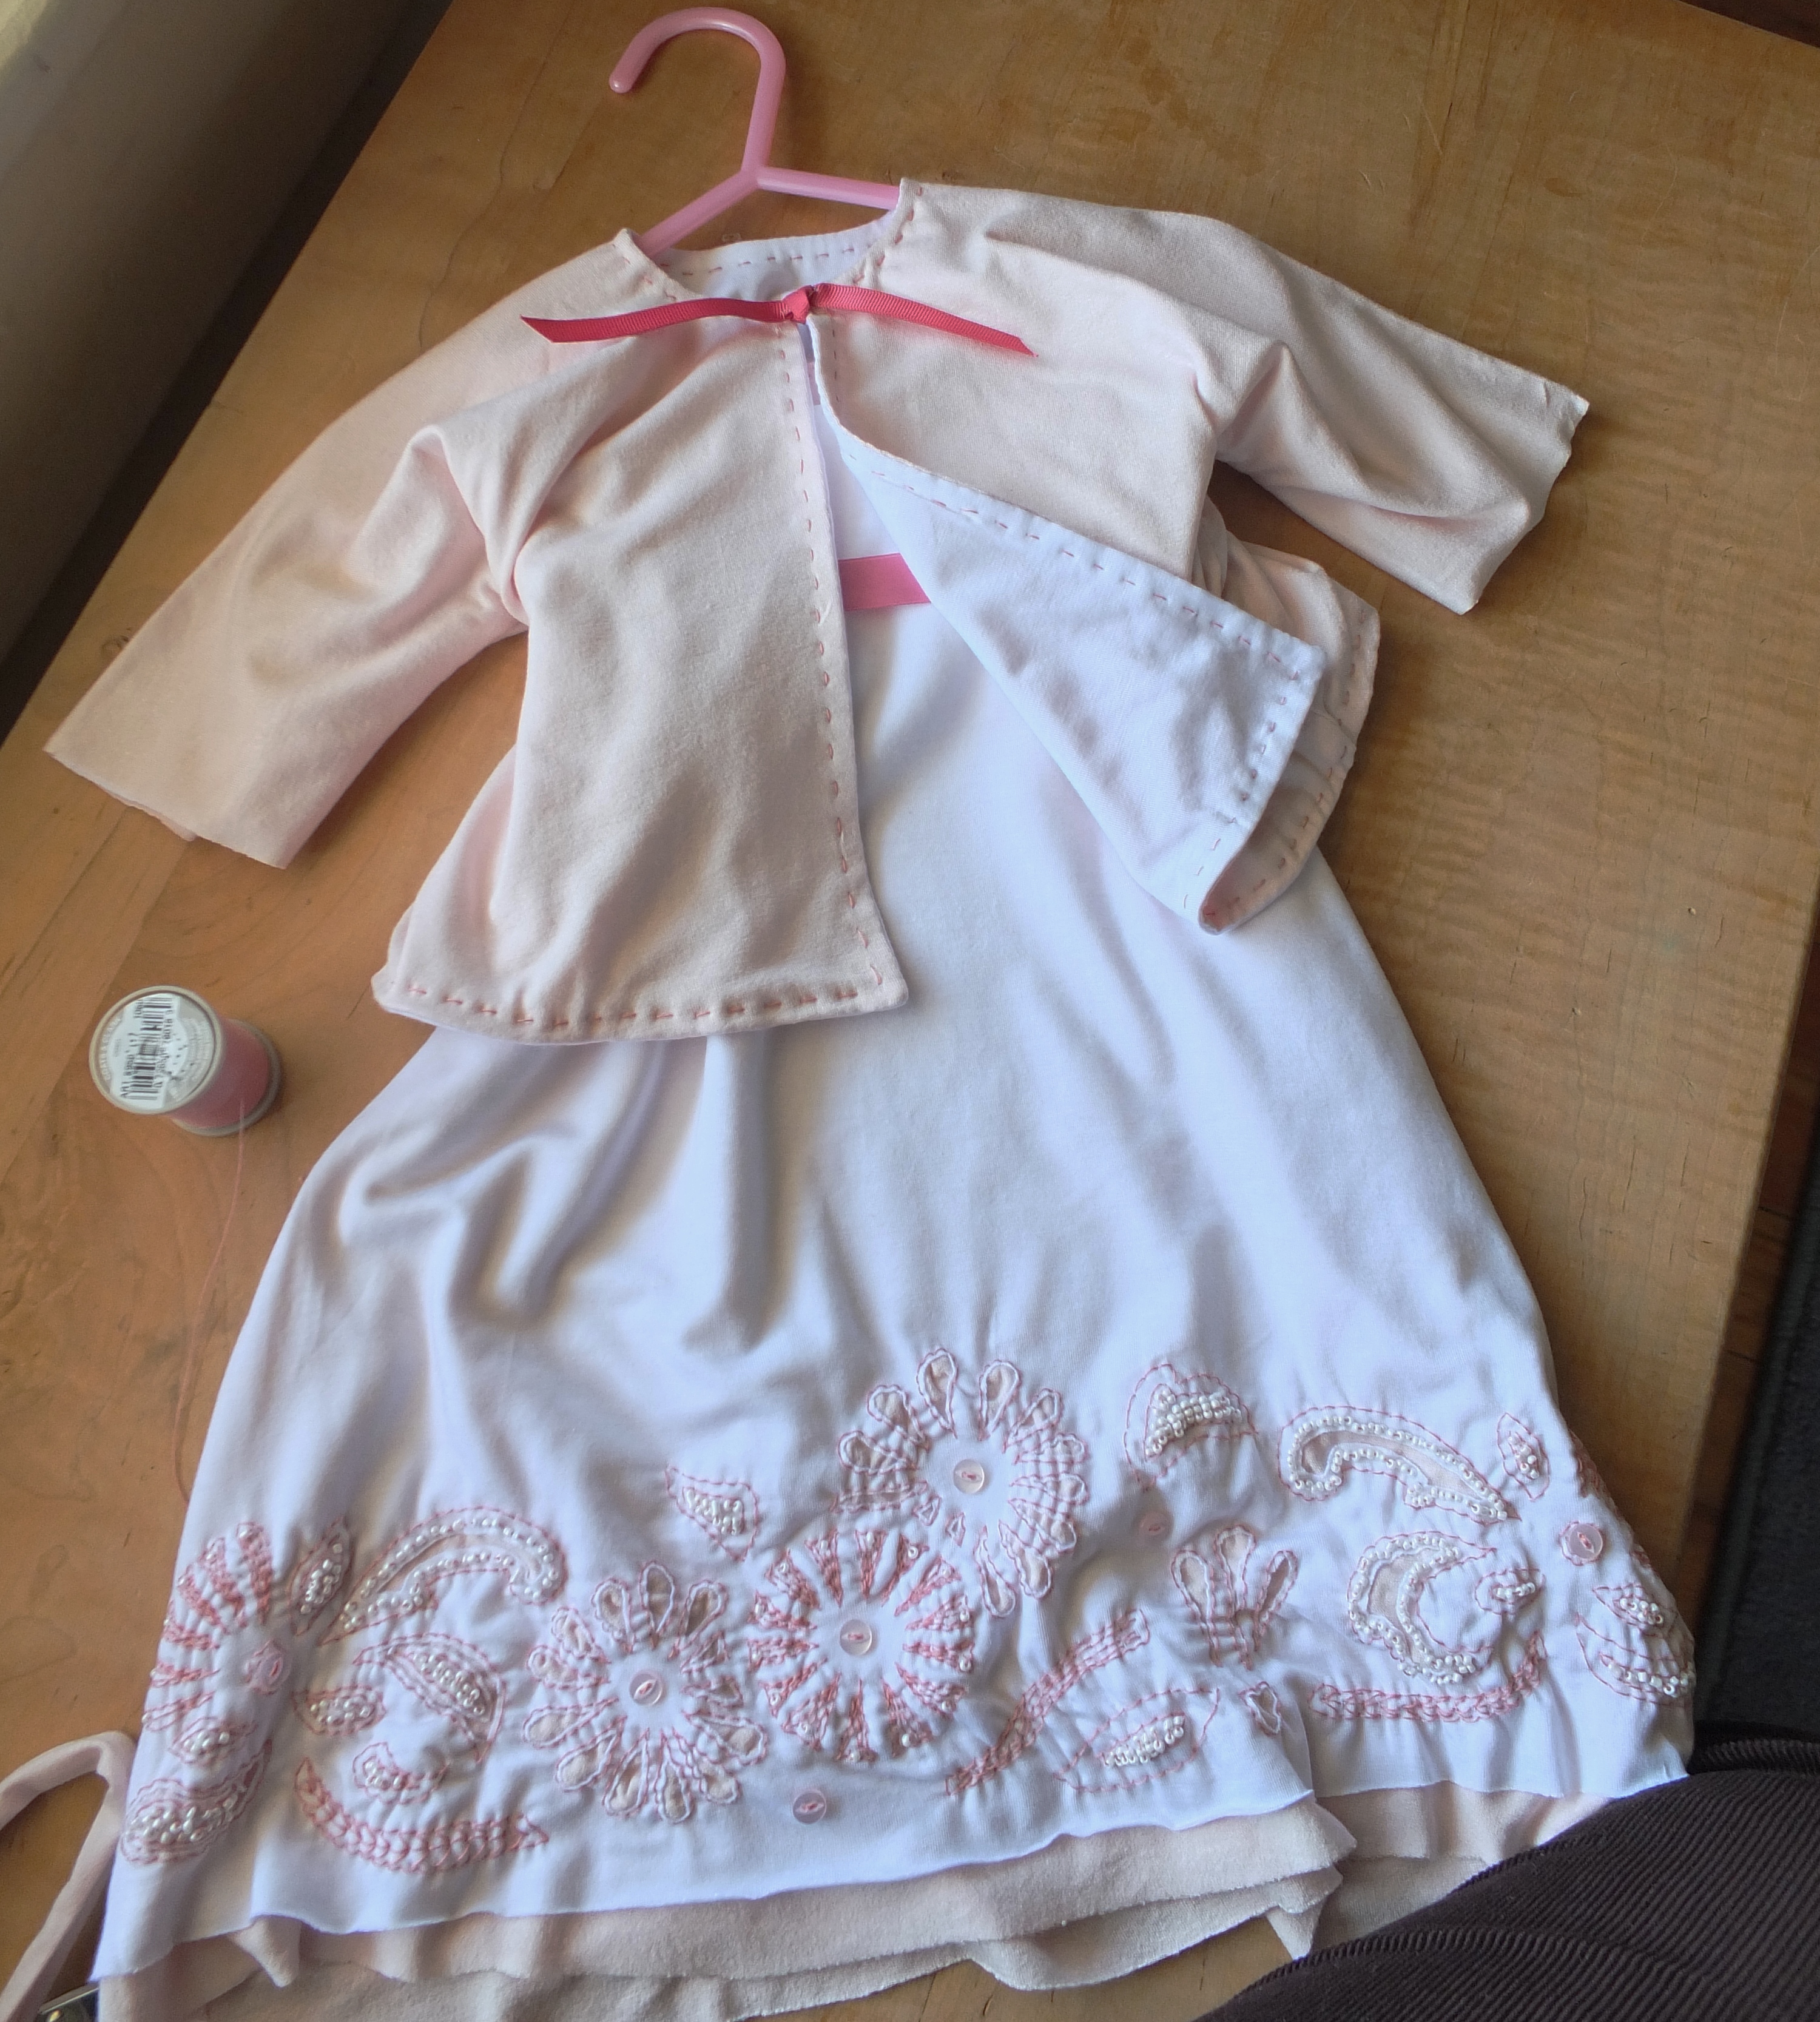
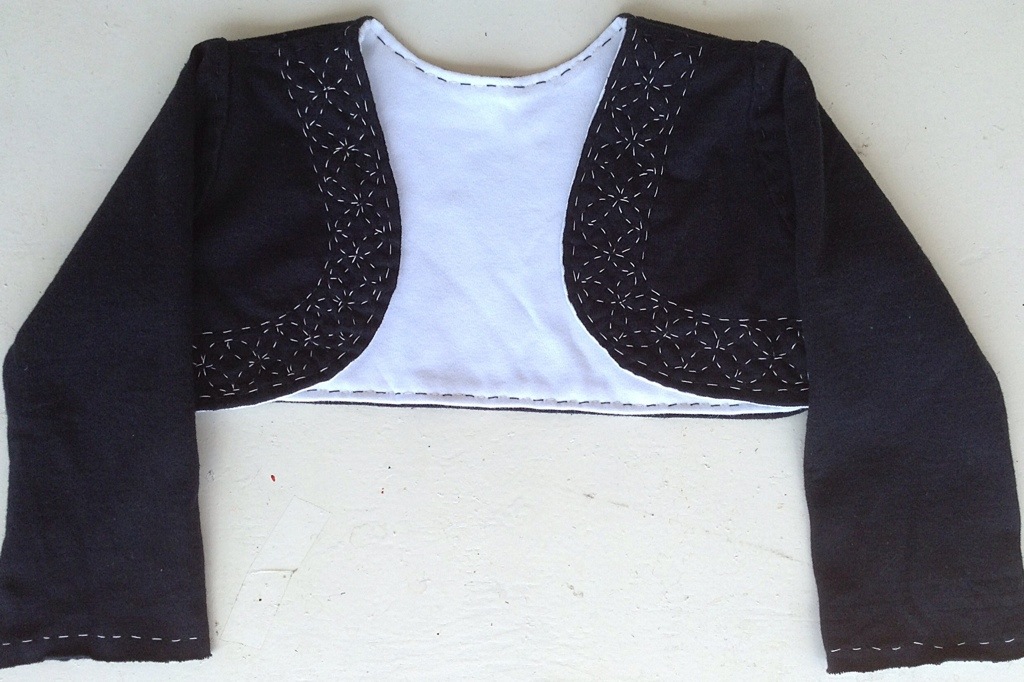
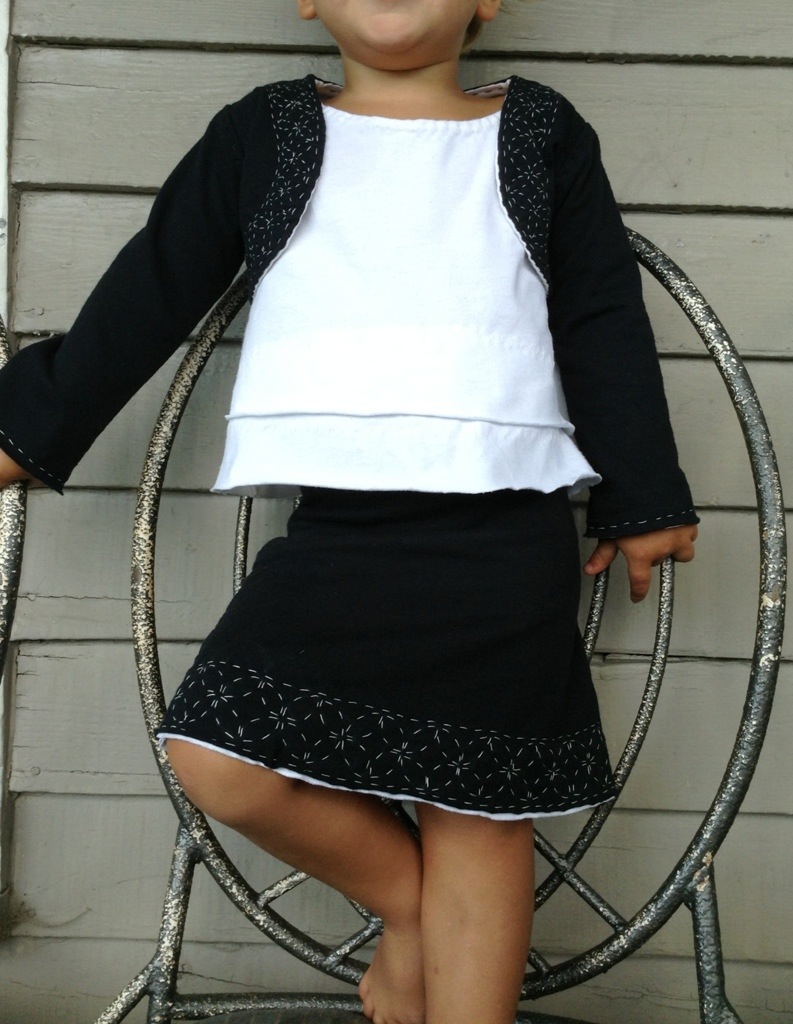
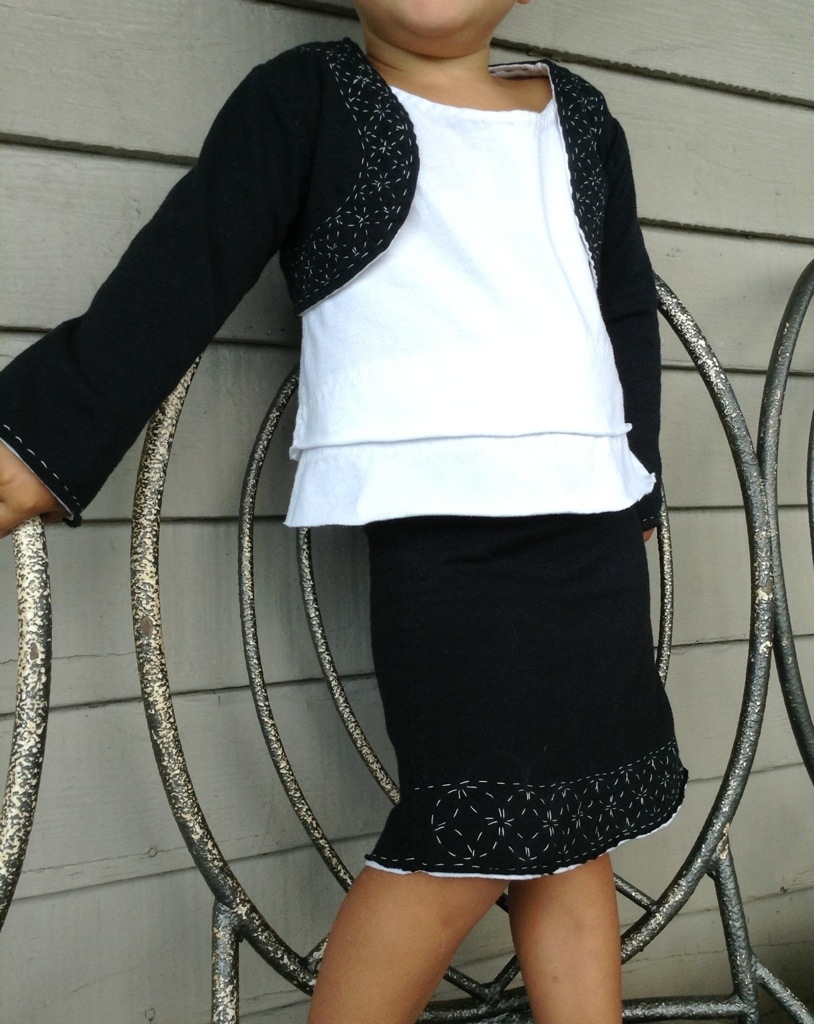
However, I was cleaning out her 0-3 month clothes the other day (sniff) and I realized she has next to nothing for this winter. Her closet is full of little white and pink cotton summer dresses that she is quickly outgrowing, but there is hardly a long sleeve to be seen. So I thought it would be fun make her a little fall/winter wardrobe.

I started a pinterest page for baby girl clothing as soon as I found out I was having a girl, and have been slowly adding to it since. One of the things I love about pinterest is that, even if you can’t easily say what styles you like off the top of your head, it’s easy to tell by a quick glance at your pins.
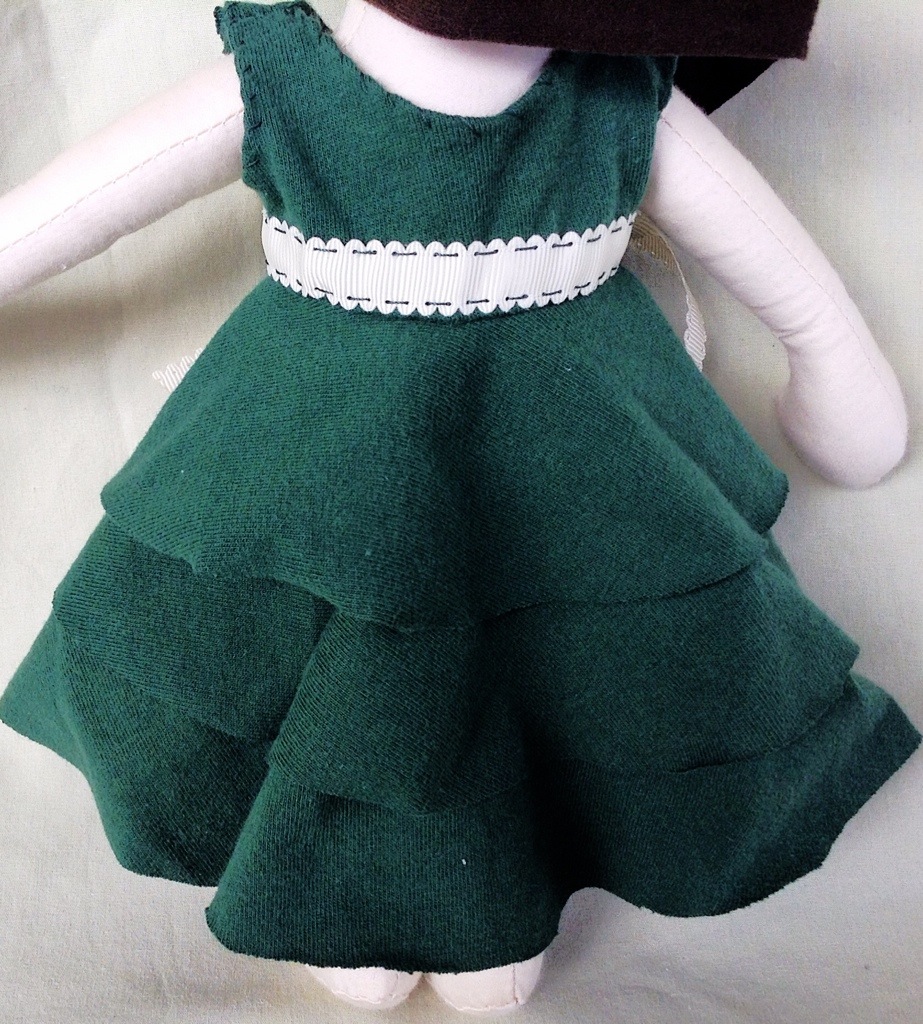
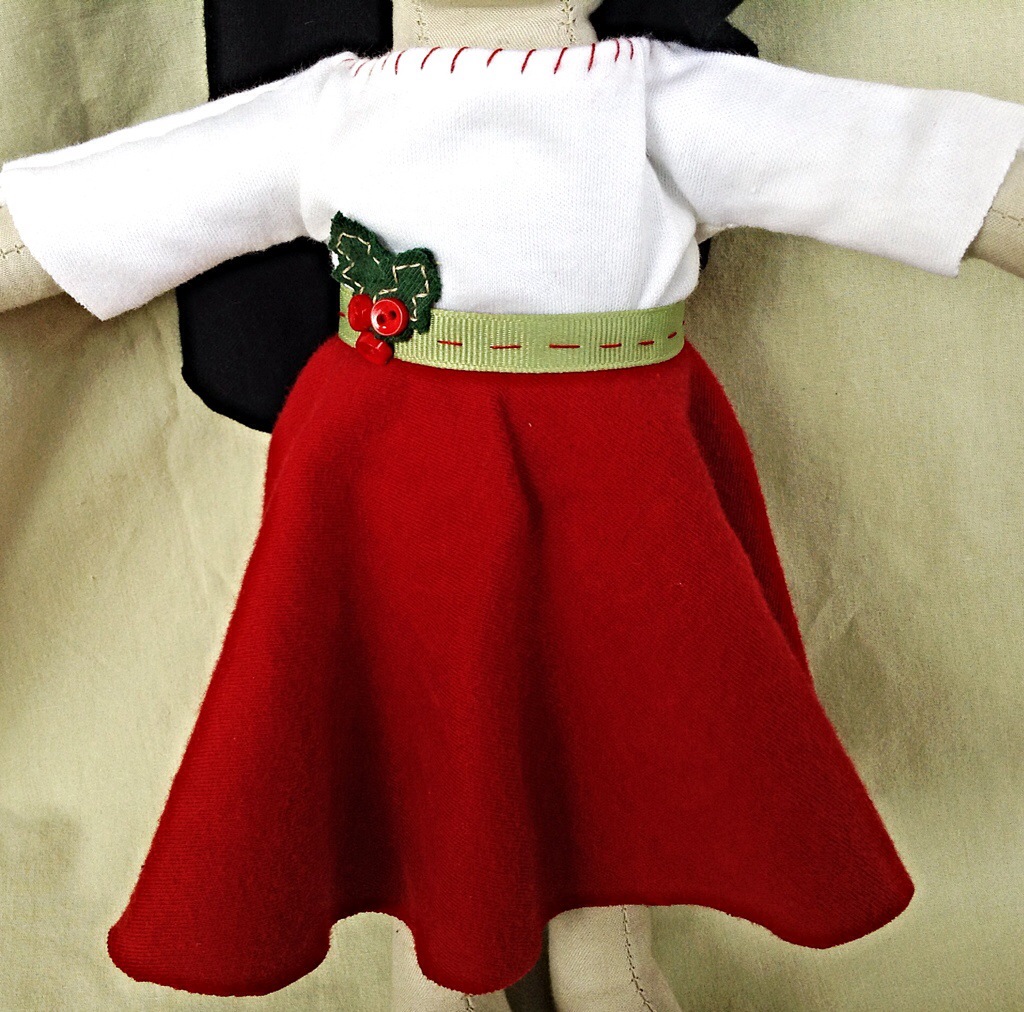
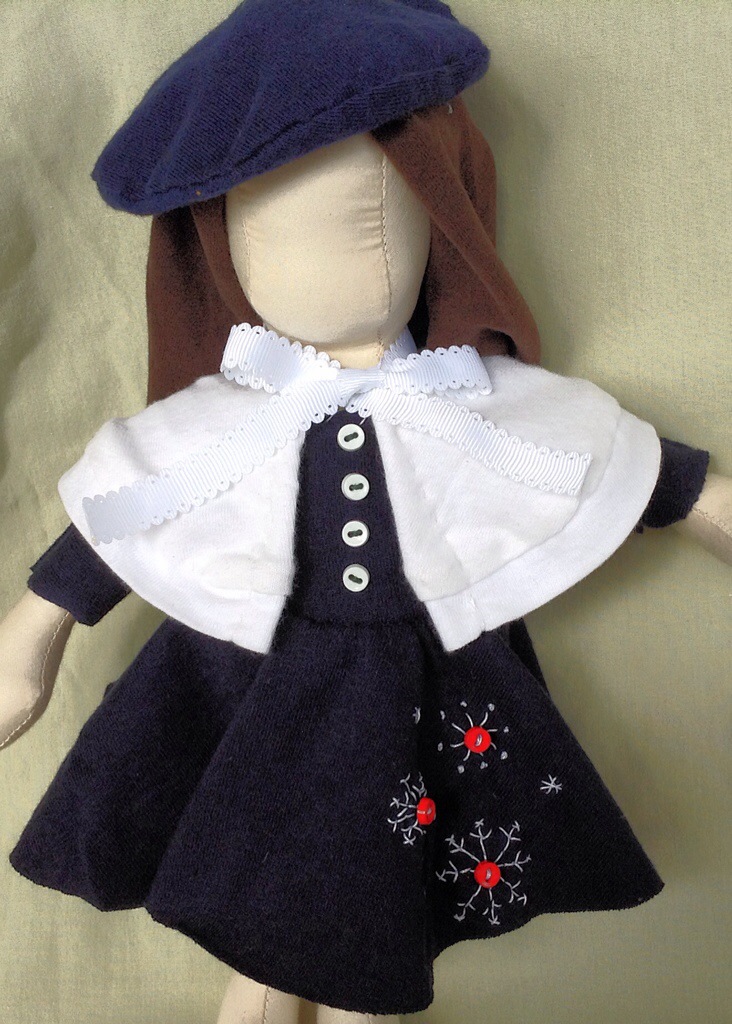
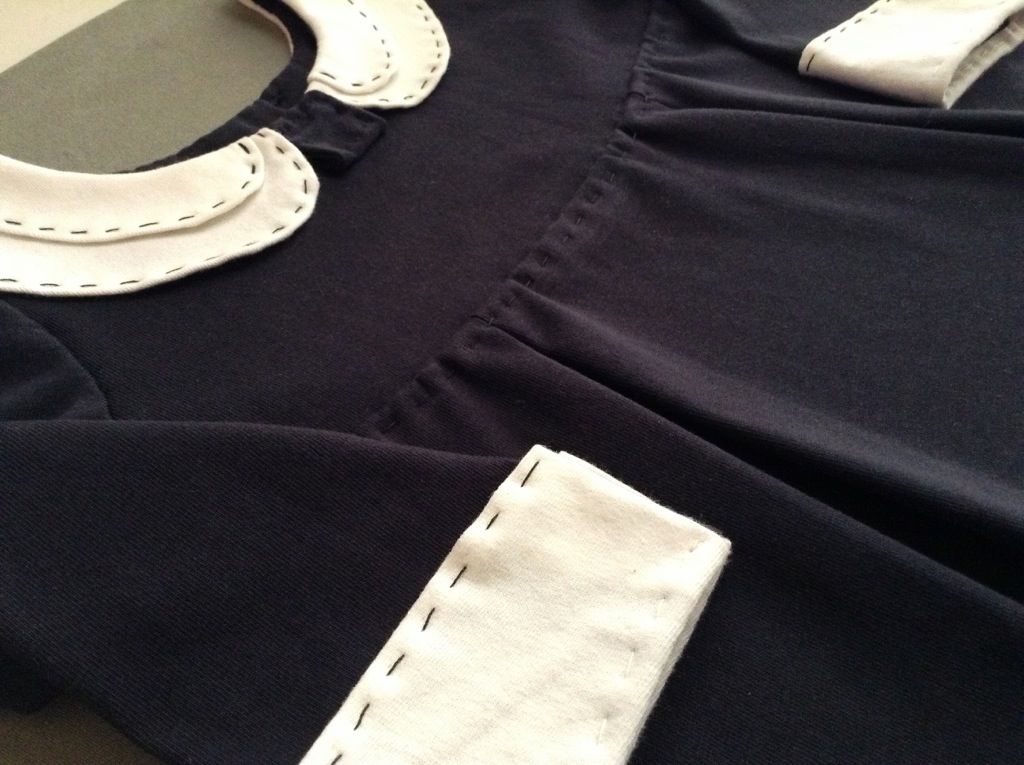
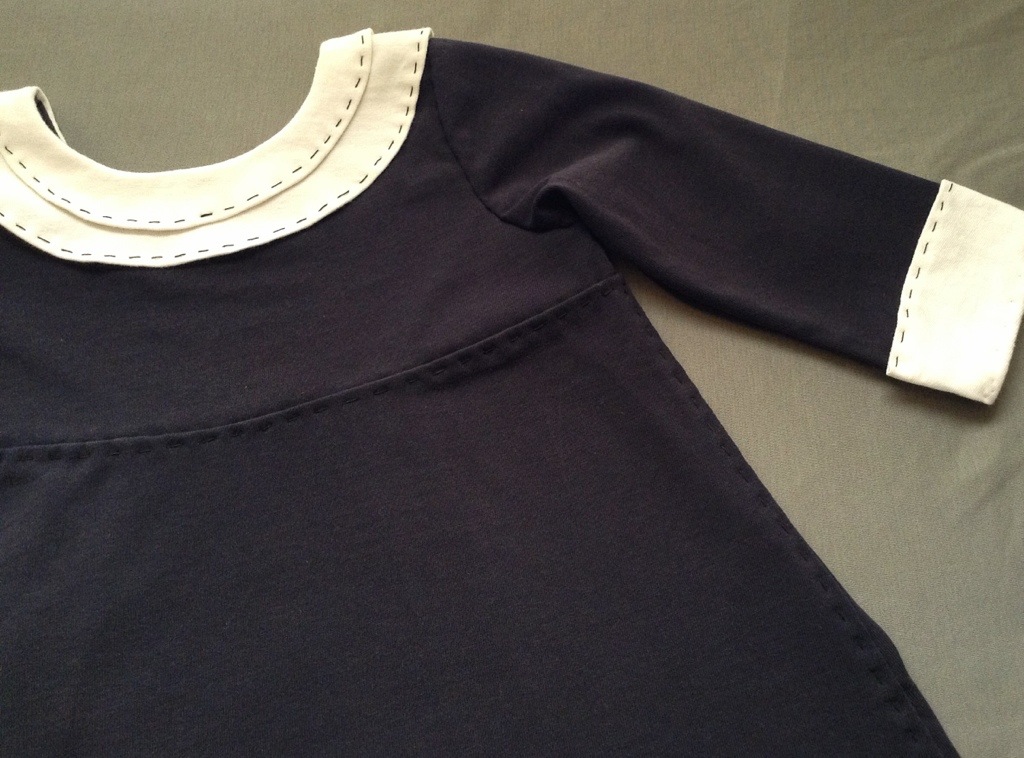
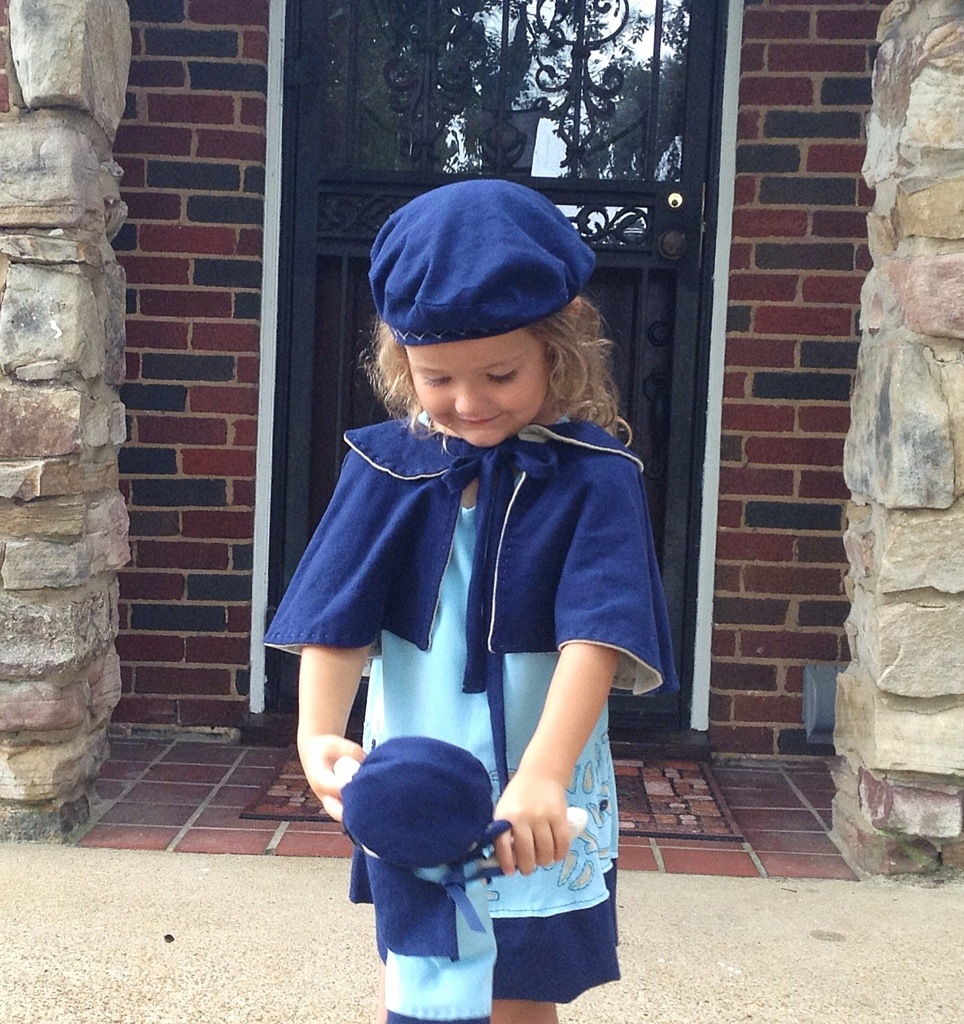
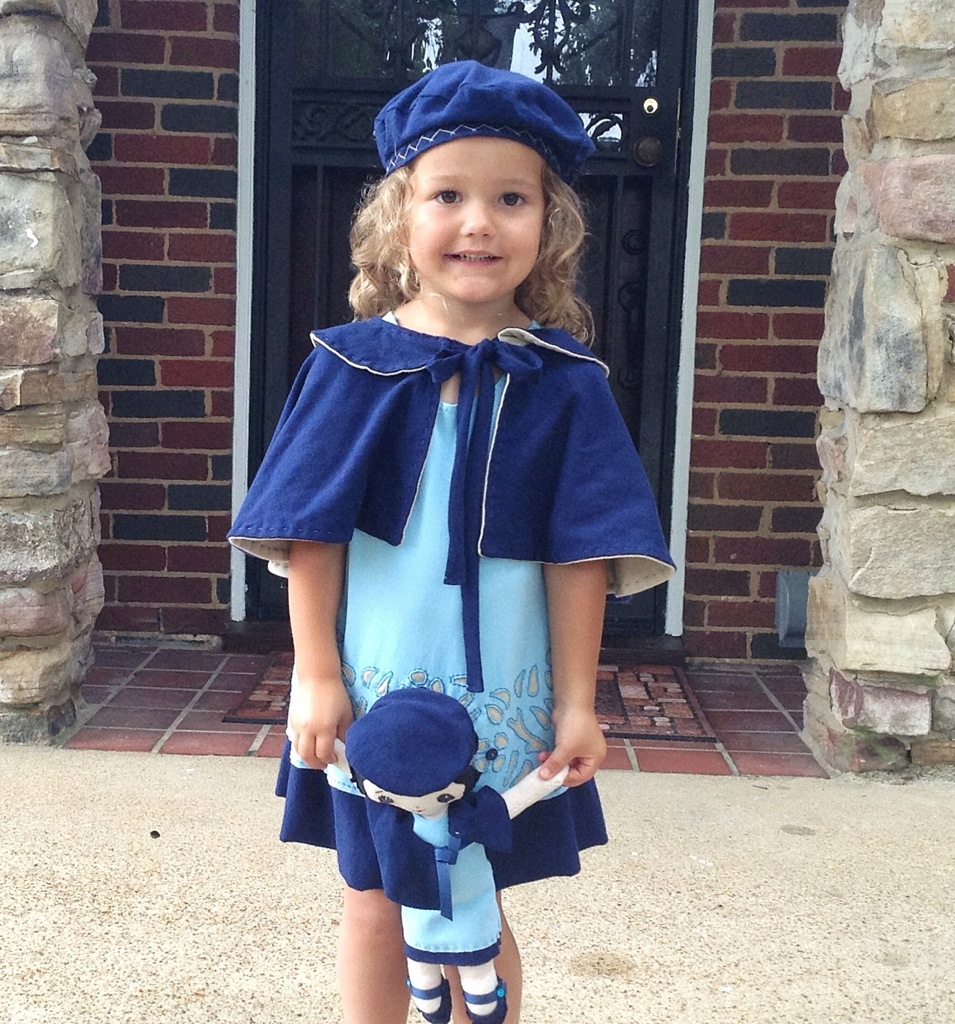
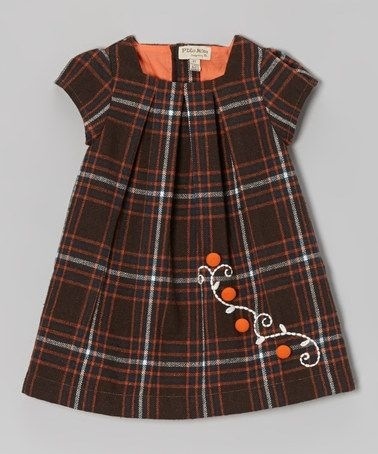
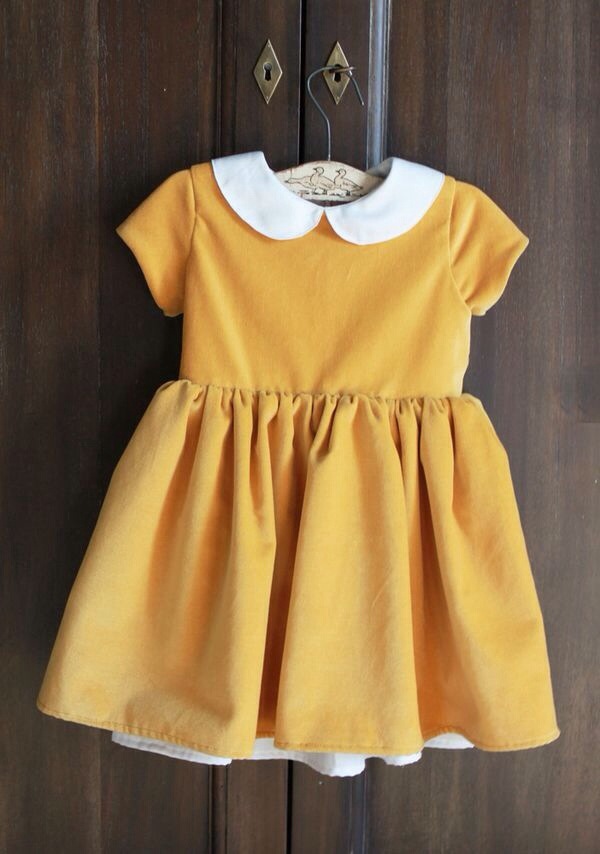
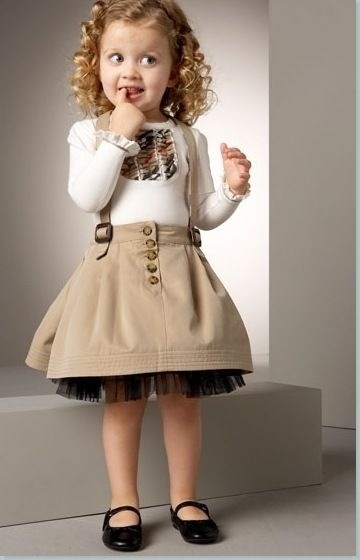
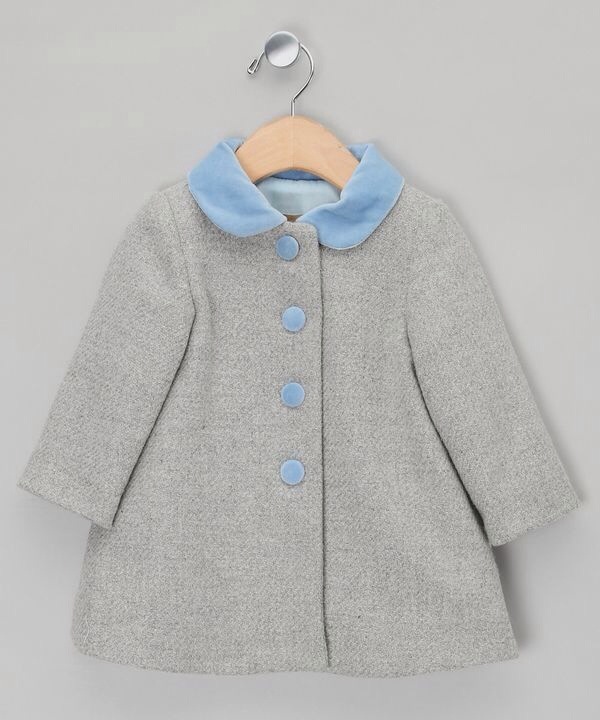
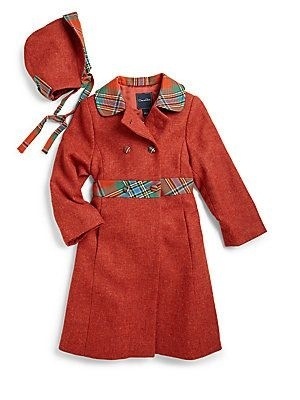
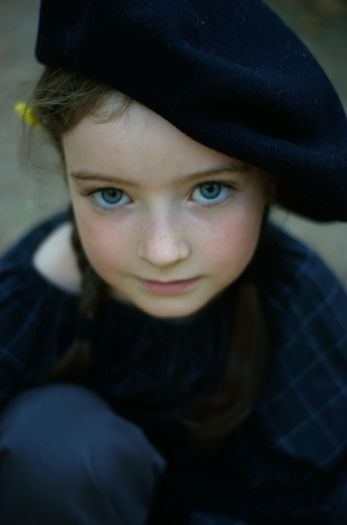
Scrolling down through her page, it was quickly evident what styles appeal to me. Apparently I’m not a big fan of ruffles and frills, but tend to prefer simple straight lines and pleats- and more vintage styles. I like either subdued grays and neutrals, or jewel tones. I like buttons and peter pan collars. And I like wools, velvets and plaids.
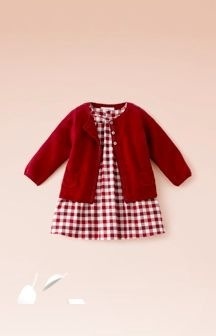
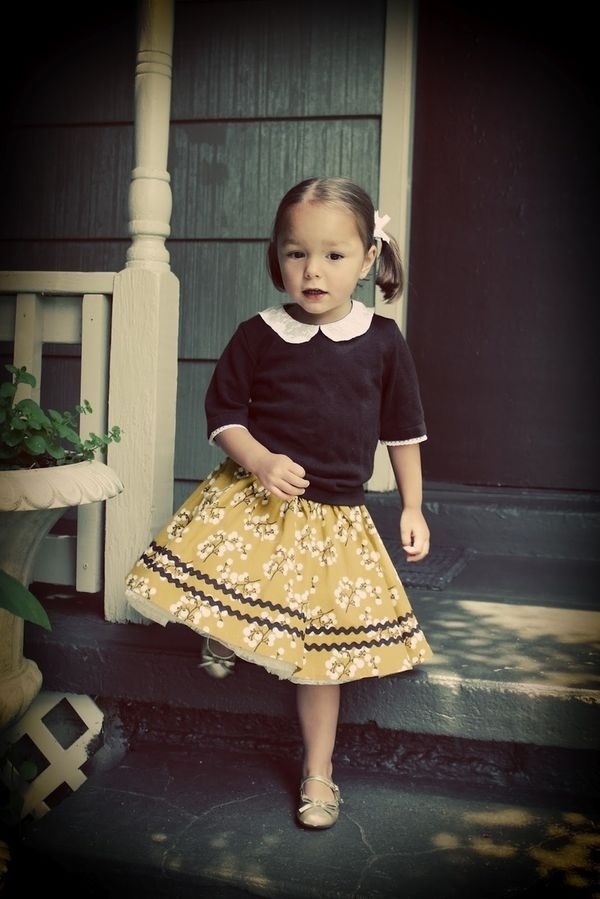
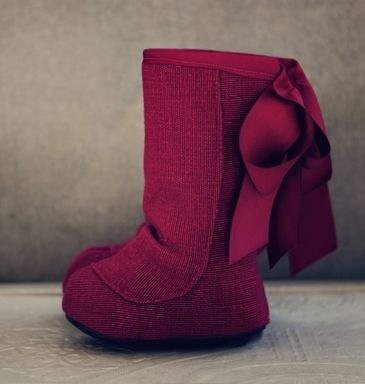
20140918-172441.jpg

20140918-172451.jpg

20140918-172504.jpg

20140918-172518.jpg

20140918-172535.jpg

20140918-172541.jpg

20140918-172550.jpg

20140918-172609.jpg

20140918-172621.jpg

20140918-172628.jpg
Oh. Also boots.

20140918-172705.jpg

20140918-172710.jpg

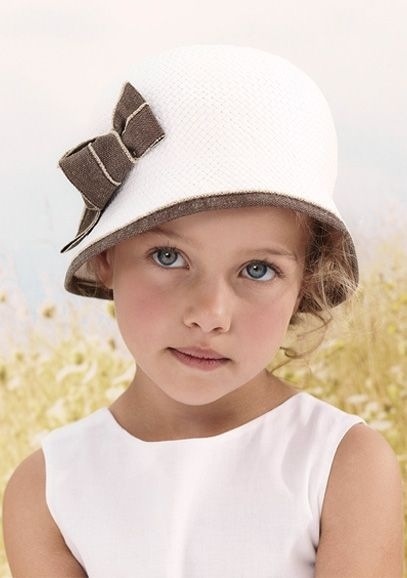
And hats. I really like hats.

20140918-172721.jpg

20140918-172736.jpg

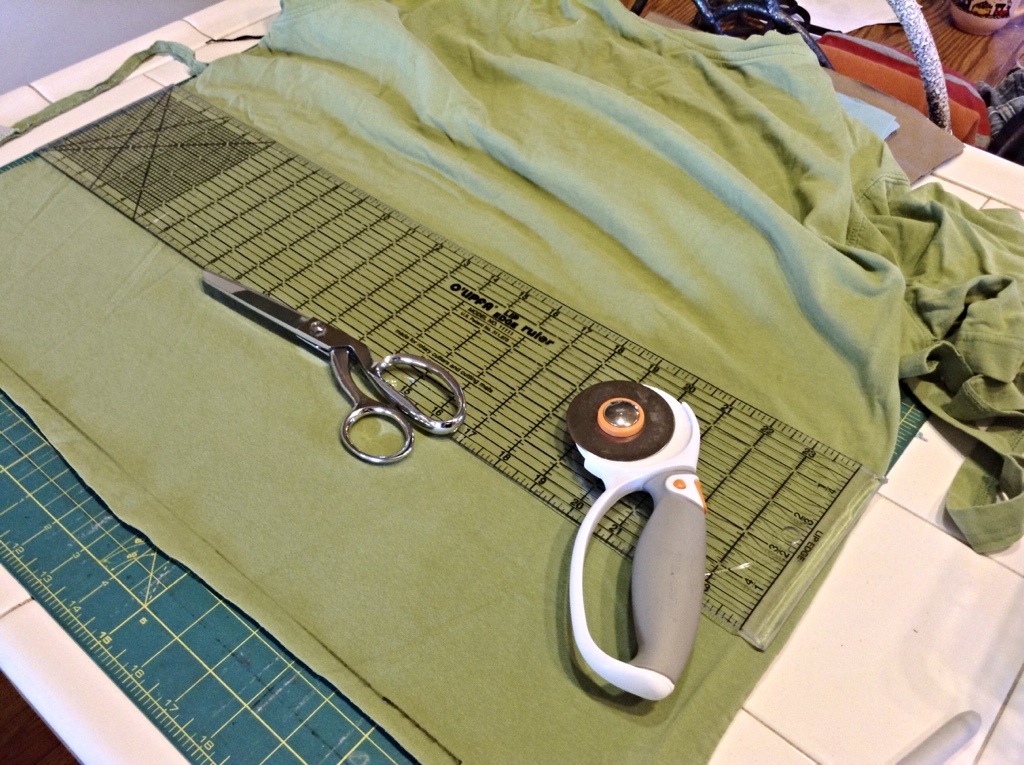
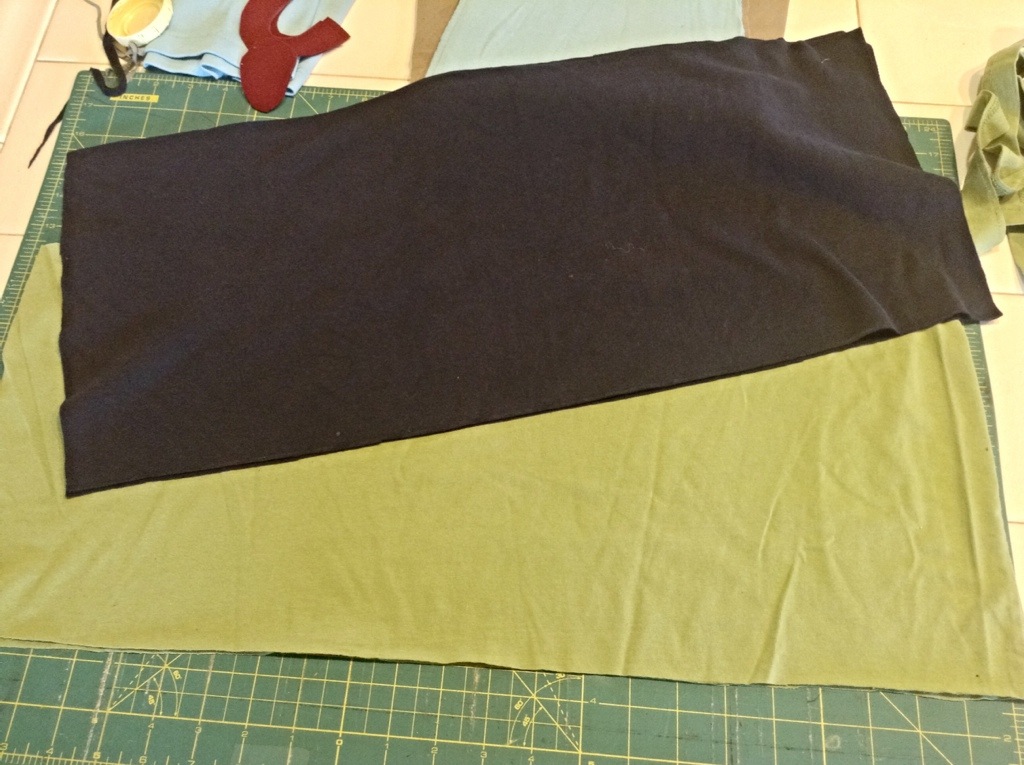
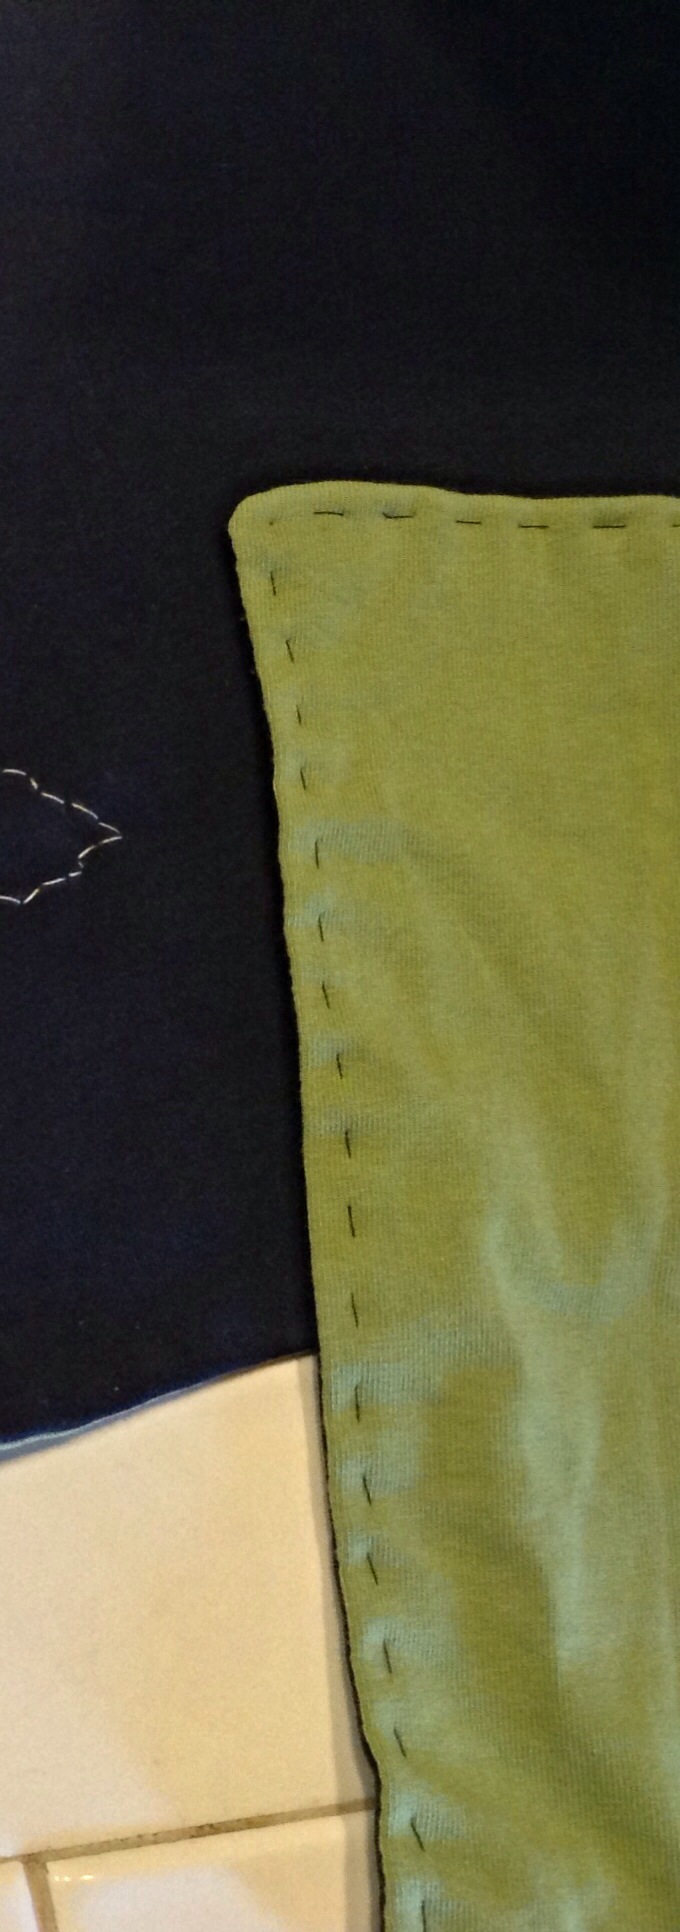
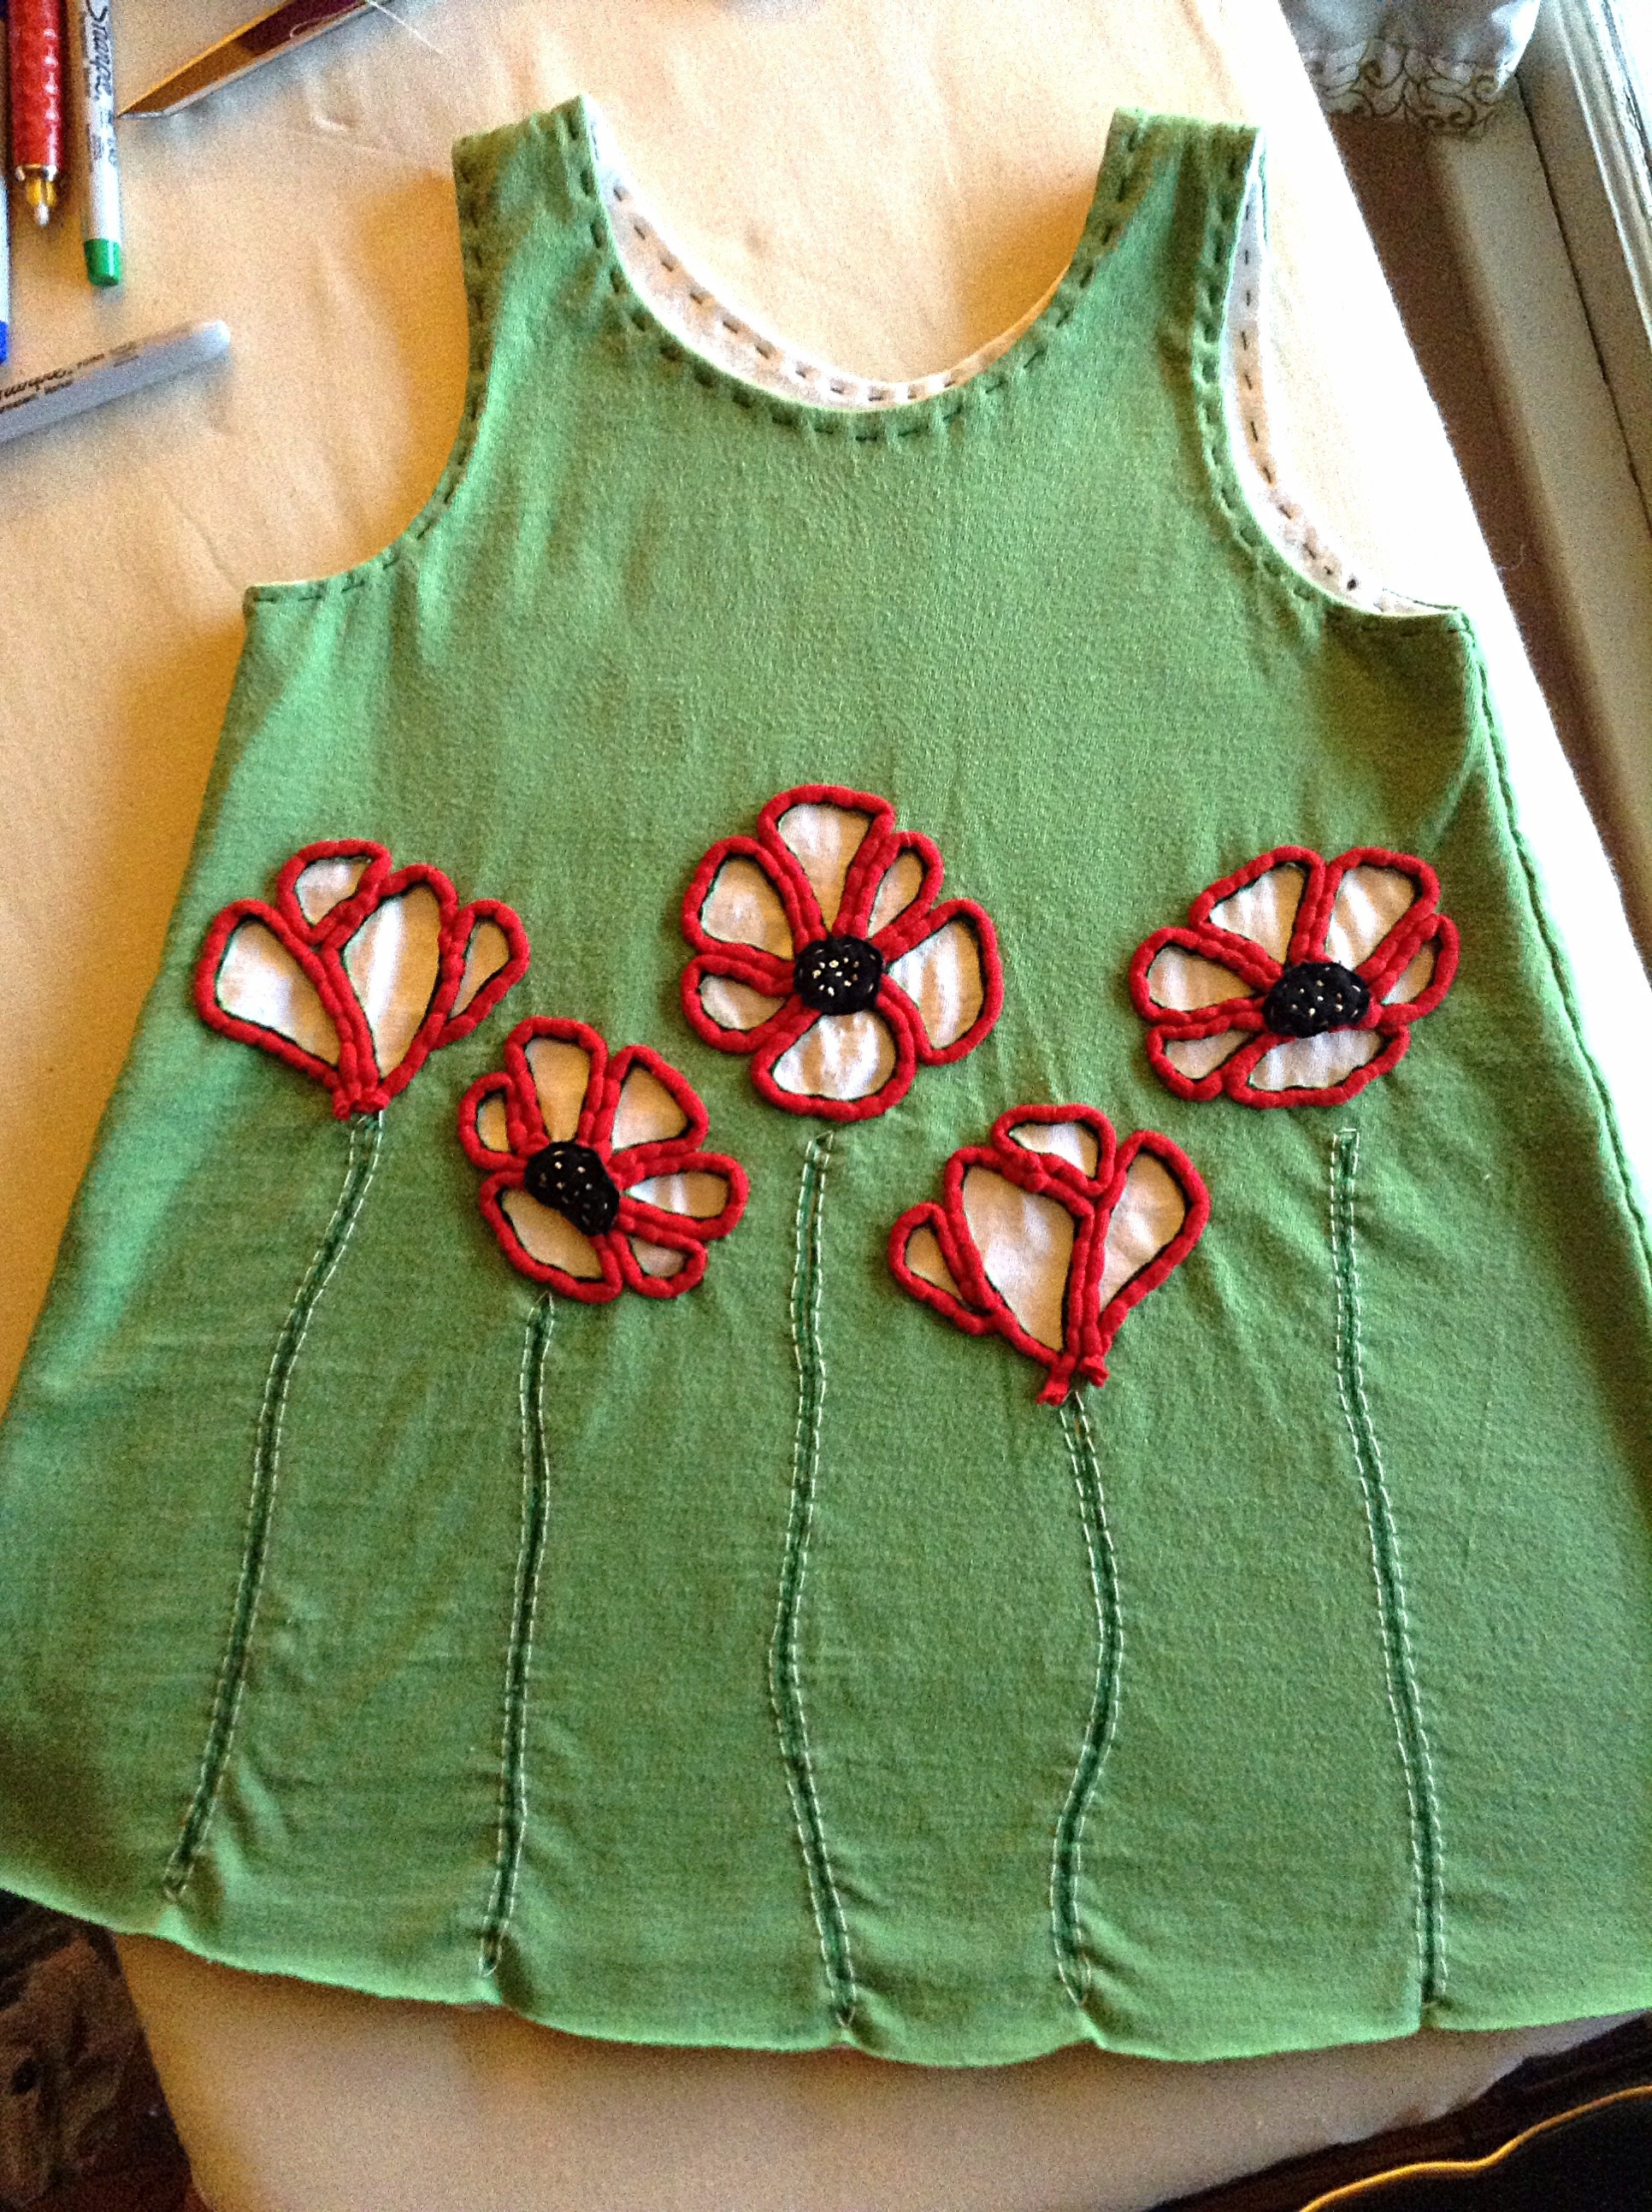
Seeing as 3-6 month clothing doesn’t take much in the way of fabric, I figured it was time I upcycle some of my old things, and thus avoid too many trips to the fabric store. I can’t trust myself near fabric stores.
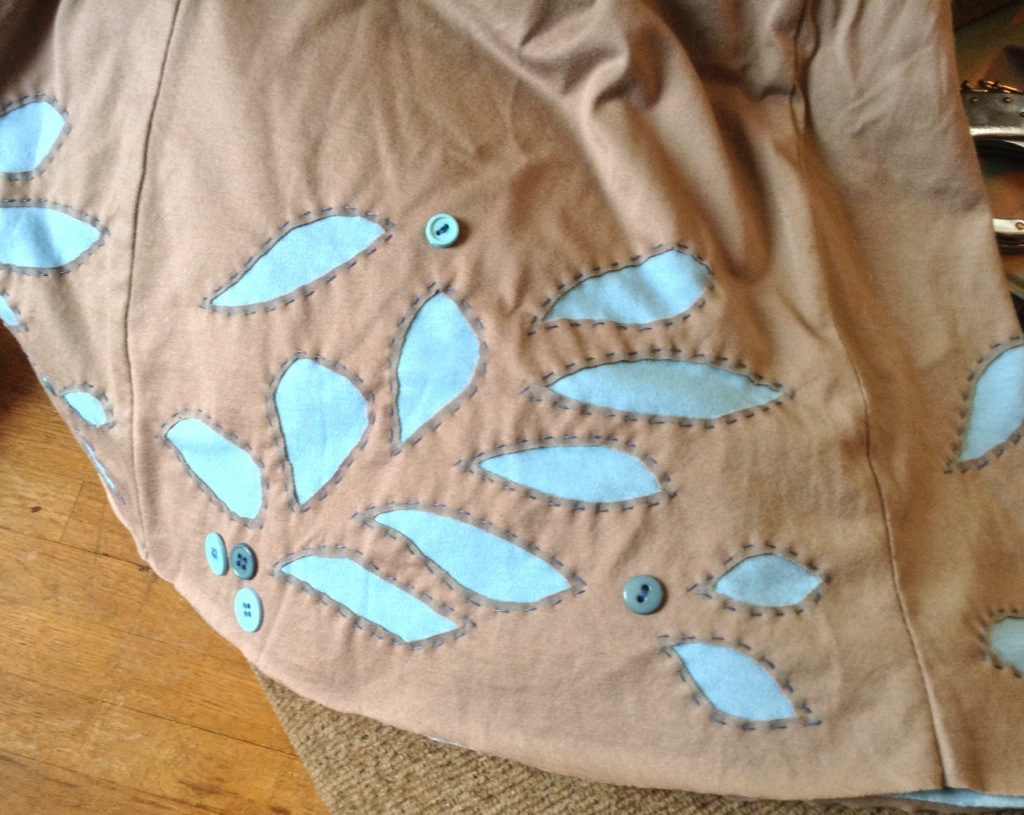
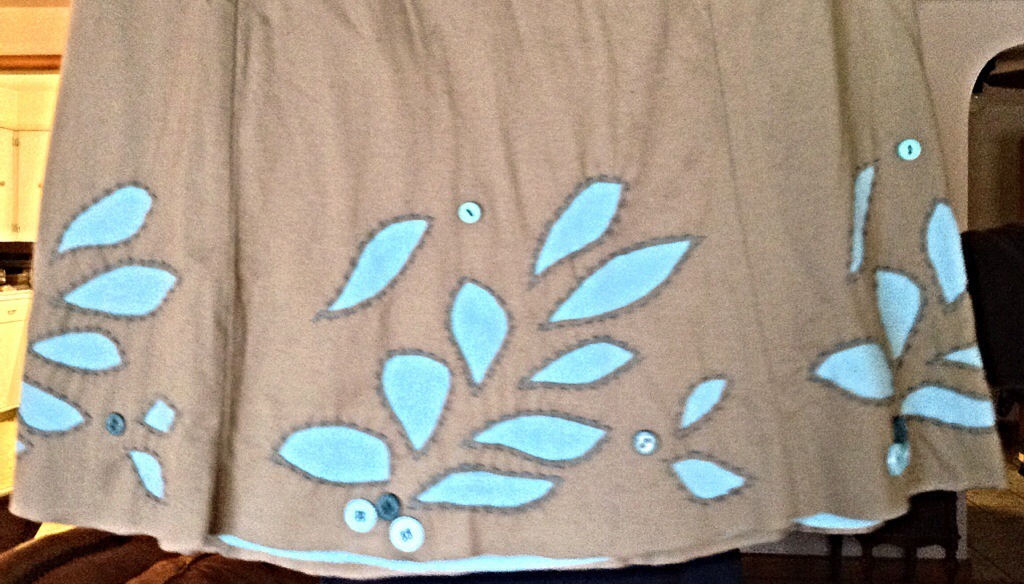
So I pulled out some of my favorite old wool skirts from college days. There is little hope that I will ever fit into them again, but I hate to throw them away. I mean, I was wearing that blue and green plaid when I visited the Louvre for the first time! There are memories in it!

20140918-173749.jpg
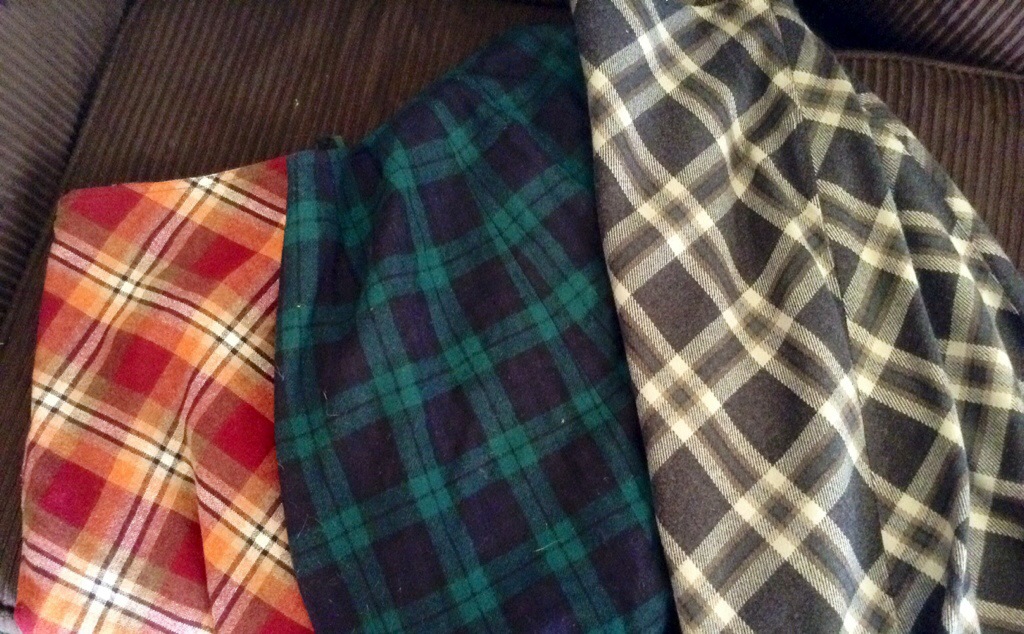
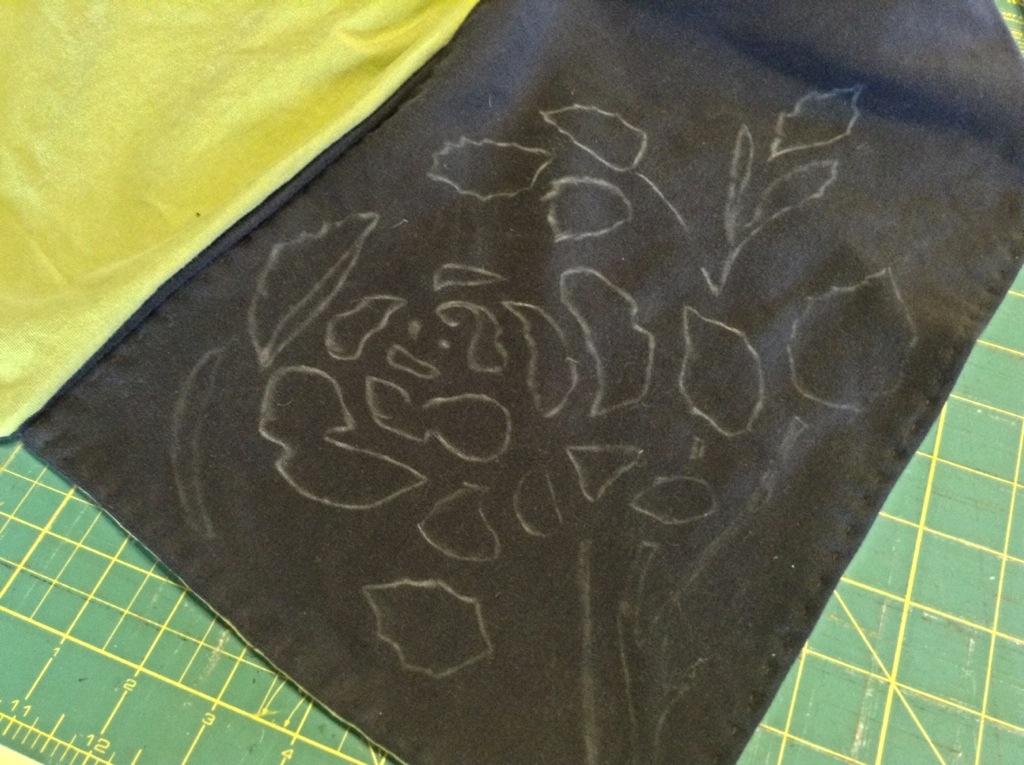
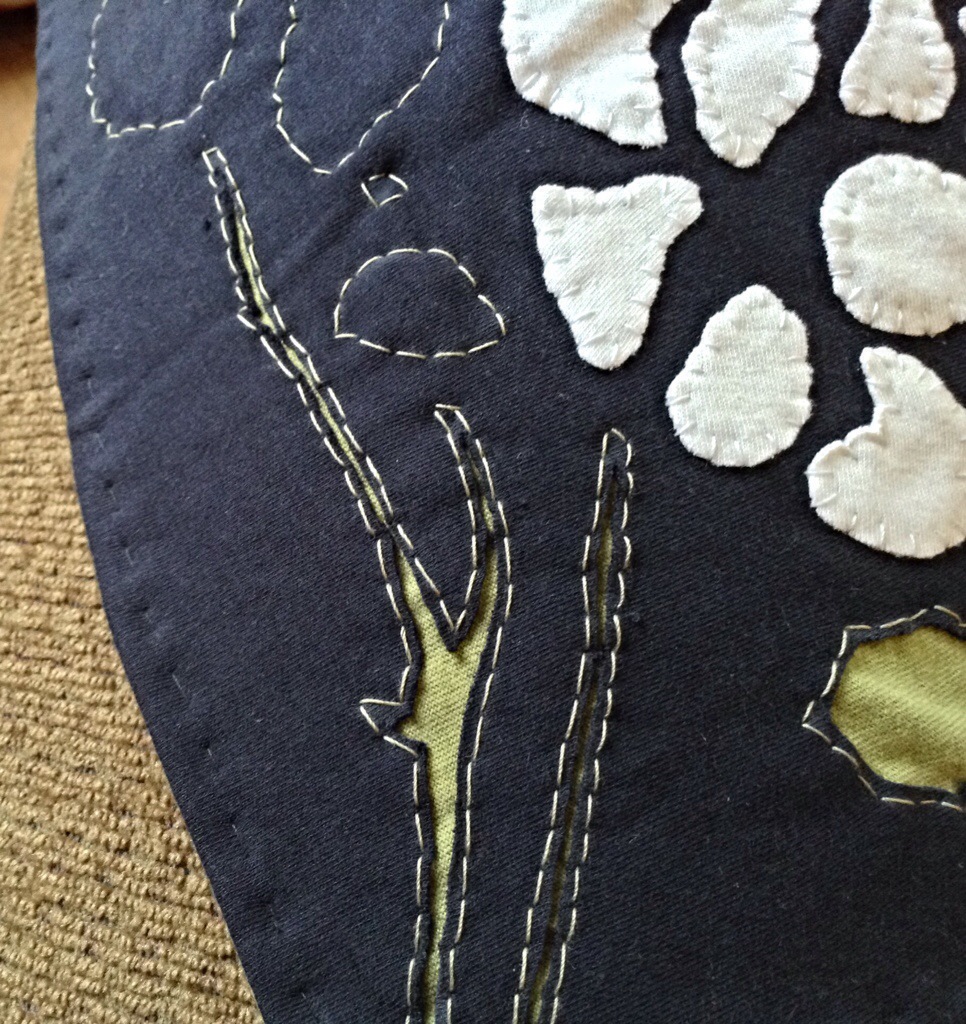
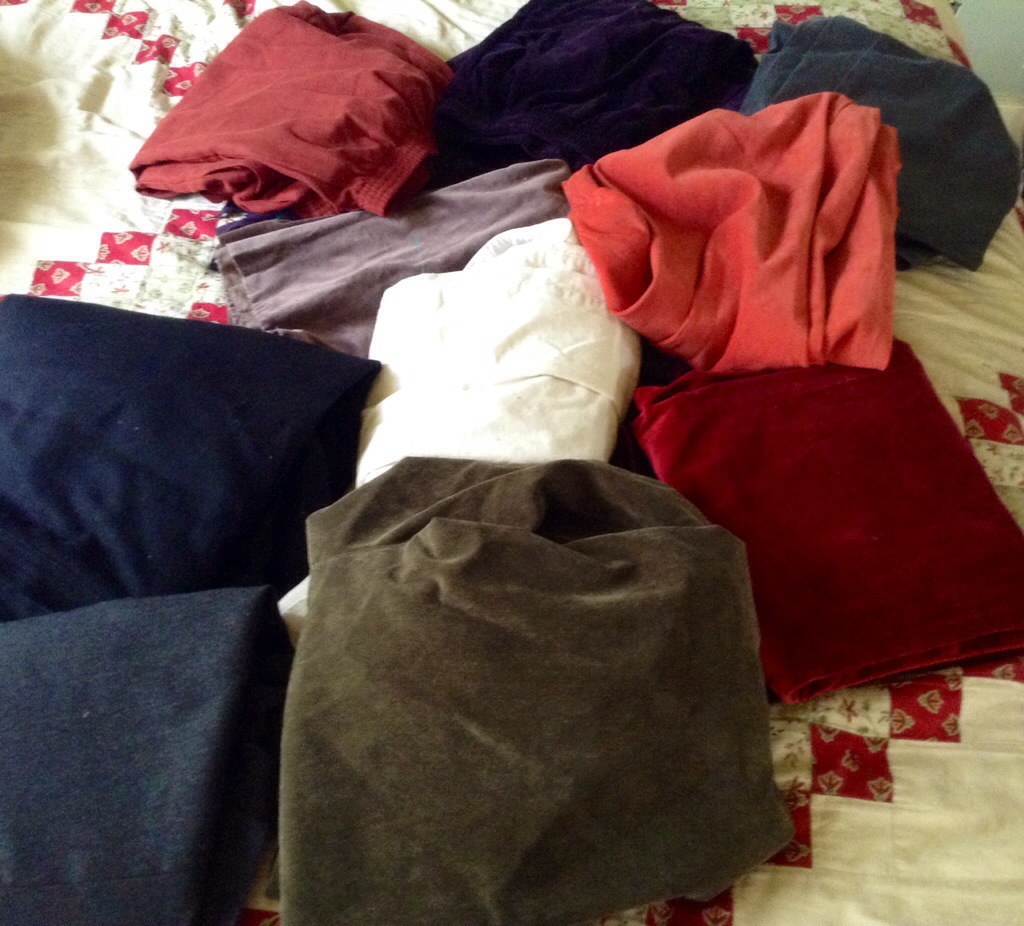
I also have a lot of other clothes and fabric stockpiled for my shop that I might have some fun with- lots of autumn-hued velvets and wools.

20140918-173914.jpg
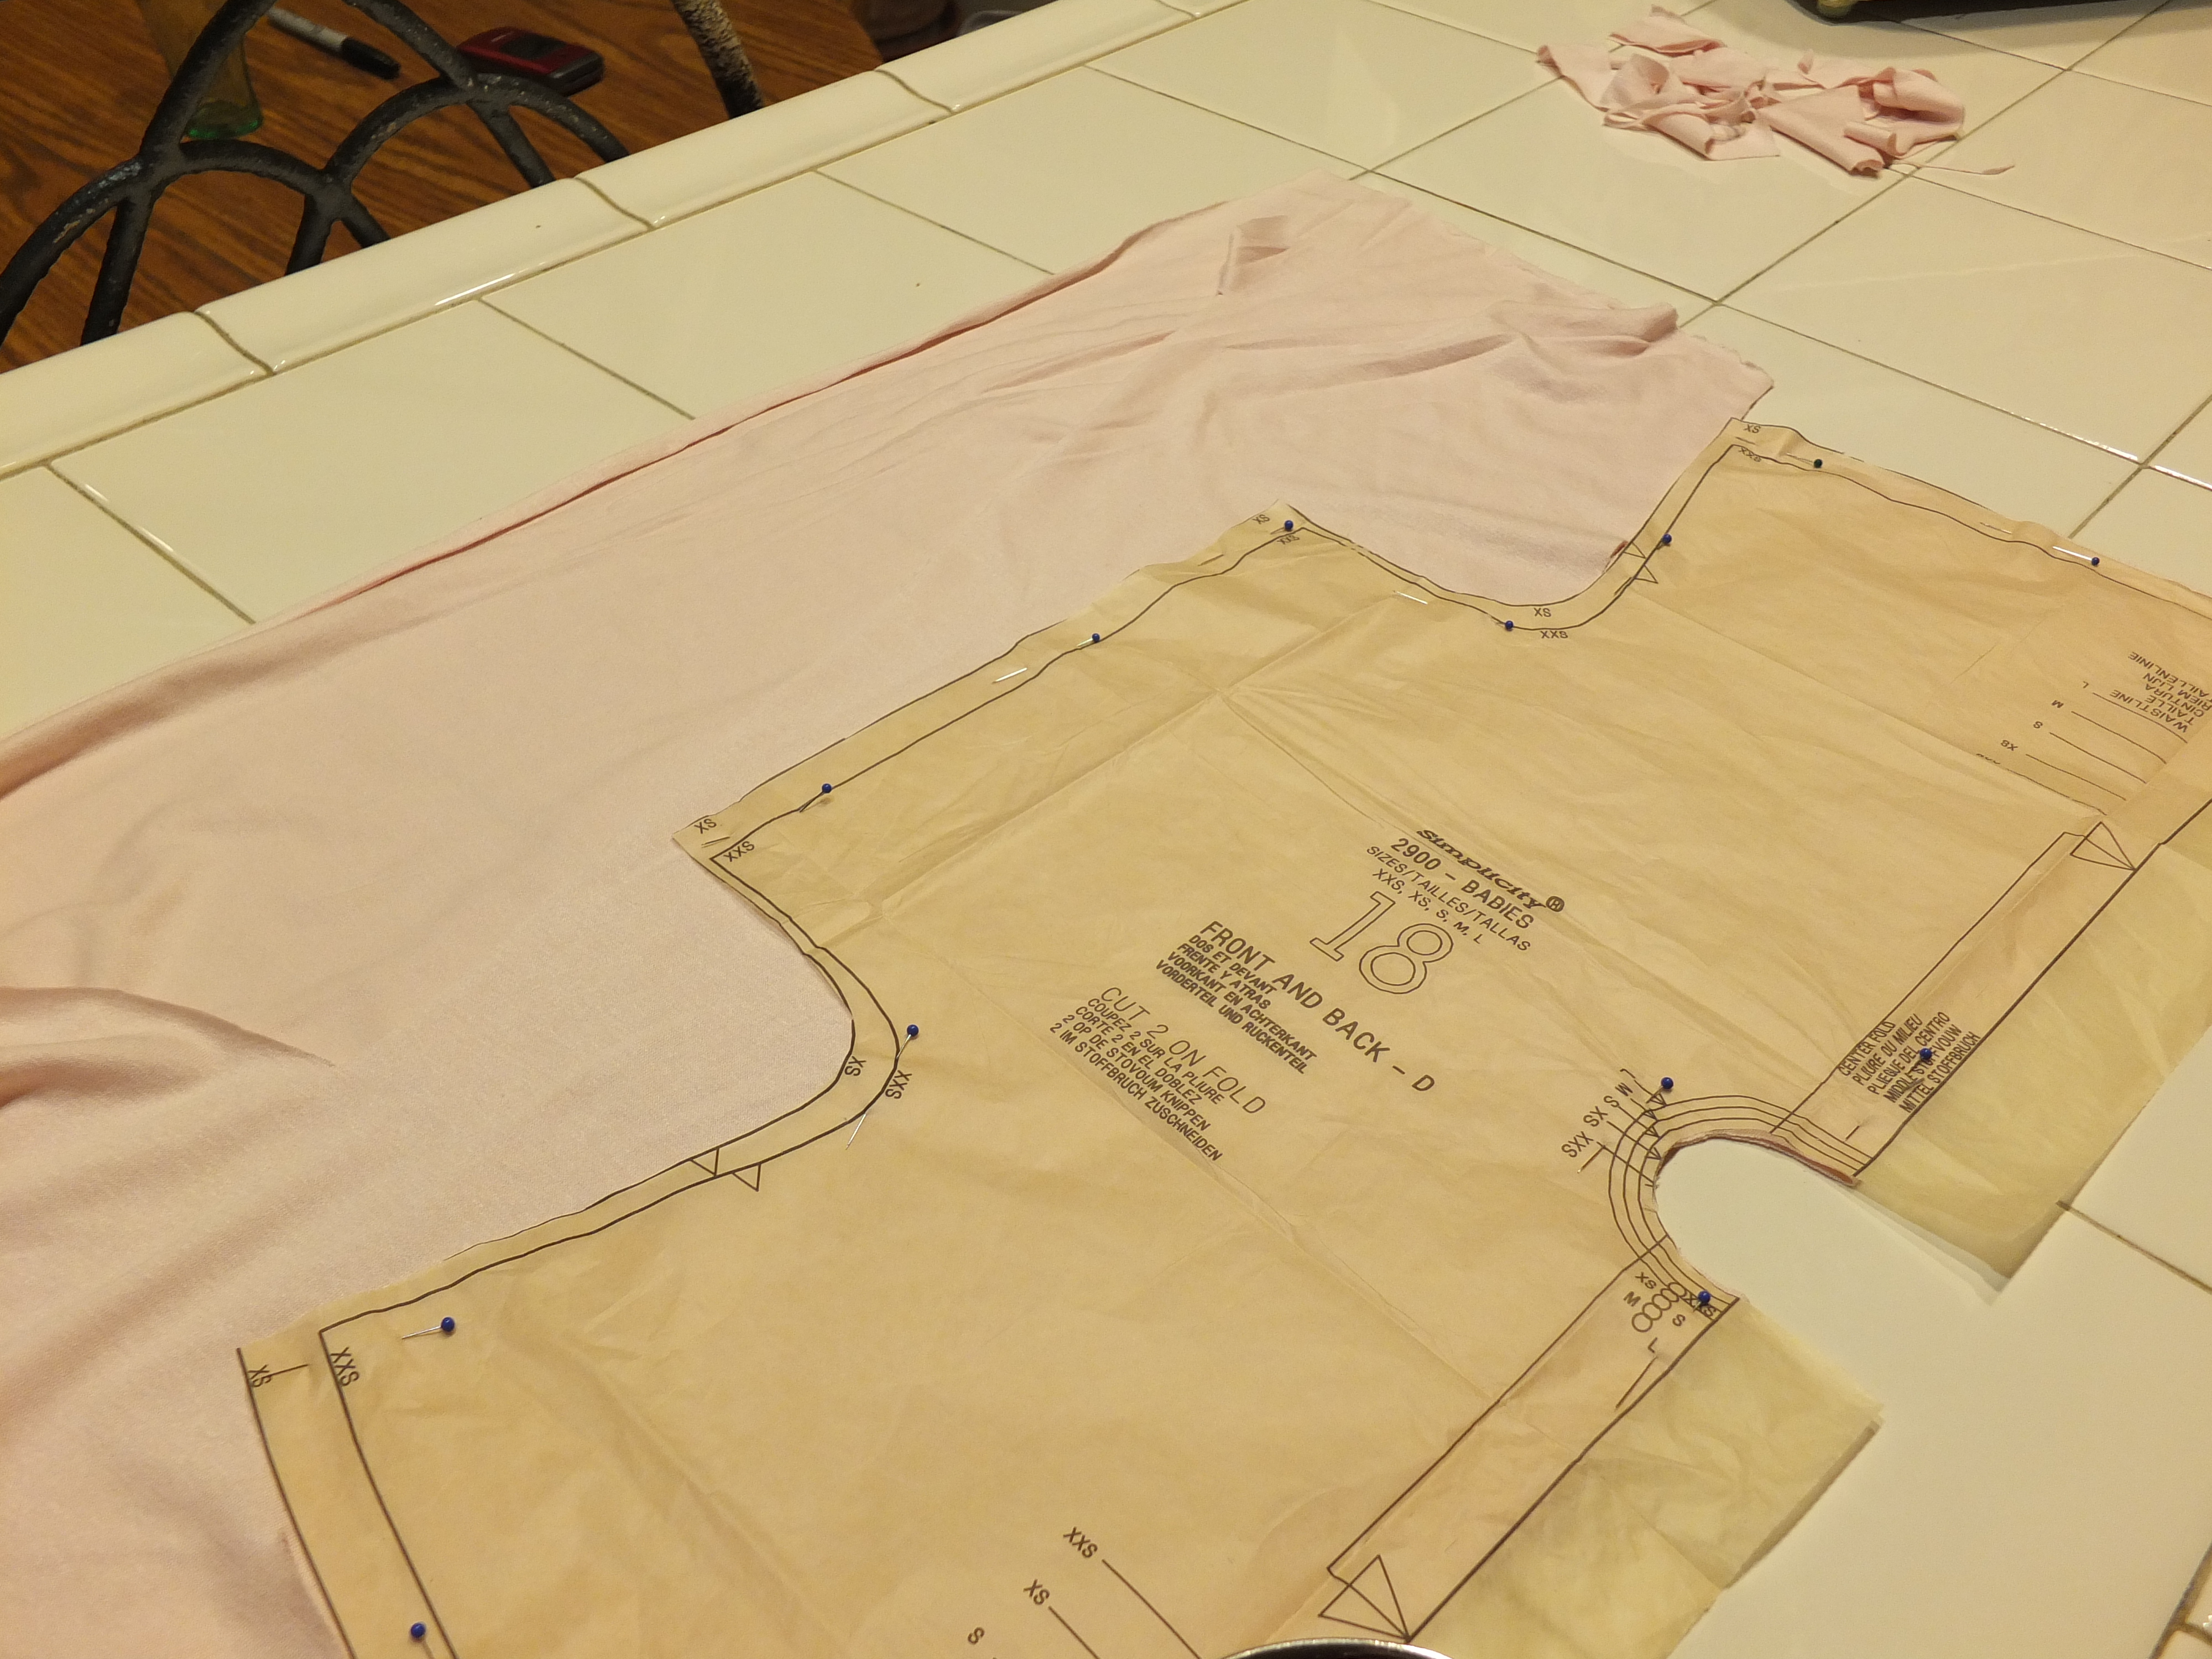
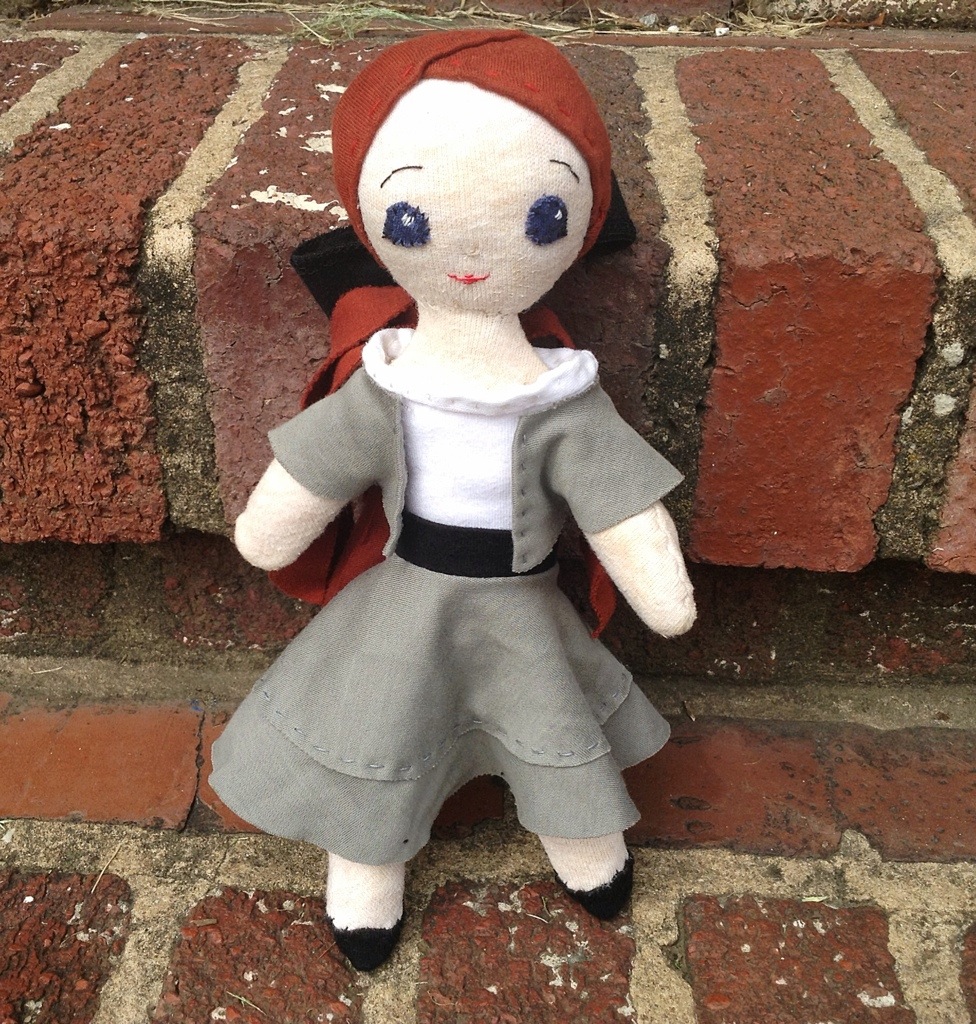
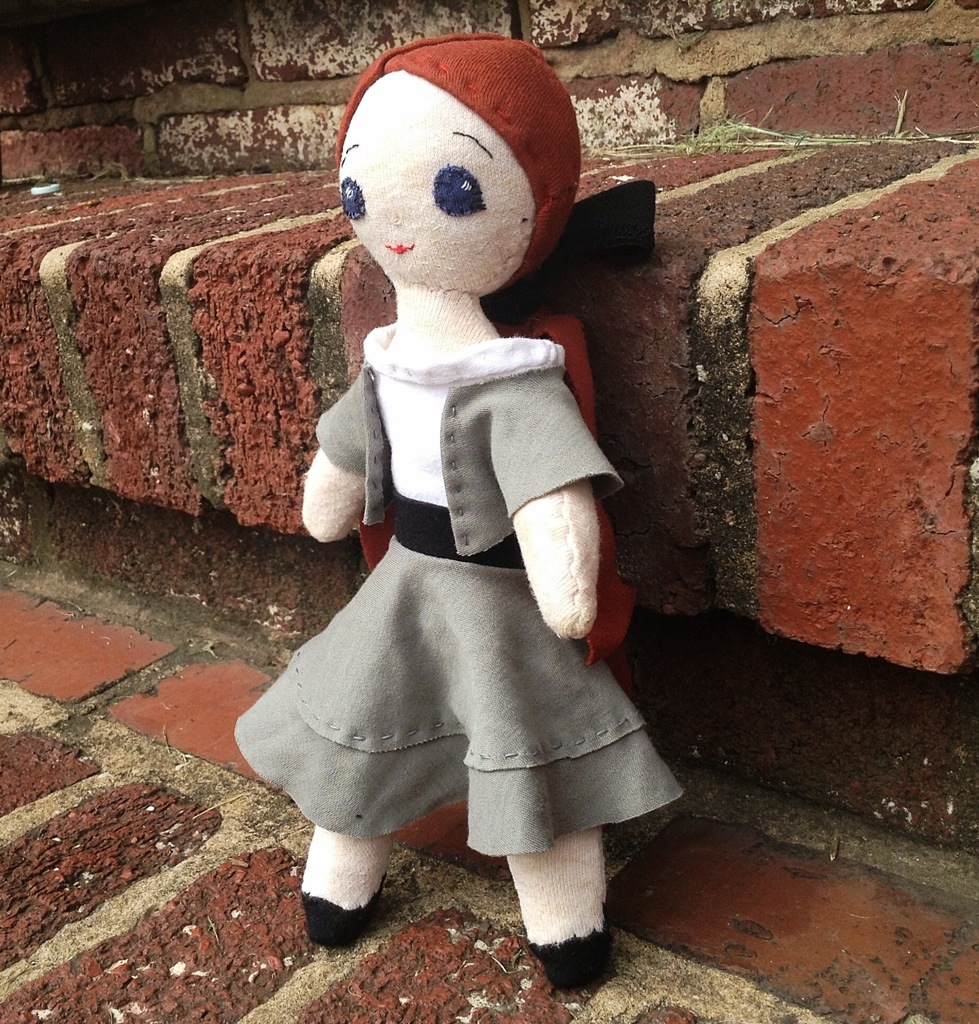
And I don’t have a lot of little girl patterns, but I usually just fall back on these vintage ones as a guide, and make alterations as I go.

20140918-174259.jpg
So now that I feel inspired, all I need to do is find some time! If I actually succeed with any of these ideas, I’ll let you know. What are your little girls wearing this fall?

A labor of love

Naming a baby is one of the fun parts of having a child, at least most of the time. The naming of our boys was fun, yes, but also a bit arduous. Thanks to a family tradition of giving children two middle names, and preferring that each name sounded good in English as well as French, it was a struggle. (For instance, I always liked Henry, but wasn’t so much a fan of Ahn-ree)
And then getting all three names to have a nice rhythm when added to the last name always felt like a complicated puzzle. After coming up with twelve boy names, and having used up most of our male family names, we were scraping the bottom of the barrel if this baby had been a boy.
But a girl name! Wow, did we have a lot of girl names stored up! The problem now was whittling them down. But the name we kept coming back to was Caroline. Not only is it elegant and classic, but we thought it was a lovely way to honor my mother, Carol- a jewel among mothers and grandmothers.
I like to consider the meaning of a name as well, but I was looking up meanings for Caroline, there were two that kept cropping up- the Italian meaning “feminine form of Charles“, and the German meaning “manly one.” That put me off a bit. The meaning of a name isn’t necessarily a deal breaker for me, but Manly One?!!
But then I found the French meaning-   Song of Joy.”    Why the same name can have so many meanings, I do not know. But we are sticking with the French on this one, because it’s perfect.
Then came the middle name. We decided on breaking with tradition for our daughter and going with just one.  I had always planned on using Marie. It’s my mom’s middle name as well as my own. But last year my sister decided to use that name for her daughter, and then a cousin used it for their daughter, and I started to feel like there were other names in the world that I wouldn’t mind using.  I liked the flow of Caroline Marie, so I tried to think of similar names.  I finally narrowed it down to Margaret, another classic and elegant name, but the hubby voted on French again.

Marguerite- “little daisy“.

So now we can’t wait to meet Caroline Marguerite.   The hubby would like everyone to call her Cah-roh-leen, with a nice throaty rolled R.  I am aware, however, that we live in the Southern United States, and will be content if she goes by Caro’lyn’.  (I may be calling her ‘Lina’ for short.)

So now that that secret is out, I want to show you what I have been making for ‘little Lina.’   With all this name business going on, I couldn’t help imagining a christening gown as well.  I made one when my oldest was born, but it was very simple. It was as un-girly as I could make a long white dress, and have used it for all four boys.  But it was time for a new and more feminine looking one, and I wanted to try something a la Alabama Chanin.

I started with a supersoft white jersey, but when I saw the same fabric in a lovely pale rose, I decided to line the white dress with it.

DSCF1341

DSCF1342

I used a very basic, sleeveless, a -line pattern, and did a little hand stitching around the neck and arms.

DSCF1343

Next, I wanted to stencil it, but couldn’t decide what motif to use, until we chose her middle name.  Then it was decided- I designed and cut out a

‘little daisy’ stencil.

DSCF1339

I traced it with disappearing ink all around the bottom edge of the dress.

DSCF1367

Then it was lots of outline stitching for a while.

DSCF1369 DSCF1368

I decided to pull out all the stops on this one, and added little pink buttons and lots of beaded accents, so it has a nice weight to the bottom.

DSCF1431 DSCF1432 DSCF1434

When it is held up to the light, it looks much more pink.

DSCF1435 DSCF1436

At the end, I thought it needed a little something else, so I added a simple satin sash.

DSCF1440

And a little, pale pink sweater, just in case.

DSCF1444 DSCF1445

So there it is.  It was so fun, it makes me want to start dress making on my shop again.  I have made a lot of little girl clothes over the years, but never one that has brought me so much joy.  A true labor of love!


Finished projects

Sorry to leave you all hanging after my last blog post. I’m sure you are all on the edges of your seats, waiting to know how my projects came out!
Again, I wish I had taken better pictures of the process, but let’s just dive back in with what we have. As I mentioned before, I was tackling three projects- two scarves and a skirt for my ten year old niece. The scarves are super simple. I found two good quality t-shirts with colors that complimented each other nicely. (BTW, I am picky about the jersey I use. For the most part, I look for Pima cotton, found most often in men’s polo shirts. It is very soft and durable, and won’t pill.)
For my mom’s scarf, I chose a navy blue and a leaf green shade. For the gift exchange scarf, I used a cheery bright red and a silvery gray. Using a rotary blade and mat, I cut about a ten inch width off the bottom of my shirts, front and back. (Just make sure it’s wide enough for your stencil to fit)

20140102-171716.jpg

20140102-171723.jpg
I left one side still sewn together with the original shirt seam and cut the seam off the other side. Make sure your two colors are equal in length.
I won’t use this post to show you how I made the skirt, but I used the most basic Alabama Chanin skirt pattern. It’s only four pieces, and I used a soft brown, with a bright blue-green for the appliqué.

20140102-172351.jpg
Pin the right sides of your scarf together, and sew the edges. I usually do this by hand using a simple running stitch, since my machine doesn’t handle knit cotton very well. Leave a few inches unsewn, so you can turn it inside out. (Sorry I forgot to take photos of this step!)
Once it is turned inside out, I like to sew the edges again with a running stitch. It makes everything look neater and more professional.

20140102-173959.jpg
Now here’s where we get to use our stencils. For the navy scarf, I traced the rose stencil using a chalk pencil, since ink won’t show up very well on dark fabric.

20140102-174251.jpg
For the red scarf, I used the medallion stencil from my book, and traced it with a disappearing ink pen.

20140102-174941.jpg
For the skirt (not pictured), I used the leaf pattern, also from my book. You can do your stencil lay out however you choose.

Now, you can just use an outline stitch to trace the stencils and secure the front and back together. But I really wanted to make the rose stand out, so I traced just the flower onto white jersey and cut out the petals. Then I pinned the petals to the navy, using the stencil as a guide.

20140102-175509.jpg Then I secured them using a blanket stitch.

Once your outline stitching is done, we can do a little more to make the patterns stand out. Take your sharp little scissors and cut out the center of the leaves and medallion shapes, taking care to leave a small border around the stitching. We want to see the color underneath!

20140102-175903.jpg
Sometimes, if the shapes are too small to cut out, I just color them in with a sharpie! Be creative!

20140102-175911.jpg
Once, they are all cut out, you are done!

20140102-180324.jpg
I failed to get a photo of the red one completed. My newly married sister snagged it in the gift exchange and went off on her honeymoon before I could get a shot of it. But this is the skirt, outlined, cut out, and embellished with a few buttons for fun.

20140102-180521.jpg

20140102-180529.jpg
It has been fun to get away from doll making for a few weeks and go back to some Alabama Chanin projects. I’m sorry if this ‘tutorial’ has been a little unclear. I will try for better pictures and instructions next time. But here is a question. I have been thinking of adding scarves and skirts to my shop. Would it be worth my time? Would you buy one?

Christmas is coming….

I am just realizing that we are more than half way through October, and I am still a long way from my “6 plane tickets for Christmas” goal. So I spent some time this week designing some christmas themed dresses, just to remind myself to keep on working, and maybe just remind you folks that the holidays really are just around the corner ; ). I thought to myself, “How do I like to decorate my house for Christmas?” The first thing that came to mind was of course a Christmas tree, so I designed a christmas tree dress.

20131020-153343.jpg
It’s pretty simple, but if I have time, I’d like to add some beads or sequins or something to make it a little more festive.

20131020-153515.jpg
Here’s a view from the back if you’re interested.

20131020-153552.jpg

My next favorite holiday decoration is probably holly, so I went for a very simple skirt and blouse so the sprig of holly could stand out.

20131020-153705.jpg
I thought it would go well with my red wool horse, but I already sold that one, so I’ll have to make another.

20131020-153738.jpg

And last, but not least, even though we hardly ever have white Christmases around here, you’ve gotta have snowflakes.

20131020-153856.jpg
Embroidering these little snowflakes made me think that she might need something to keep her warm, so I added a little cape and beret, ’cause I’m a sucker for capes and berets.

20131020-155612.jpg
So there we are, all ready for the holidays! What are your favorite Christmas decorations?

Upcycling

A big part of why I started this little venture of mine was to see if I could do what I wanted to do with the supplies I had on hand. I have always loved the challenge of making something without running to the store for a bunch of stuff. When we were small, for instance, my mother usually made us come up with our own halloween costumes from stuff around the house instead of going somewhere to purchase something ready made. This made for some highly interesting costumes.

We had some key accessories that we often fought over- a magenta princess cape, an old grey wig , my aunt’s yellow cheerleading pom poms, my dad’s old army uniform, and a mustard yellow Century 21 real estate agent’s suit. Don’t ask me where we got that last item- I have no idea. I was a real estate agent for Halloween a few years running, however. The grey wig was also used the year I decided to be an old lady secretary. And don’t laugh- the princess cape was unavailable.

The point is, having to come up with our own costumes made us think outside the box, or sometimes inside it. (One of my sisters wore a box one year that she painted to look like a barn. The rest of us were various farm animals.) It inspired creativity, and to this day, whenever I want to start a project, I hunt around the house first to see if there is anything I can use before I run to the store. I have a chest full of old clothes that I can’t stand giving away because I might want to use the fabric someday. That is a main reason I have such an interest in the work of Alabama Chanin. Most of her creativity came from using what she had, and that is why I got into upcycling cotton jersey.

I was watching a movie a few weeks back, called Coco Before Chanel – the life story of, you guessed it, Coco Chanel. I’m not sure what I thought about the film- overall it was pretty darn depressing, but the fashion parts were interesting. There is a scene where she is growing increasingly tired of all the gaudy dresses she sees around her. She is living with a guy at the time and she goes into his closet and pulls out one of his nice white dress shirts. Then she cuts off the white collar and cuffs and stitches them on to a simple black dress. He is furious with her. I started laughing to myself as I was watching it because I had just finished removing the sleeves off of one of the hubby’s old shirts for a project. I had his permission though. She then convinces a friend to wear the dress to a party and her reputation as a designer begins.

It’s still a popular design idea- the black dress with the white collar and cuffs. Just check out pinterest, or the rest of this blog post!

20130819-171633.jpg

I doubled the collar on this one and added decorative black stitching for fun.

20130819-171646.jpg

This is a view from the back.

20130819-171703.jpg

I would have used a model, but it came out a little smaller than anticipated, and I don’t think I know any eighteen month old babies right now. But if you have one, this should fit her beautifully!

Dolls?

This dressmaking thing is full of surprises. I made that doll last week just for fun and because I had some scraps. Lo and behold, I have had more interest in that than all of my dresses. I haven’t sold one yet, but there have been questions about it, and a few strangers even found my Etsy page because of that doll. Etsy is a big old place folks, and getting noticed is umm, challenging. So anything I can do to generate interest seems worth pursuing.
Thus I have been thinking about doll making a bit more, and am playing around with some ideas.

There are a million and one styles of doll out there, some really cute, and some downright terrifying. Some are chubby and cuddly, others are like stick figures with dresses. This one is kind of in between. I made up the pattern as I went, and made a wire frame underneath so that she would be posable and not so floppy. Getting the proportions right was tricky, and making a doll face that isn’t scary looking can be a real challenge. I also had a hard time with the hair. I want to stick with using just upcycled cotton jersey, but there was no information on doll hair made out of jersey. So I just winged it. This is the result.

20130815-164426.jpg

20130815-164446.jpg

20130815-164503.jpg

I made her hair extra long so you can braid it or put it up in a bun, like this-

20130815-164551.jpg

20130815-164602.jpg

So there she is. This is a first draft, so I would love some input!

Having way too much fun

After my last somewhat somber blog post, I needed to focus on something cheerful, so I went a little overboard with these next few items. I started with the dress, inspired by a stencil I found in an old library book. I added the buttons later, because I thought the flowers needed a little something more to make them stand out. I made the pattern bigger than usual, but I think I miscalculated because it turned out way too short when I tried it on my two year old, but it was too big everywhere else. So I added the blue strip on the bottom- problem solved!

20130808-164435.jpg

20130808-164449.jpg

I like how it turned out, but I thought that it might be a little chilly for upcoming fall weather, you know, in case anyone actually wanted to buy it. So I was thinking about another little bolero jacket when I stumbled on this idea.

20130808-164713.jpg

20130808-164725.jpg

I love berets, and the cape- well, I just had to try it. They were both such easy patterns, I want to do more.

I couldn’t stop there. Such a cute outfit needed just one more thing. Yep, you guessed it. Or maybe you didn’t- a matching doll of course!

20130808-165035.jpg

20130808-165101.jpg

My boys were fascinated by the doll making. They watched every step of the process, helped me stuff the arms and legs, and waited with bated breath while I made the clothes. They were so excited, they made a throne for her out of legos. Then they asked if I could make a pirate doll.

I had to try this ensemble on an actual girl this time, and I didn’t have to look far for the perfect model. It’s handy having friends with adorable children.

20130808-165713.jpg

20130808-165724.jpg

20130808-165732.jpg

20130808-165748.jpg

20130808-165755.jpg

20130808-165802.jpg

Yep, definitely having way too much fun.

Rainbow Ruffles

So my “niece” came to visit again today, and was so obliging as to model a few new items for me. I have been working on making some more basic articles that I can whip up quickly, so my etsy shop won’t look so sparse. I would like to do more made to order items as well. For instance, I might try to do a page of items like plain shirts, skirts or jackets and then display the colors and sizes I could make them in. And as I was picking out colors, I just loved the rainbow effect I was seeing, so I came up with a skirt that would match just about any shirt.

This is the tank top pattern I have been tweaking. This is a size 2-3 T. I only made it in purple and turquoise, but have a ton of other big shirts in different colors waiting to be repurposed.

20130801-201157.jpg

20130801-201218.jpg

20130801-201230.jpg

The skirt was really fun to make. The ruffles are two strips of different hues, twisted together and sewn down with a basic running stitch. It reminds me of the Rainbow Bright doll my sister used to have. Did anyone else have one of those? My sister even had the unicorn doll to go with it. I may or may not have been a little jealous.

20130801-201825.jpg

20130801-201836.jpg

20130801-201856.jpg

20130801-201904.jpg

20130801-201913.jpg

At any rate, there you go. Once again, feedback is always welcome!

Black and White

A lot of people have told me that it would help my little business if I could find a way to model my clothes in some way. I have thought about ways I could do this, but chasing down babies and children of all different sizes and ages every time I finish an item and trying to do photo-shoots with an ipad camera is hardly feasible right now. They do sell children’s dress forms online, so I am saving my pennies for a few different sizes of those, and will just have to make do with what I have for now.

These next few items are actually an ensemble. They have taken me awhile because I am trying to design my own patterns, and getting the sizing right is tricky. I made it 18-24 month so I could use my son as a model. He wasn’t very happy with me, and began to start running every time I approached him with the measuring tape. They could be sold separately, but they are kind of fun together. I laid them out on a table to photograph at first.

20130725-180018.jpg

20130725-180130.jpg

20130725-180229.jpg

20130725-180320.jpg

20130725-180409.jpg

Then I decided I really needed a model to see what it all looked like together. Just pretend you don’t know I only have sons around here, or perhaps imagine that I have a niece visiting from out of town….

20130725-180635.jpg

20130725-180656.jpg

Any thoughts? I really do appreciate input. I’m a rookie here.

Experiments

After pontificating on the topic of originality yesterday, I thought I would post a couple of new items. I am not a designer- most of my stuff has come directly from Natalie Chanin’s books, just sized down a few notches. But I branched out a bit here, and even started a sketchbook of design ideas.

The first dress was an attempt to imitate the nodding poppies in my front yard. Pardon my dark photos- it has been an exceptionally gloomy summer around here.

20130718-073439.jpg

I made up a stencil, which I might show you how to do sometime- it’s easier than it sounds. I traced it on my fabric, and outlined the poppy using a couching technique. Couching is simply outlining a picture with yarn or in this case, thin strips of cotton jersey pulled into ropes. Jersey is pretty cool stuff. Then I cut out the interior of the petals, revealing the white lining underneath. I am not sure I like the white. I kind of wish I had made the petals entirely red, but maybe next time. I like the cheerfulness of the colors at any rate.

20130718-073452.jpg

20130718-073503.jpg

My next design is a total departure from previous attempts. I thought I would go geometric this time, and stole an idea from some wall tiles I saw once. Inspiration is everywhere folks.

20130718-073919.jpg

20130718-073954.jpg

I really can’t decide if I like this one. I can say it is pretty unique. When I googled ‘quilted hexagon dress’ nothing came up. Ha. Perhaps for good reason. It is pretty funky, like something out of the sixties, and just so different from the others, although I like the colors.
You know when you look at something too long and it starts looking weird, or you read a word over and over and it begins to sound strange? That is how I feel about this dress. But I thought I would put it out there anyway. Any input, good or bad, would be welcome.