Variations on a theme

For a long time now, I have been looking for something to put on my shop that would be a little more, how shall I say, affordable? I also would like something to make that is a little less time consuming for me, and something that I could vary according to the season  I am having little success in this respect with my dolls, since each one seems to be more elaborate than the last, and they almost only sell at Christmas time.

But when I was at my folks house last fall, I found lots of reminders of simpler projects that I had made for various family members at one time or another, in particular, embroidered napkins.  For Christmas one year, I embroidered a dozen monogrammed napkins for each of my family members.  I enjoyed it so much that I went on to do the same thing for quite a while as a gift for newlyweds that I knew.  But I grew tired of it after a while, and stopped.  The idea popped into my head the other day as I was flipping through pinterest, looking for Valentine’s day ideas.

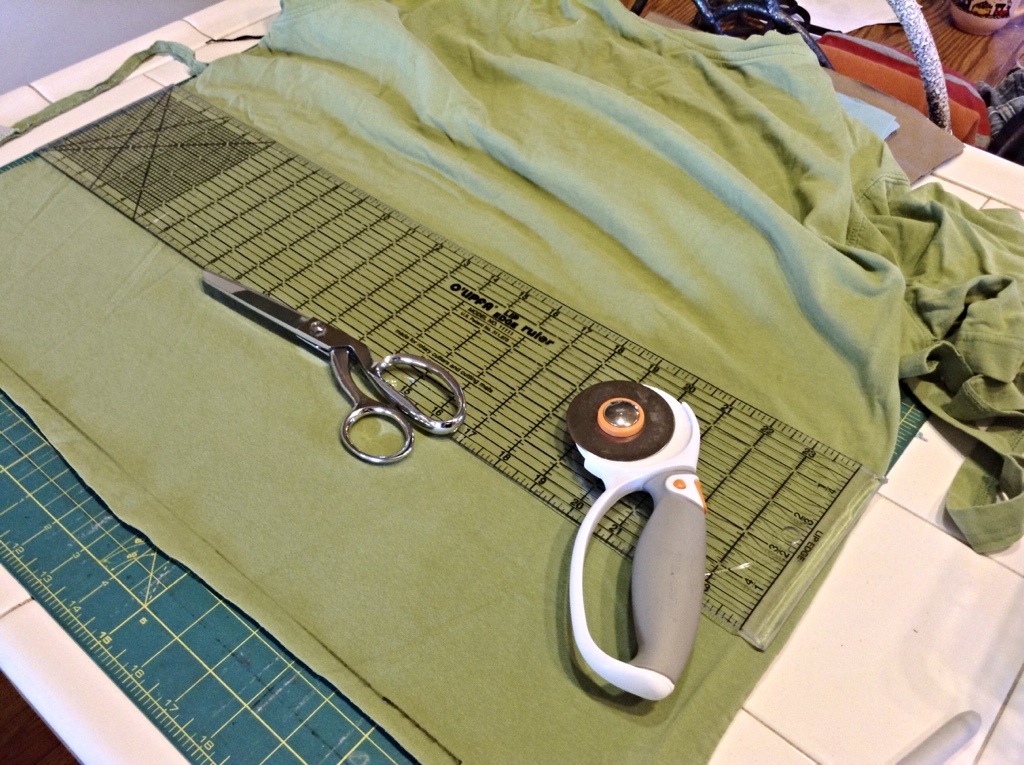
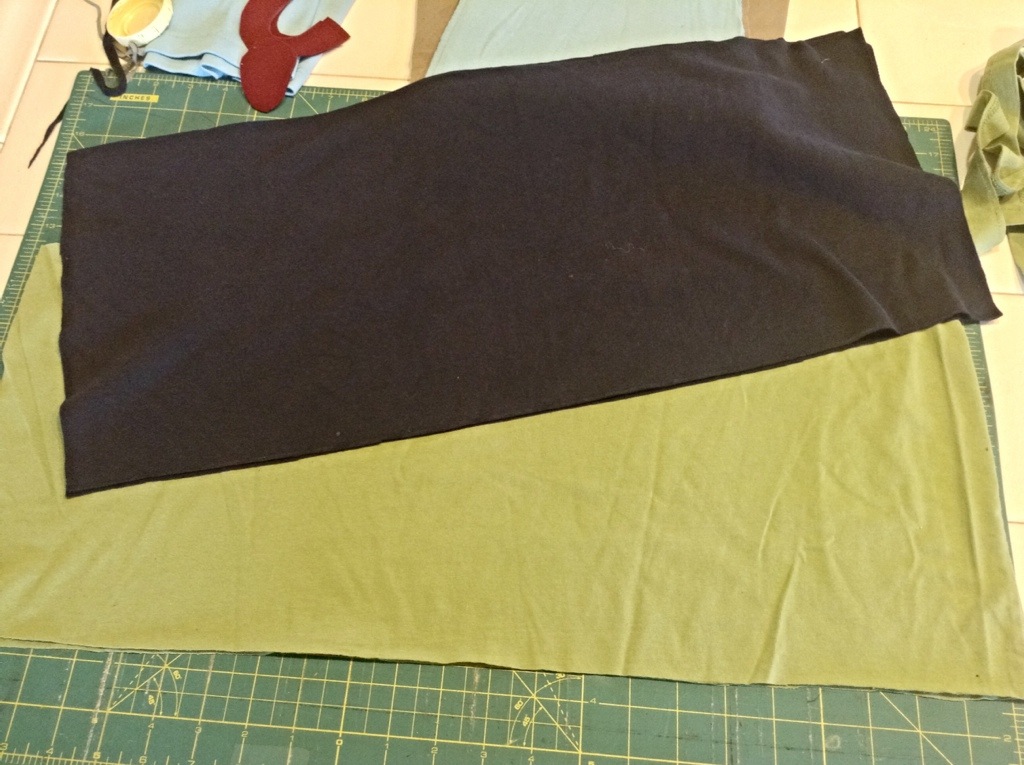
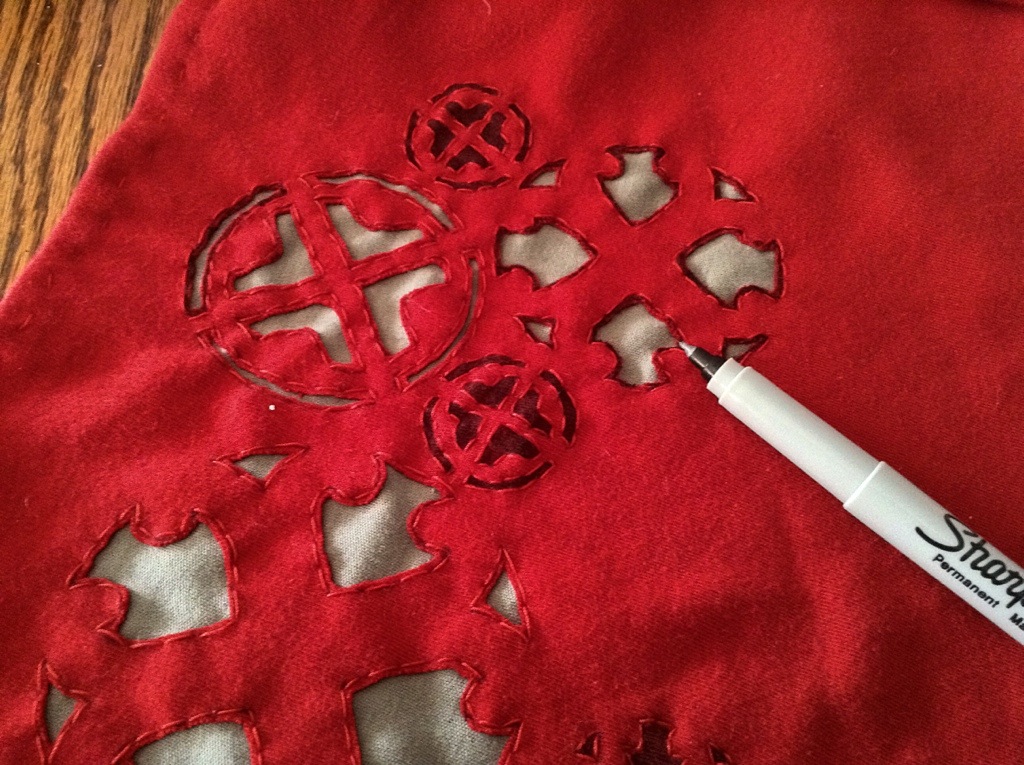
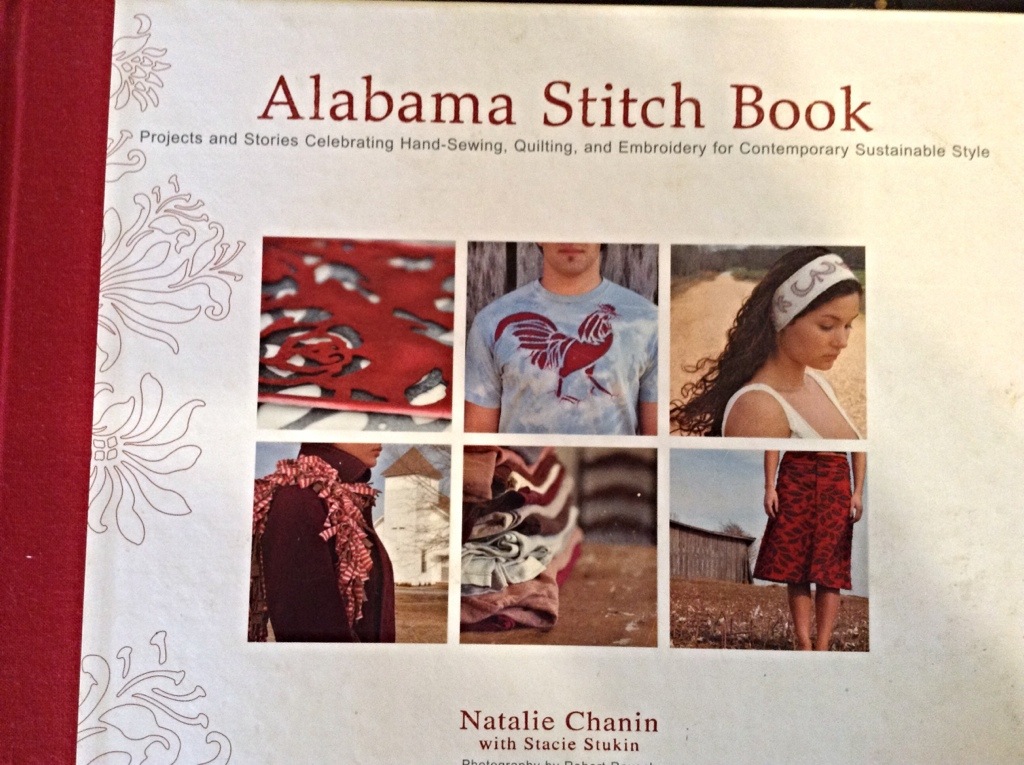
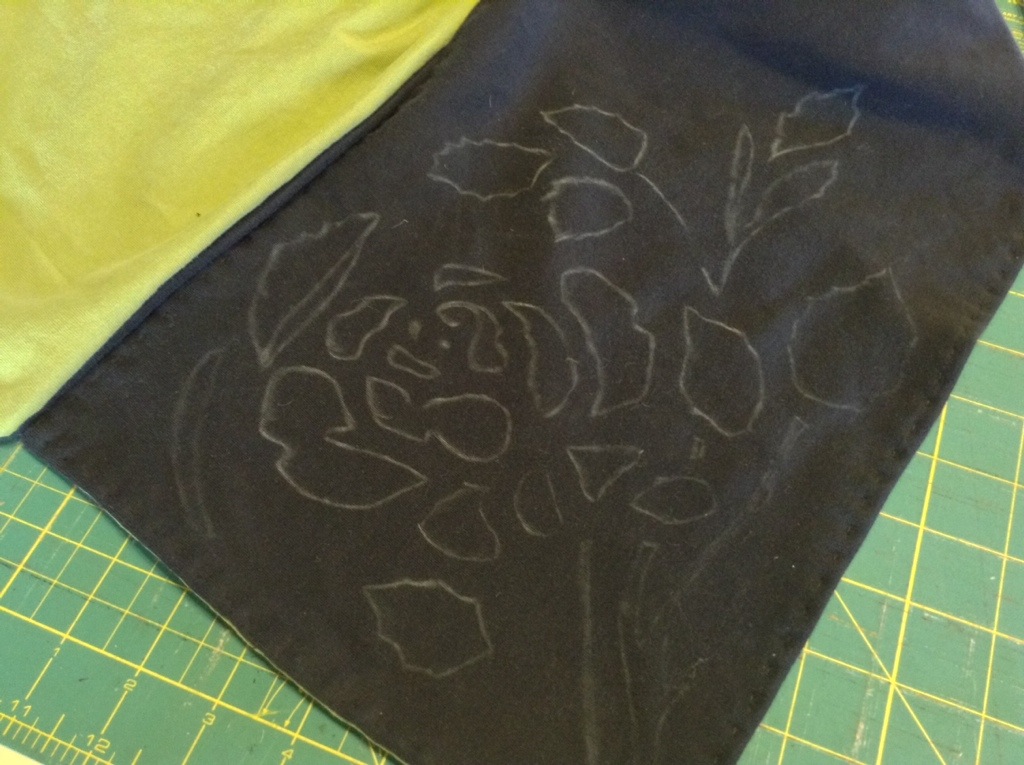
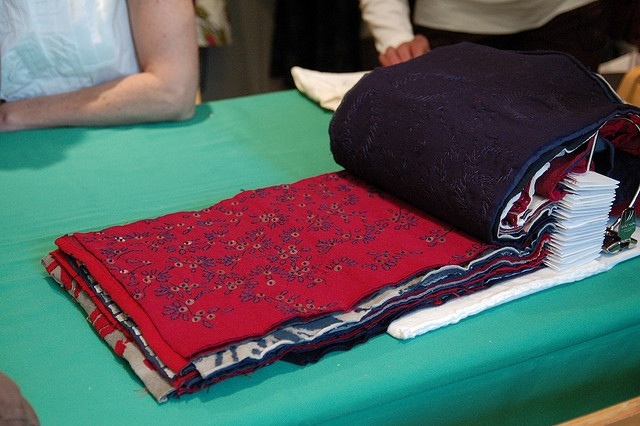
So I decided to combine a few new methods I have learned from Alabama Chanin along with my own designs, on a cotton jersey napkin.  I decided not to use upcycled jersey for this project, mostly since I wouldn’t have been able to find enough to make several matching items.  And I was super excited to find a new website that sells high quality, organic cotton jersey at an affordable price, especially since my local fabric store decided to stop selling their best jersey.

This is just a first attempt, and I decided to make them Valentine-y, since we are just a few weeks away.

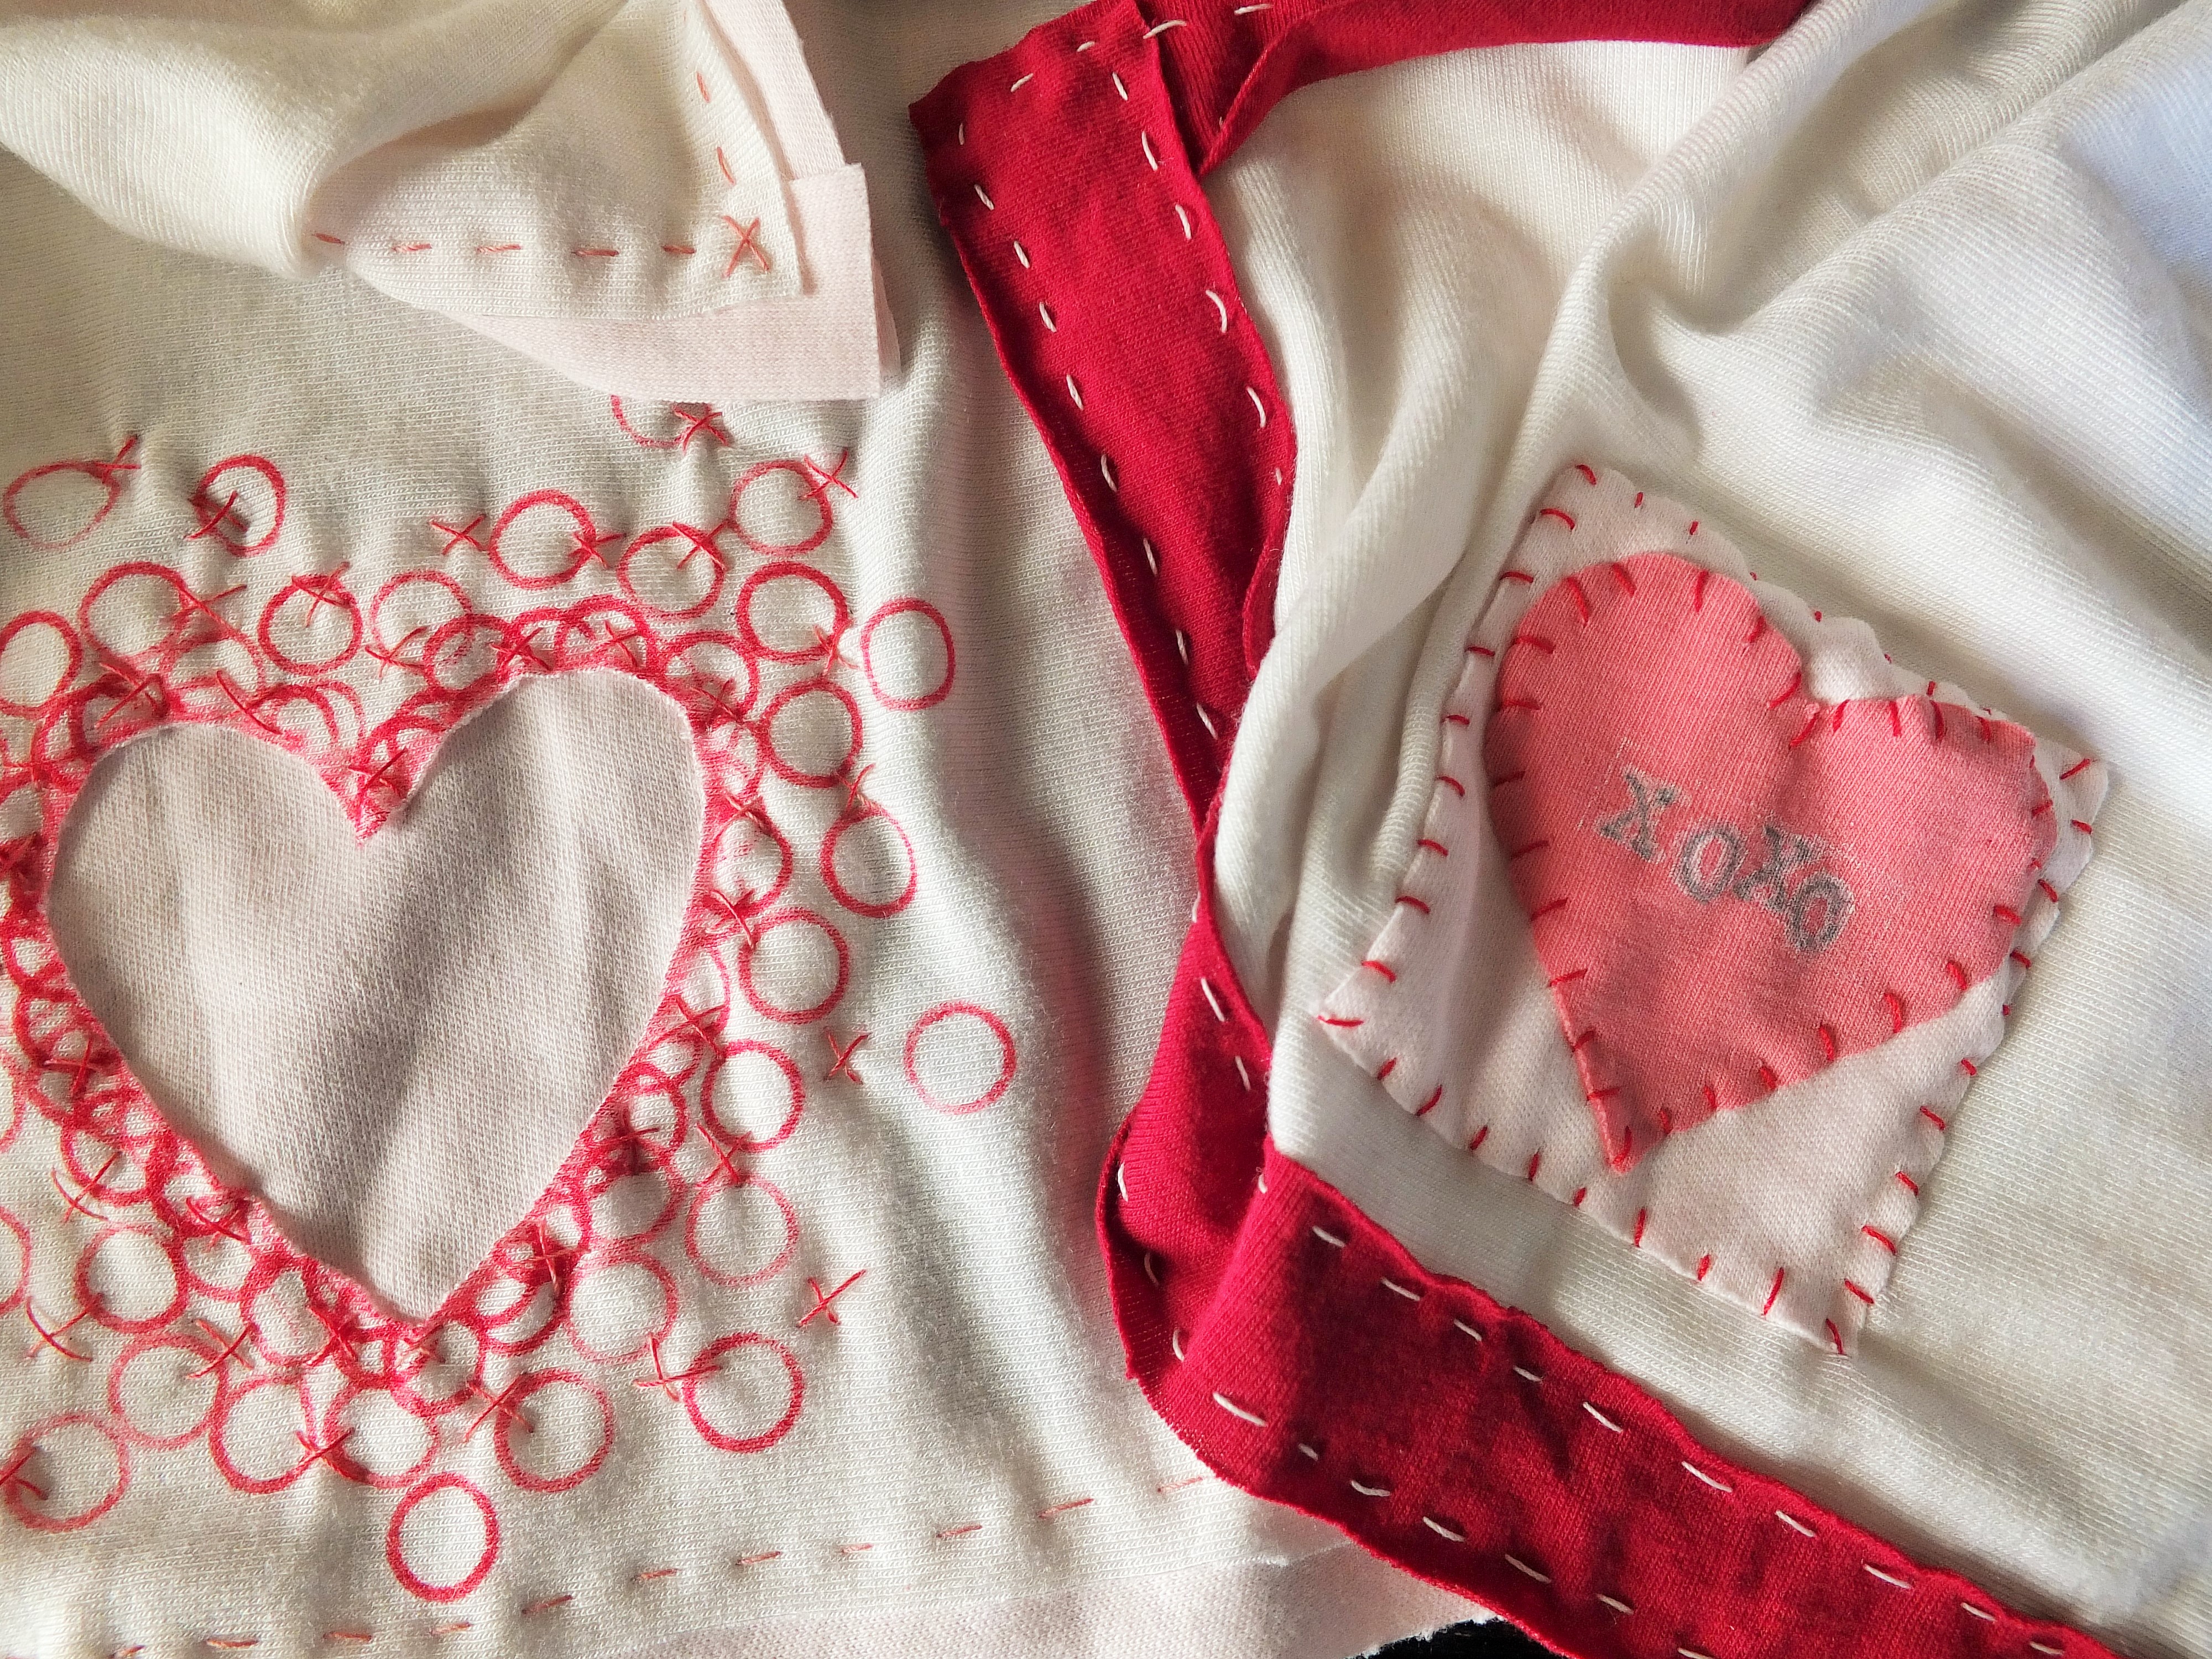
I call it  X’s and O’s- Variations on a Theme.

DSCF3072DSCF3073DSCF3074

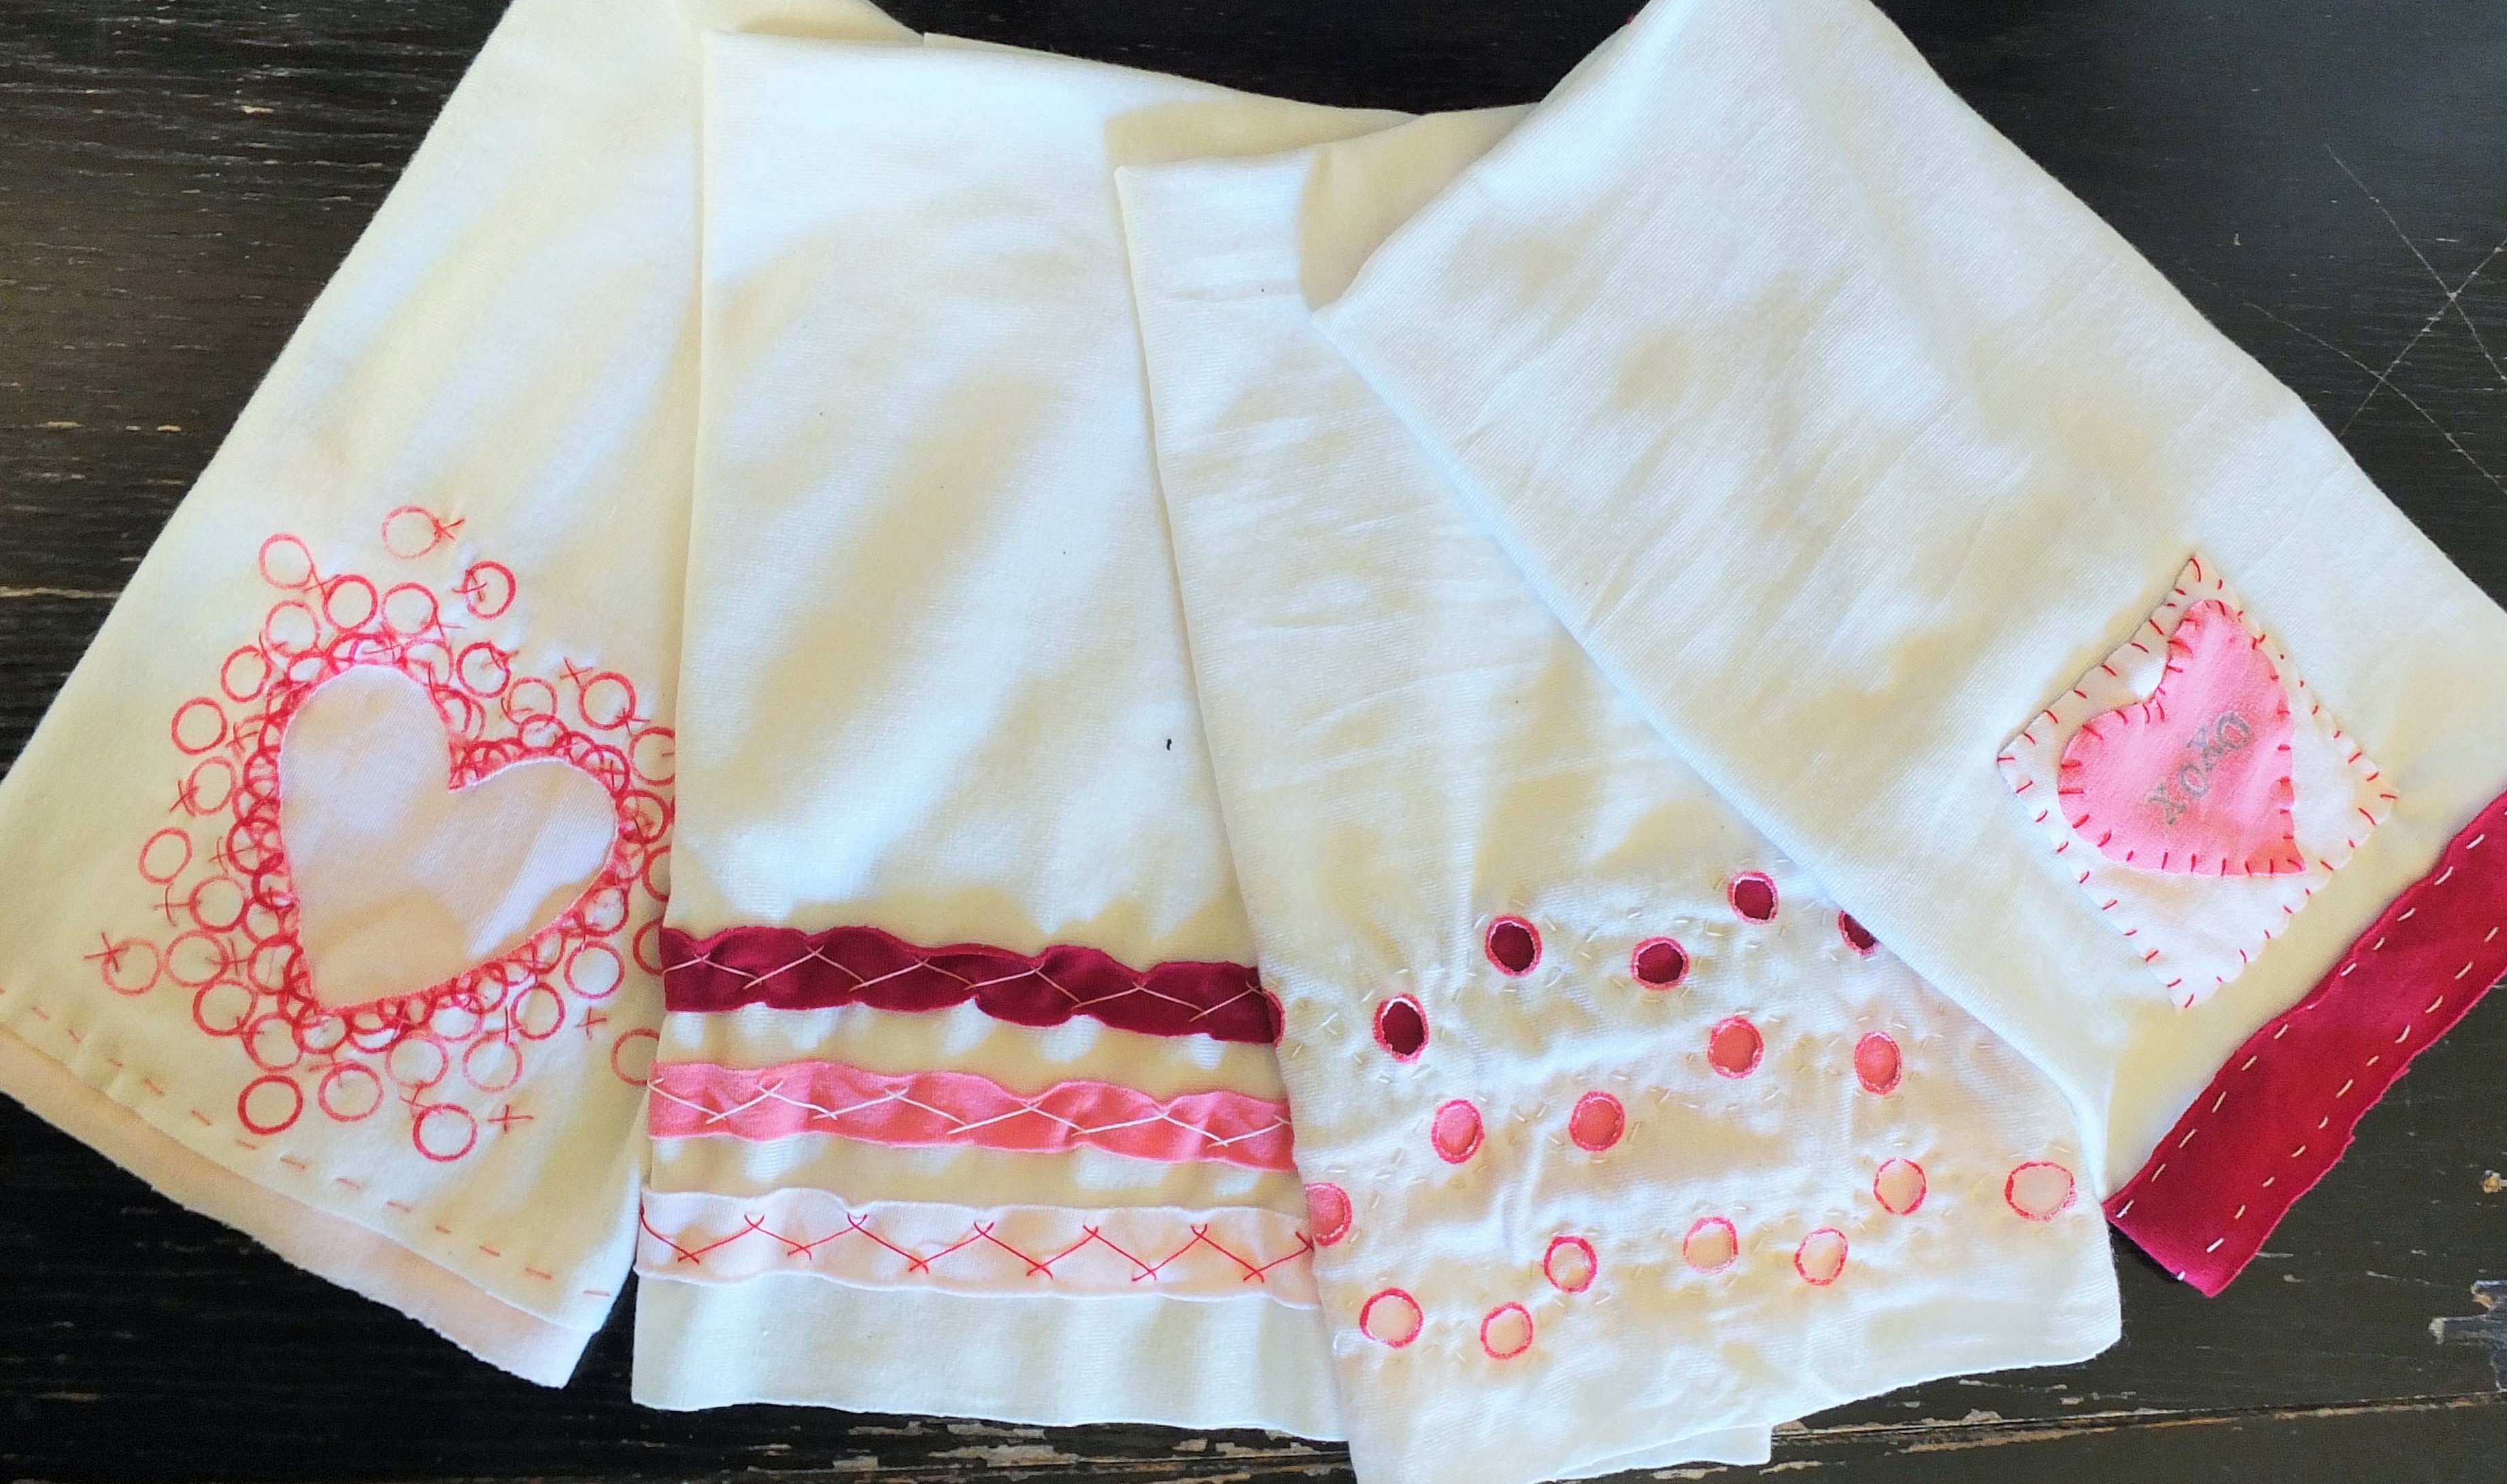
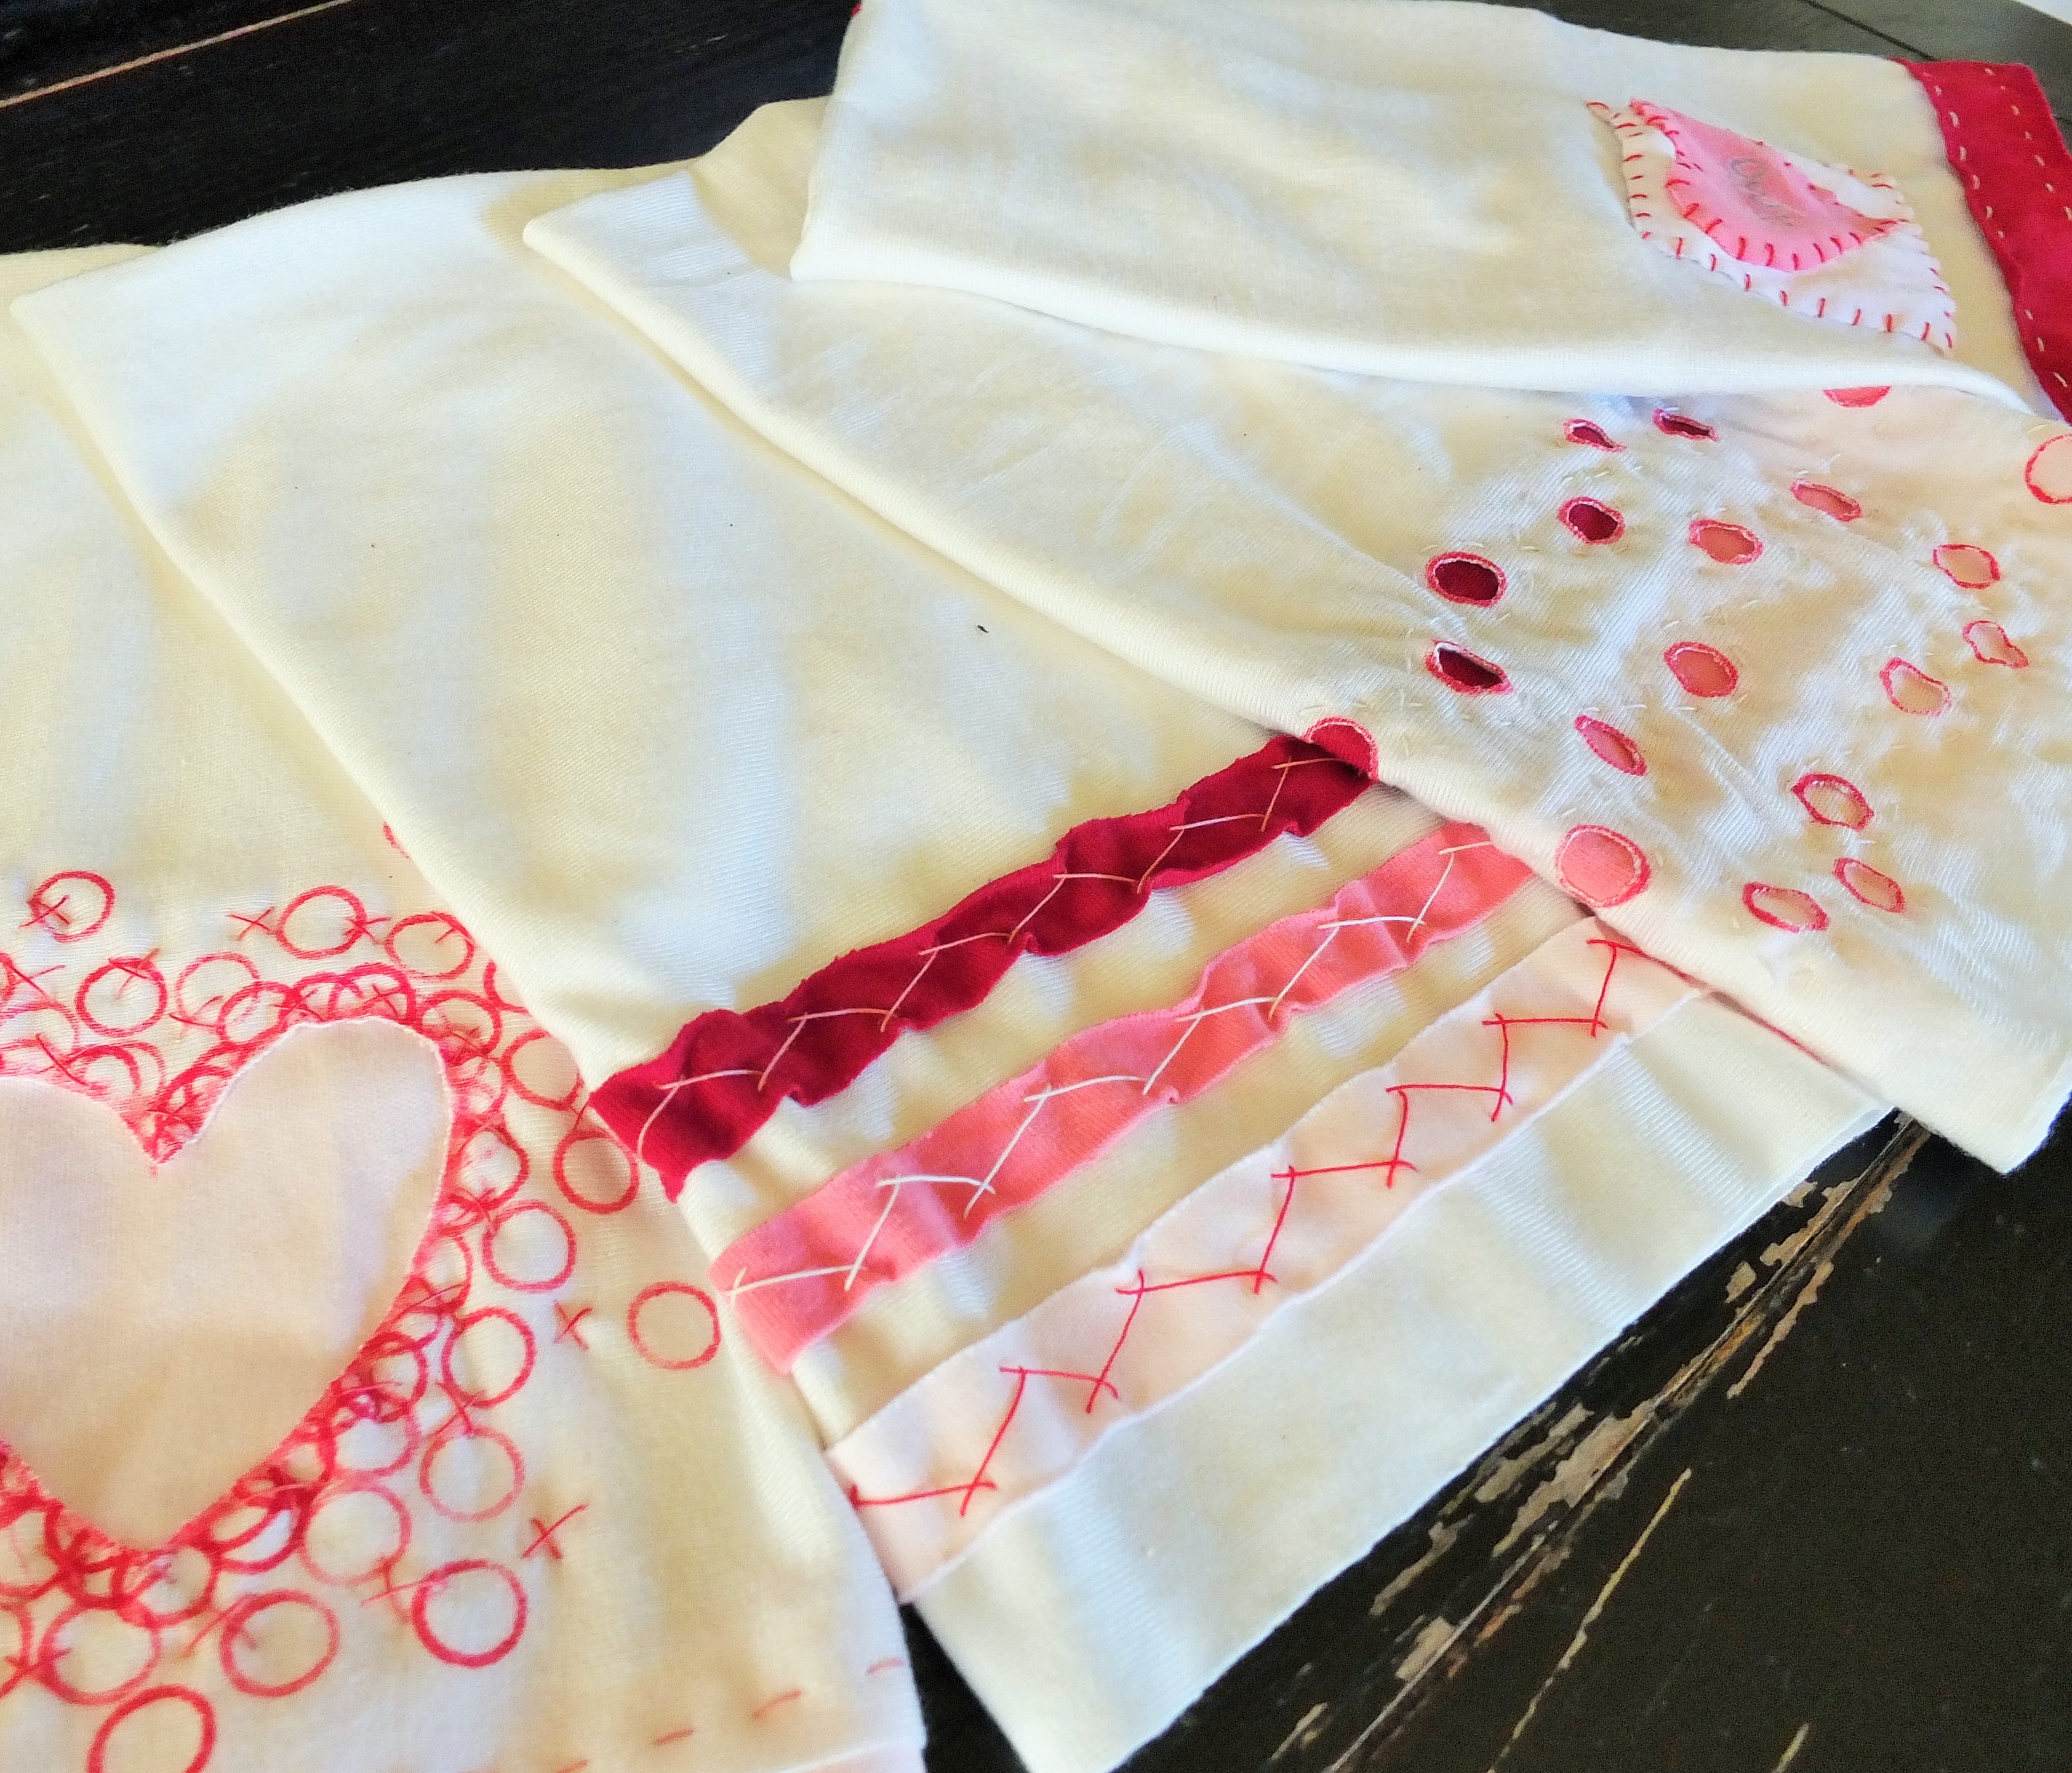
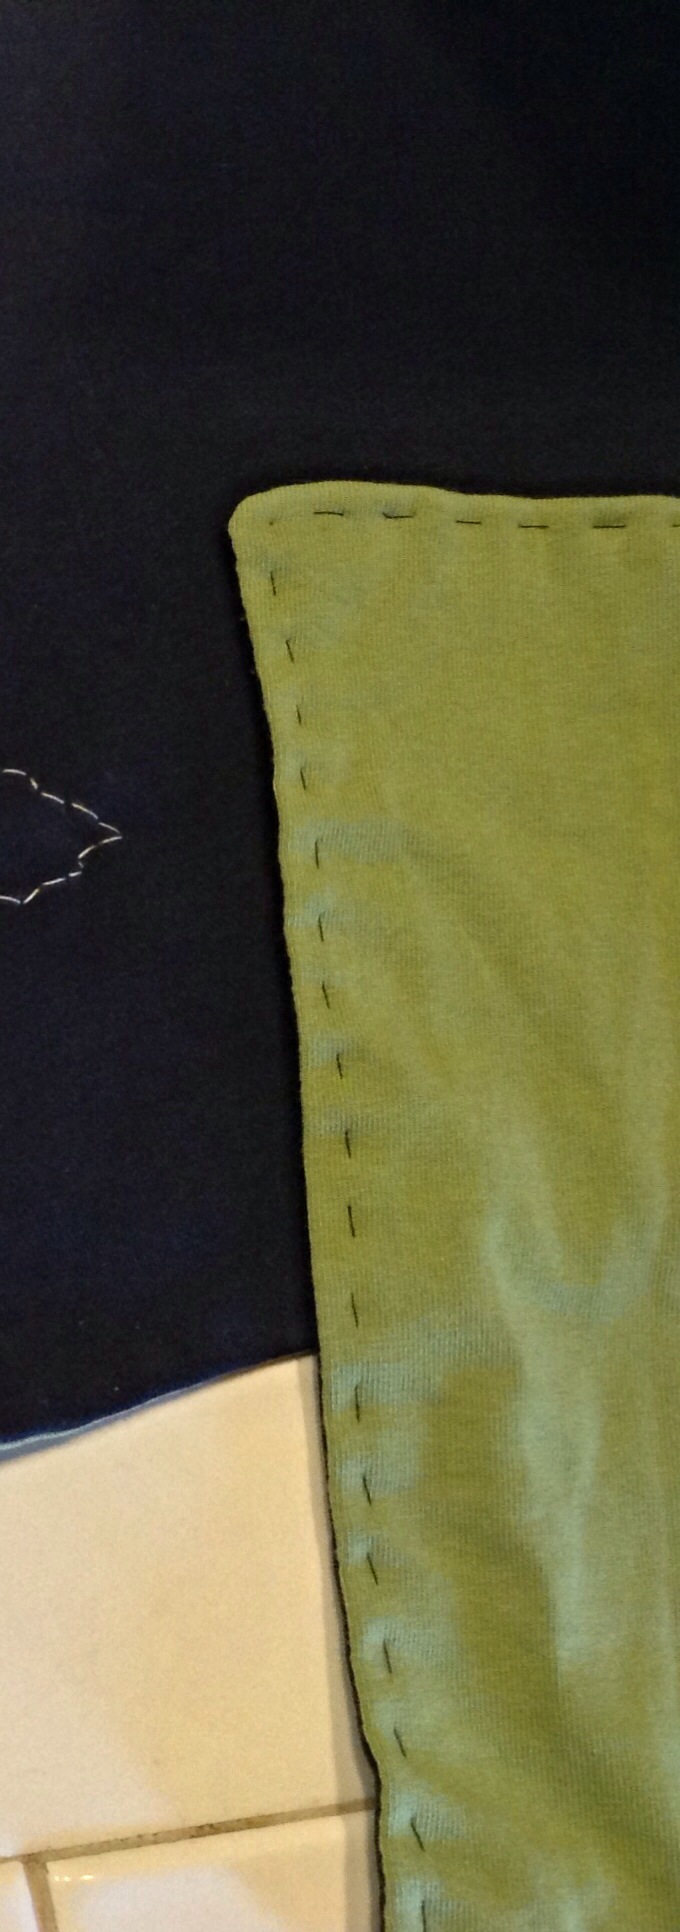
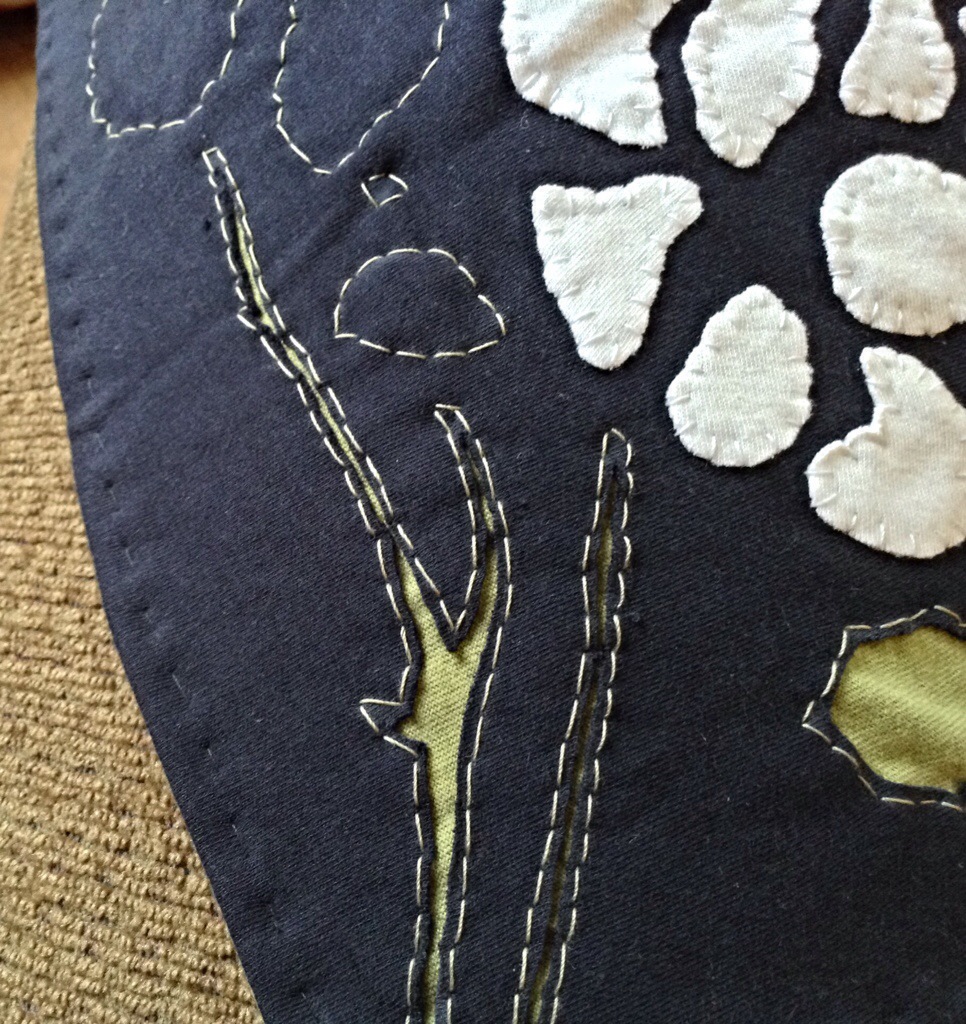
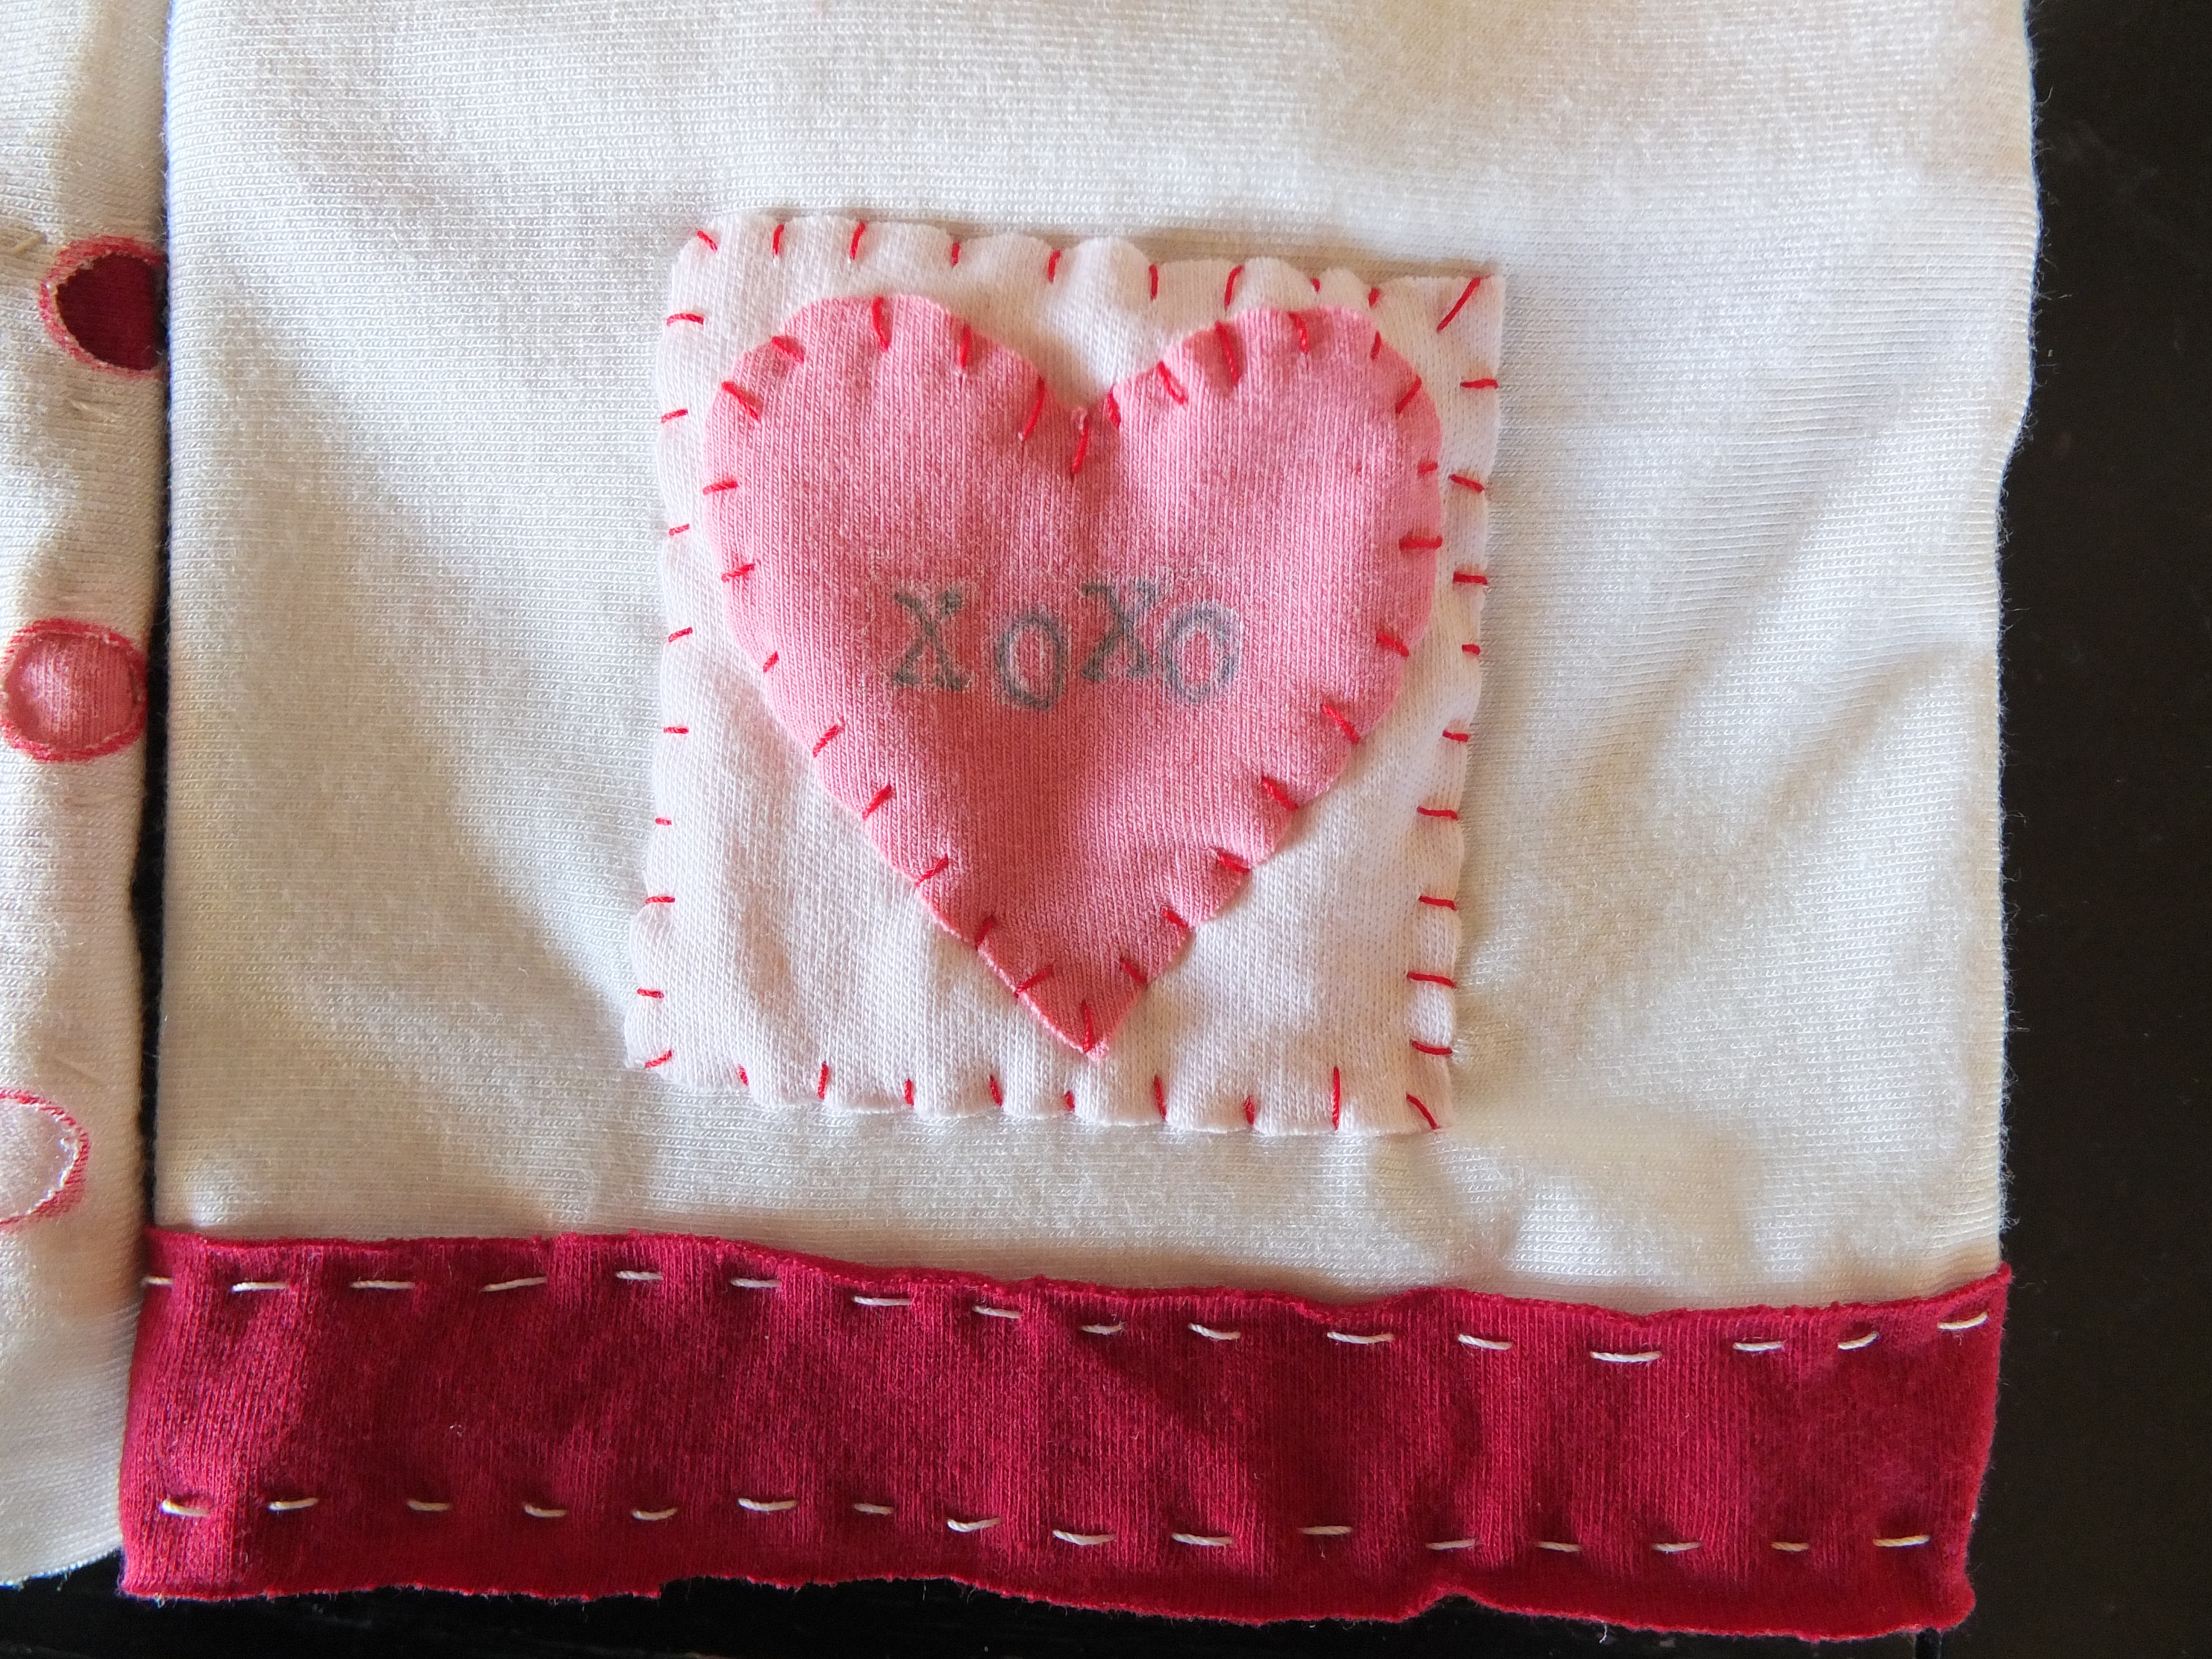
You will see that these are deliberately a little rustic looking with unfinished edges and slightly crooked lines.  But when you are working with jersey, that is kind of the way it is.  It took me a long time to adjust to the idea of not hemming edges, but once I got over it, my life has been so much easier!  🙂

Here are some up close looks.  These napkins are 16 by 12 inches when unfolded.

DSCF3065DSCF3066

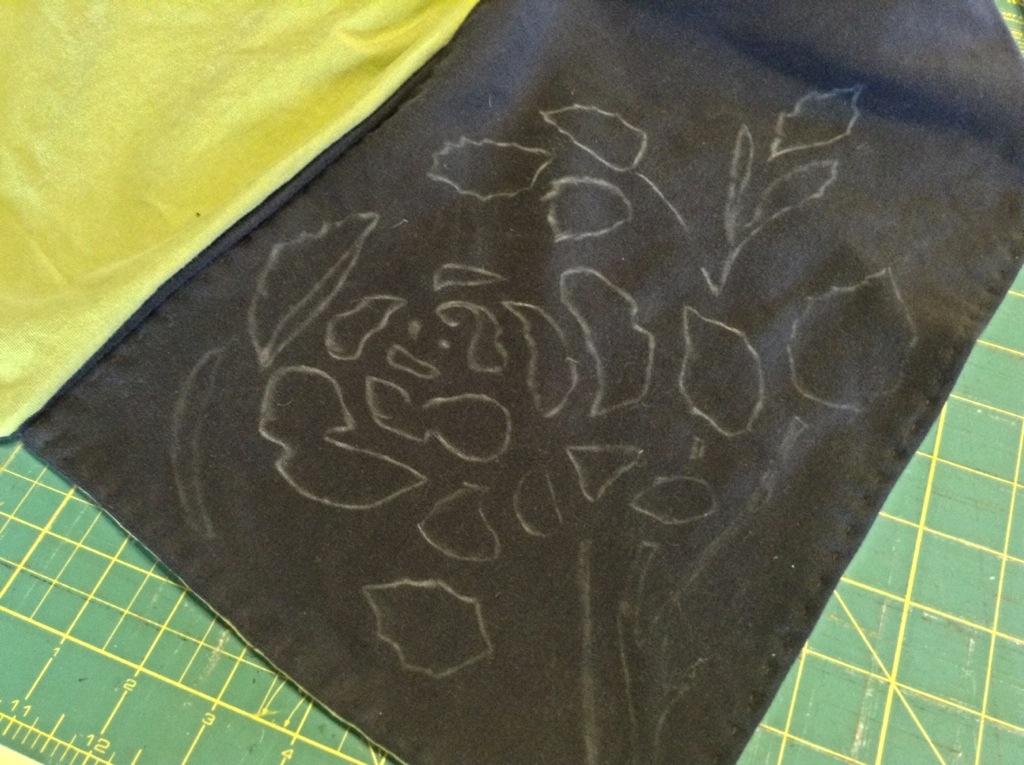
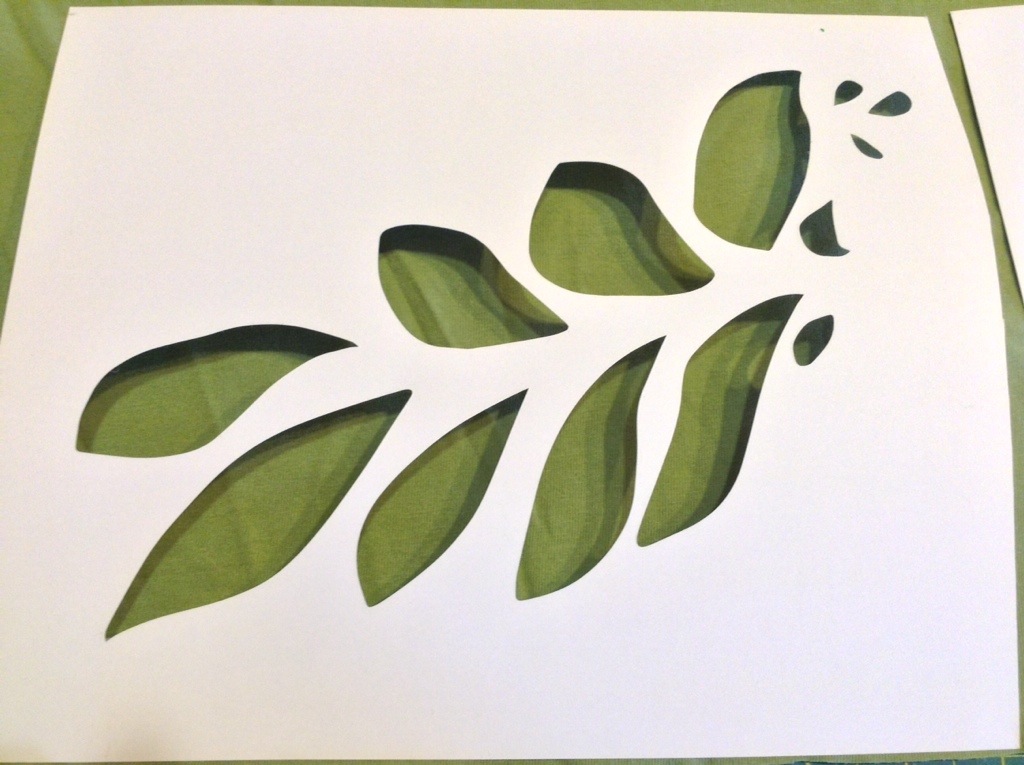
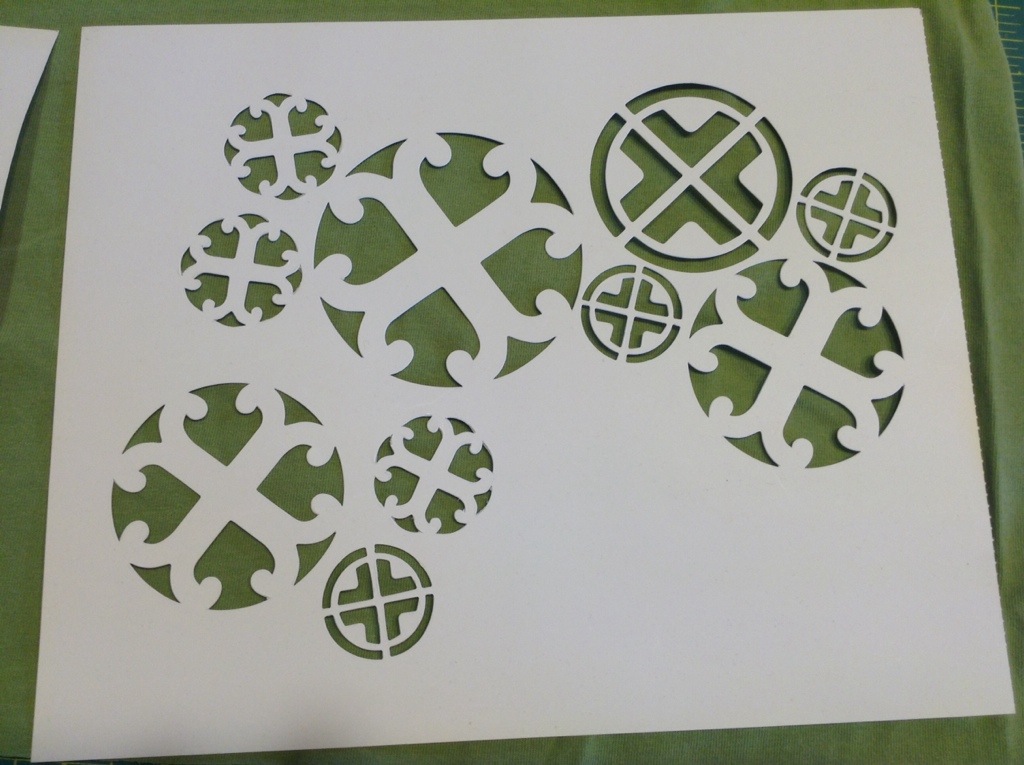
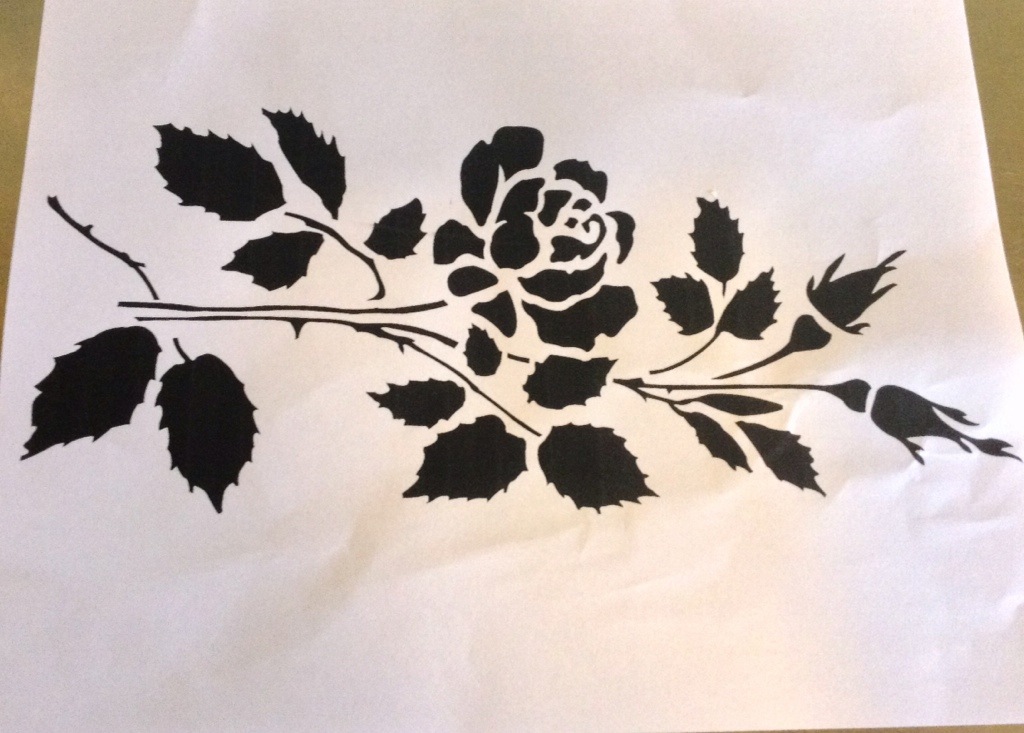
You will also notice that I used some mixed media here- there is inking as well as hand embroidery.

DSCF3067DSCF3068

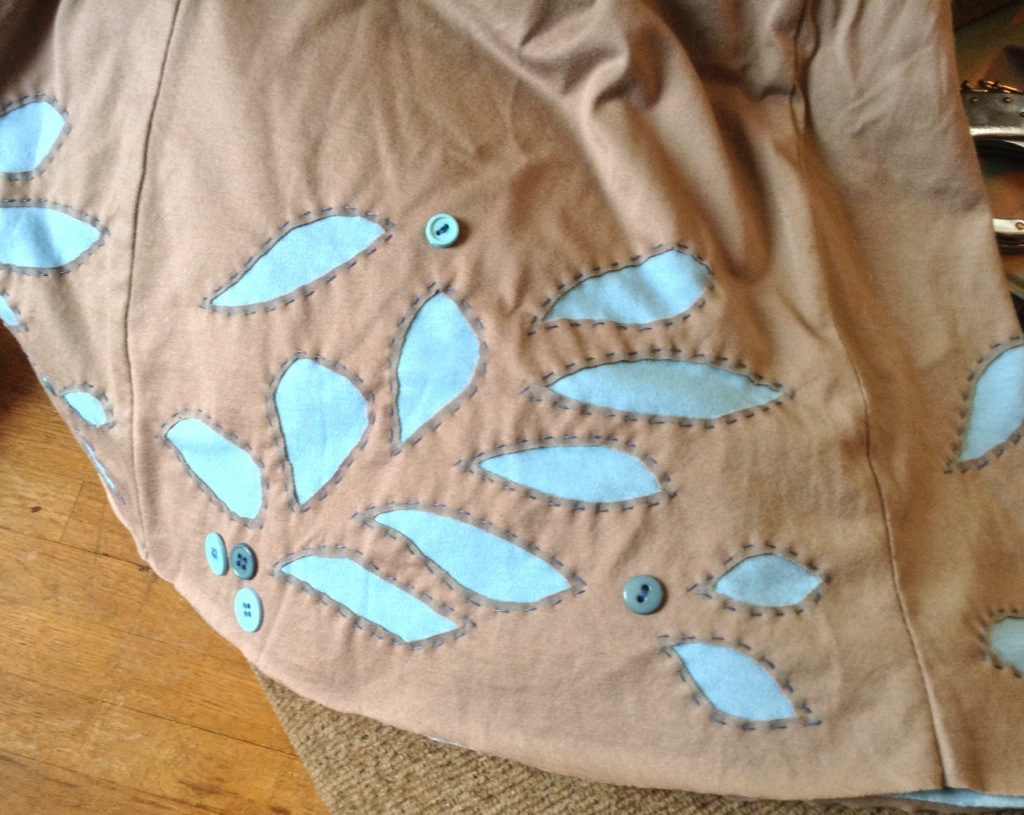
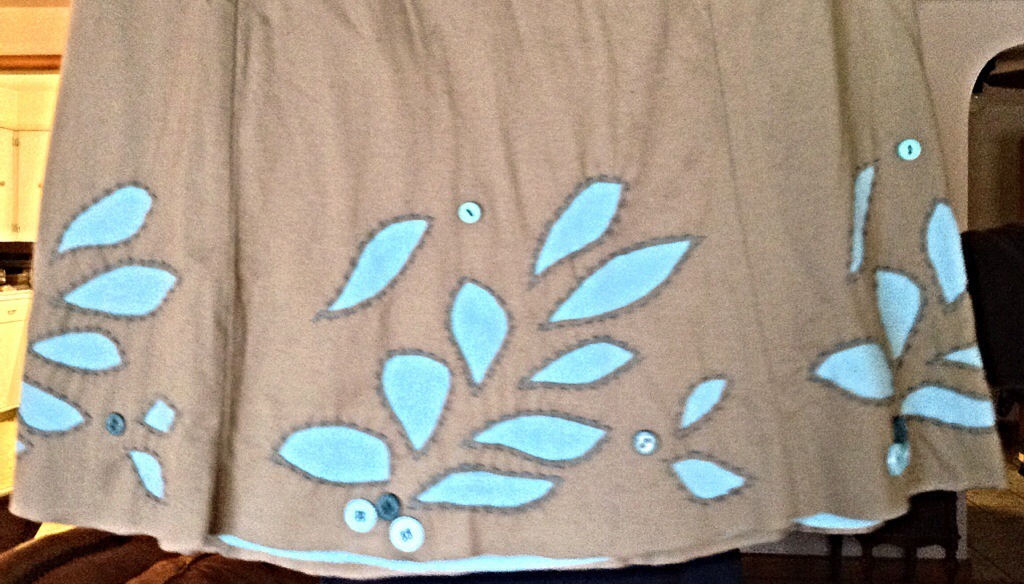
Here they are unfolded, The X’s and O’s by themselves-

DSCF3075

And then combined with a few hearts-

DSCF3076

Once again, I appreciate feed back!  And if you are interested, there isn’t much time left before Valentine’s day, so let me know.  ( I can of course sell them in larger numbers.)

P.S. I hope to experiment with monograms next.

Finished projects

Sorry to leave you all hanging after my last blog post. I’m sure you are all on the edges of your seats, waiting to know how my projects came out!
Again, I wish I had taken better pictures of the process, but let’s just dive back in with what we have. As I mentioned before, I was tackling three projects- two scarves and a skirt for my ten year old niece. The scarves are super simple. I found two good quality t-shirts with colors that complimented each other nicely. (BTW, I am picky about the jersey I use. For the most part, I look for Pima cotton, found most often in men’s polo shirts. It is very soft and durable, and won’t pill.)
For my mom’s scarf, I chose a navy blue and a leaf green shade. For the gift exchange scarf, I used a cheery bright red and a silvery gray. Using a rotary blade and mat, I cut about a ten inch width off the bottom of my shirts, front and back. (Just make sure it’s wide enough for your stencil to fit)

20140102-171716.jpg

20140102-171723.jpg
I left one side still sewn together with the original shirt seam and cut the seam off the other side. Make sure your two colors are equal in length.
I won’t use this post to show you how I made the skirt, but I used the most basic Alabama Chanin skirt pattern. It’s only four pieces, and I used a soft brown, with a bright blue-green for the appliqué.

20140102-172351.jpg
Pin the right sides of your scarf together, and sew the edges. I usually do this by hand using a simple running stitch, since my machine doesn’t handle knit cotton very well. Leave a few inches unsewn, so you can turn it inside out. (Sorry I forgot to take photos of this step!)
Once it is turned inside out, I like to sew the edges again with a running stitch. It makes everything look neater and more professional.

20140102-173959.jpg
Now here’s where we get to use our stencils. For the navy scarf, I traced the rose stencil using a chalk pencil, since ink won’t show up very well on dark fabric.

20140102-174251.jpg
For the red scarf, I used the medallion stencil from my book, and traced it with a disappearing ink pen.

20140102-174941.jpg
For the skirt (not pictured), I used the leaf pattern, also from my book. You can do your stencil lay out however you choose.

Now, you can just use an outline stitch to trace the stencils and secure the front and back together. But I really wanted to make the rose stand out, so I traced just the flower onto white jersey and cut out the petals. Then I pinned the petals to the navy, using the stencil as a guide.

20140102-175509.jpg Then I secured them using a blanket stitch.

Once your outline stitching is done, we can do a little more to make the patterns stand out. Take your sharp little scissors and cut out the center of the leaves and medallion shapes, taking care to leave a small border around the stitching. We want to see the color underneath!

20140102-175903.jpg
Sometimes, if the shapes are too small to cut out, I just color them in with a sharpie! Be creative!

20140102-175911.jpg
Once, they are all cut out, you are done!

20140102-180324.jpg
I failed to get a photo of the red one completed. My newly married sister snagged it in the gift exchange and went off on her honeymoon before I could get a shot of it. But this is the skirt, outlined, cut out, and embellished with a few buttons for fun.

20140102-180521.jpg

20140102-180529.jpg
It has been fun to get away from doll making for a few weeks and go back to some Alabama Chanin projects. I’m sorry if this ‘tutorial’ has been a little unclear. I will try for better pictures and instructions next time. But here is a question. I have been thinking of adding scarves and skirts to my shop. Would it be worth my time? Would you buy one?

Stenciling!

There’s no need to apologize for lack of blogging over the holidays, right? Yes? Good. Then forward we go.

I have been aiming to do sewing tutorials on my blog for some time now, and after the christmas doll rush was over, I had about a week to throw a few gifts for various family members together. I thought it would be fun to document that process, but didn’t get around to taking as many pictures as I wanted. But I did get a few. I have had some people ask about how I do the stenciling for some of my children’s clothing, etc., so I will try to explain how I do it.
I have also mentioned Natalie Chanin’s company on my blog before, and get most of my inspiration from her work. If you really want to know how to do some of this stuff, I can’t recommend these books highly enough.

20131230-183846.jpg

20131230-183853.jpg
Not only do they include all the clothing patterns in the back, they also include some of her stencils, like these.

20131230-184110.jpg

20131230-184118.jpg
I wanted to do three gifts- a simple skirt for my niece, and two scarves- one for my mother and one for the while elephant gift exchange we did with my siblings. I decided on the leaf stencil for the skirt, and the medallion stencil for the gift exchange, but wanted a different one for my mother. I looked through the books and found a lovely rose stencil.
I was excited since my mother loves roses, but it wasn’t included with the book. Fortunately, you can download printable stencils straight off of the Alabama Chanin website. http://alabamachanin.com/resources They are also available precut for purchase, but they are quite spendy, so I prefer to print and cut them out myself.
Here it is, just freshly printed.

20131230-184815.jpg
If you want to go this route, I highly recommend a little pair of cutting scissors like these, and a little patience. Just start cutting.

20131230-185001.jpg
Now you can use the paper stencil, but it is quite flimsy, and since this is a business for me, I prefer to make them sturdier, so I can reuse them many times. I do this by tracing the paper stencil onto a sheet of flexible plastic. You can buy stenciling plastic at most craft stores, but what I have here is actually some kind of leftover orange plastic material that my husband uses when he lays tile. Hey, waste not, want not. I don’t know what it is called, but it works great. I also have this handy dandy heat stenciling tool that melts the plastic as you cut and makes the work much faster and the end result much more professional.

20131230-185729.jpg
This may seem like a lot of work, but I have found it really pays off in the end if you want to do more than one project with the stencil. Since I started this business, I have built up a collection of several really beautiful stencils that will last forever.

Now we get to the fun part- transferring the pattern to fabric.

20131230-190501.jpg

20131230-190557.jpg
But before I get ahead of myself and before this post gets too long, I want to show you what fabric I use, and how I cut it. So until next time, happy stenciling!

A crazy day

So I have talked about my favorite designer, Natalie Chanin, a time or two on this blog. I think I also mentioned she was coming to town this weekend for a trunk show and open house dinner. We have had such a busy schedule that I missed the open house last night and wasn’t sure I was going to make it downtown to the show today, but I really wanted to at least see her new line. And maybe, just maybe, get to meet her.

The hubby was running around all morning with the van and he had some errands to do in the afternoon. During his lunch break he hurried home and grabbed the three oldest boys to run errands with him. The baby and I jumped in the other car and headed downtown. Just for fun, I wore some of the clothes I had made for myself from her designs, and arrived all hot and sweaty with a baby in tow.

I had no idea what it was going to be like, and I was a little disappointed. There weren’t a lot of people, and there was no sign of Natalie Chanin. It was held in a lovely boutique, and there were several racks of her clothing on display, along with books full of her swatches like this.

20130726-221321.jpg

I asked if I could take some pictures, but they weren’t very keen on the idea, so I just looked and looked. I chatted with a few ladies about her books until another woman came in. After a few minutes she came up and started asking me about my skirt. She wanted to know if I had made it, and how. So I started explaining about how I had come to be interested in Alabama Chanin designs and the whole business. She was the friendliest lady, admiring my work and my baby and declaring she was going to try to make some of her own clothing “Now that I had inspired her.”

I was flattered of course, but it was really time for me to be going, so I started to say my goodbyes when she grabbed my arm and told me to hang on a minute while she went to find her friend. So I waited, slightly puzzled, and she came around the corner with Natalie Chanin!

She brought her straight over to me and introduced me, and I was all giddy and nervous while I shook her hand. We had a long chat, and she asked me what other stuff I had made. I hadn’t really thought that I would have a chance to show anyone my work, but I had brought a few items along anyways. A girl can dream right?

So then all the shopkeepers and other shoppers came over to look at my little baby dresses, and Natalie, ( I call her Natalie now, you know) told me they were looking for new sewers for their company. (Is there a better term than sewer? Seamstress I guess?)

Well, then I was flattered all over again, but the problem is, she runs a cottage industry in Florence, Alabama and because of certain labor laws, she can’t ship the garments to me to be sewn. I would have to come pick them up- a three hours drive away. So she gave me her information, I thanked her and she even took a picture with me. The baby was more than ready to be leaving at this point, so we said goodbye, and I headed out the door, all of a flutter.

I am not sure what I will do with what happened today. I will probably just inquire as to what working for her company would entail, other than the three hour drive. But even if all I get out of it is a picture,(and not a very good one at that) it was a pretty neat experience, and it has encouraged me to keep plugging away, even though I’m not sure where I am headed.

20130726-221447.jpg