Odds and Ends

Well, the blog has been slipping out of focus these past few weeks as that all important day finally comes into view. For so long, I have felt like there is no end in sight to this pregnancy. But then, at the grocery store yesterday, I grabbed a gallon of milk and noticed with great joy that the expiration date stamped on it was my due date! It’s really coming folks! And none too soon. It’s getting hot down here and I could stand to lose some excess weight.

Anyways, I’ve been putting my feet up quite a bit lately, but I haven’t quite forgotten about sewing. There were a couple things I needed to finish up for Caroline, and one last doll order that I figured would be easier to complete before the new baby arrived.

I had been looking around at new diaper bags, determined not to settle for the cheap plastic one they give you at the hospital, like I did for my boys. But I had a really hard time finding one I liked that was affordable. I figured it would be worth trying to make one, since I still had plenty of the sturdy fabric I used for the armoire leftover. I found several patterns I liked on pinterest, but in the end, pieced one together from a few different ideas. I wanted a nice big one, and this is what I came up with.

I pleated it to make it extra roomy, and gave it a nice long strap so it can go across my body

20140521-185250.jpg
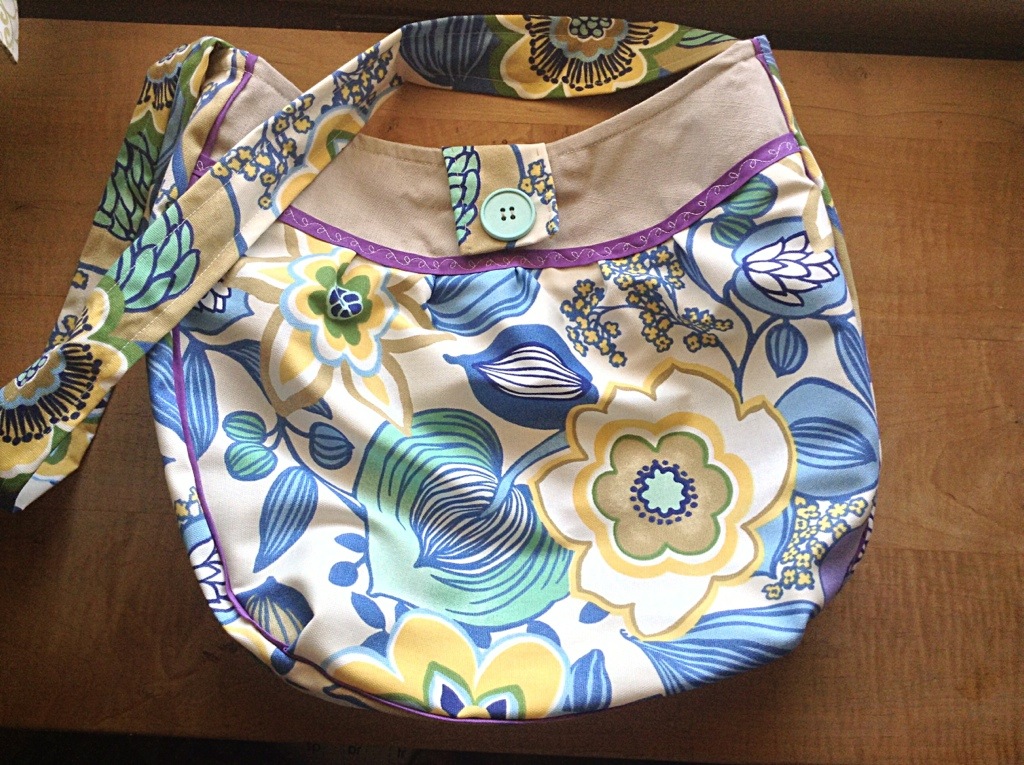
I also lined it with fabric from an old linen skirt, just for a contrast with the floral pattern. Then I accented the edges with purple bias tape, and had a bit of fun with one of the decorative stitches on my machine that I hardly ever use.

20140521-185542.jpg
On the inside, I just put two side pockets, for bottles and what not.

20140521-185743.jpg
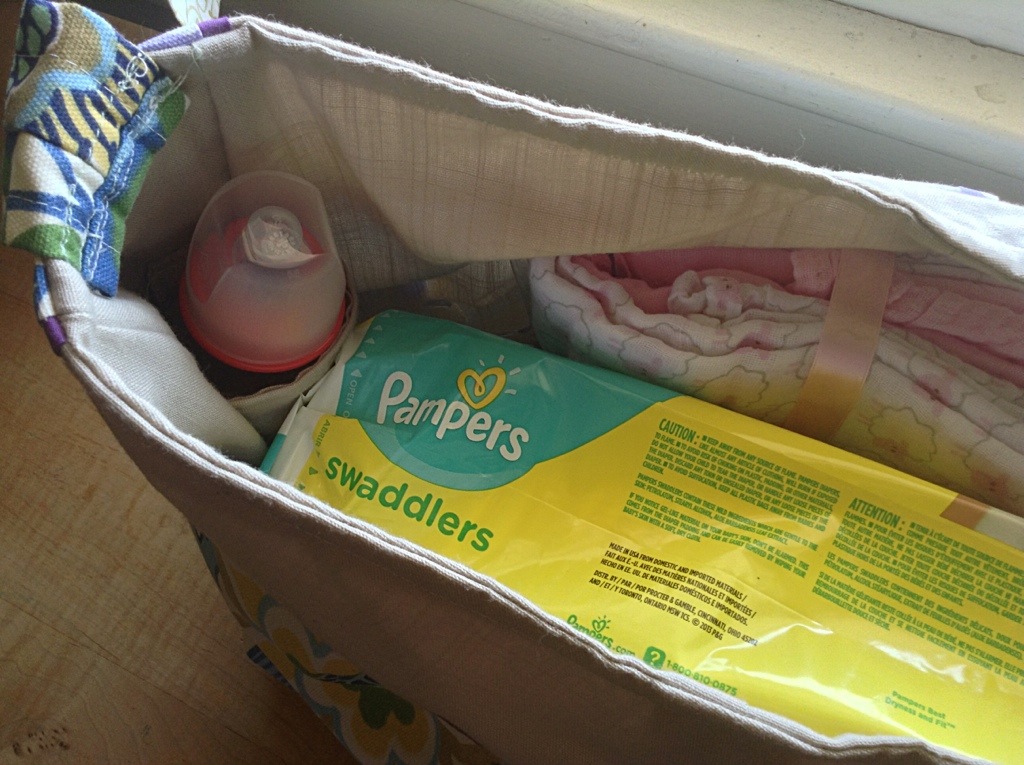
And I put a sturdy piece of cardboard on the bottom, so that it would stand upright when full.

20140521-190020.jpg
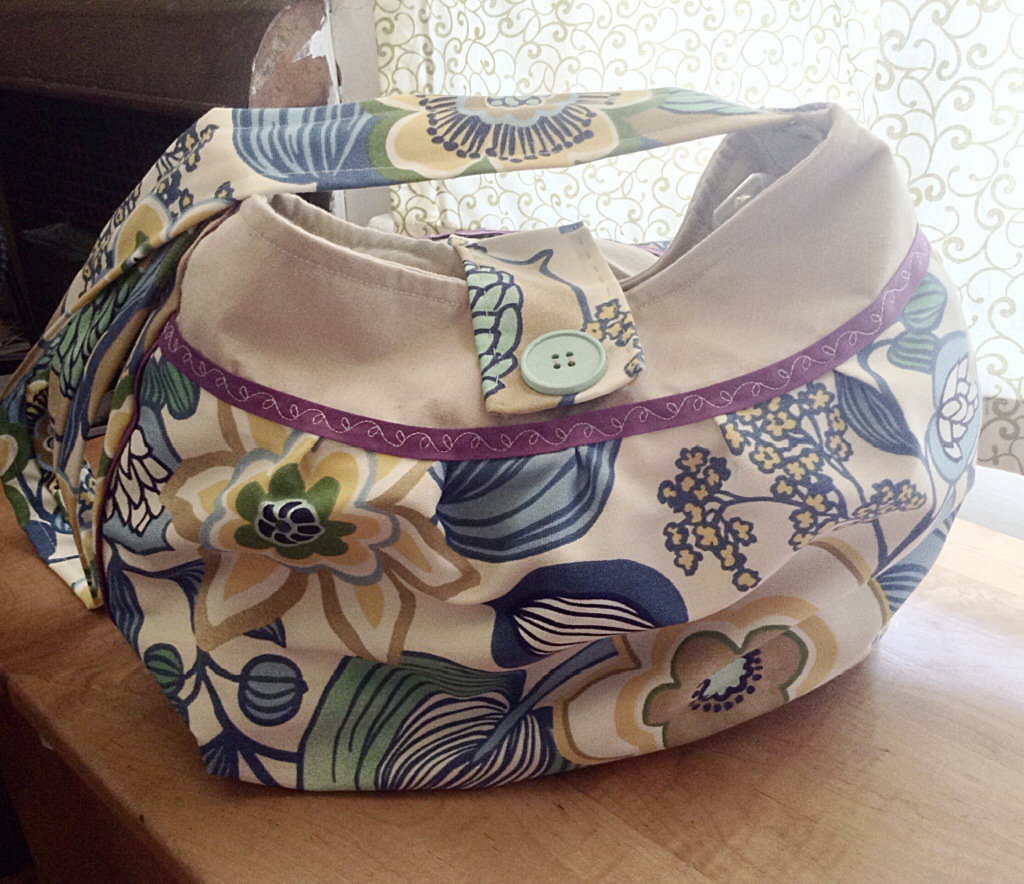
I just happened to have that big old turquoise button lying around to cover up the ugly magnetic snap closure I used for fastening.
I think it will work! And it cost me about five bucks.

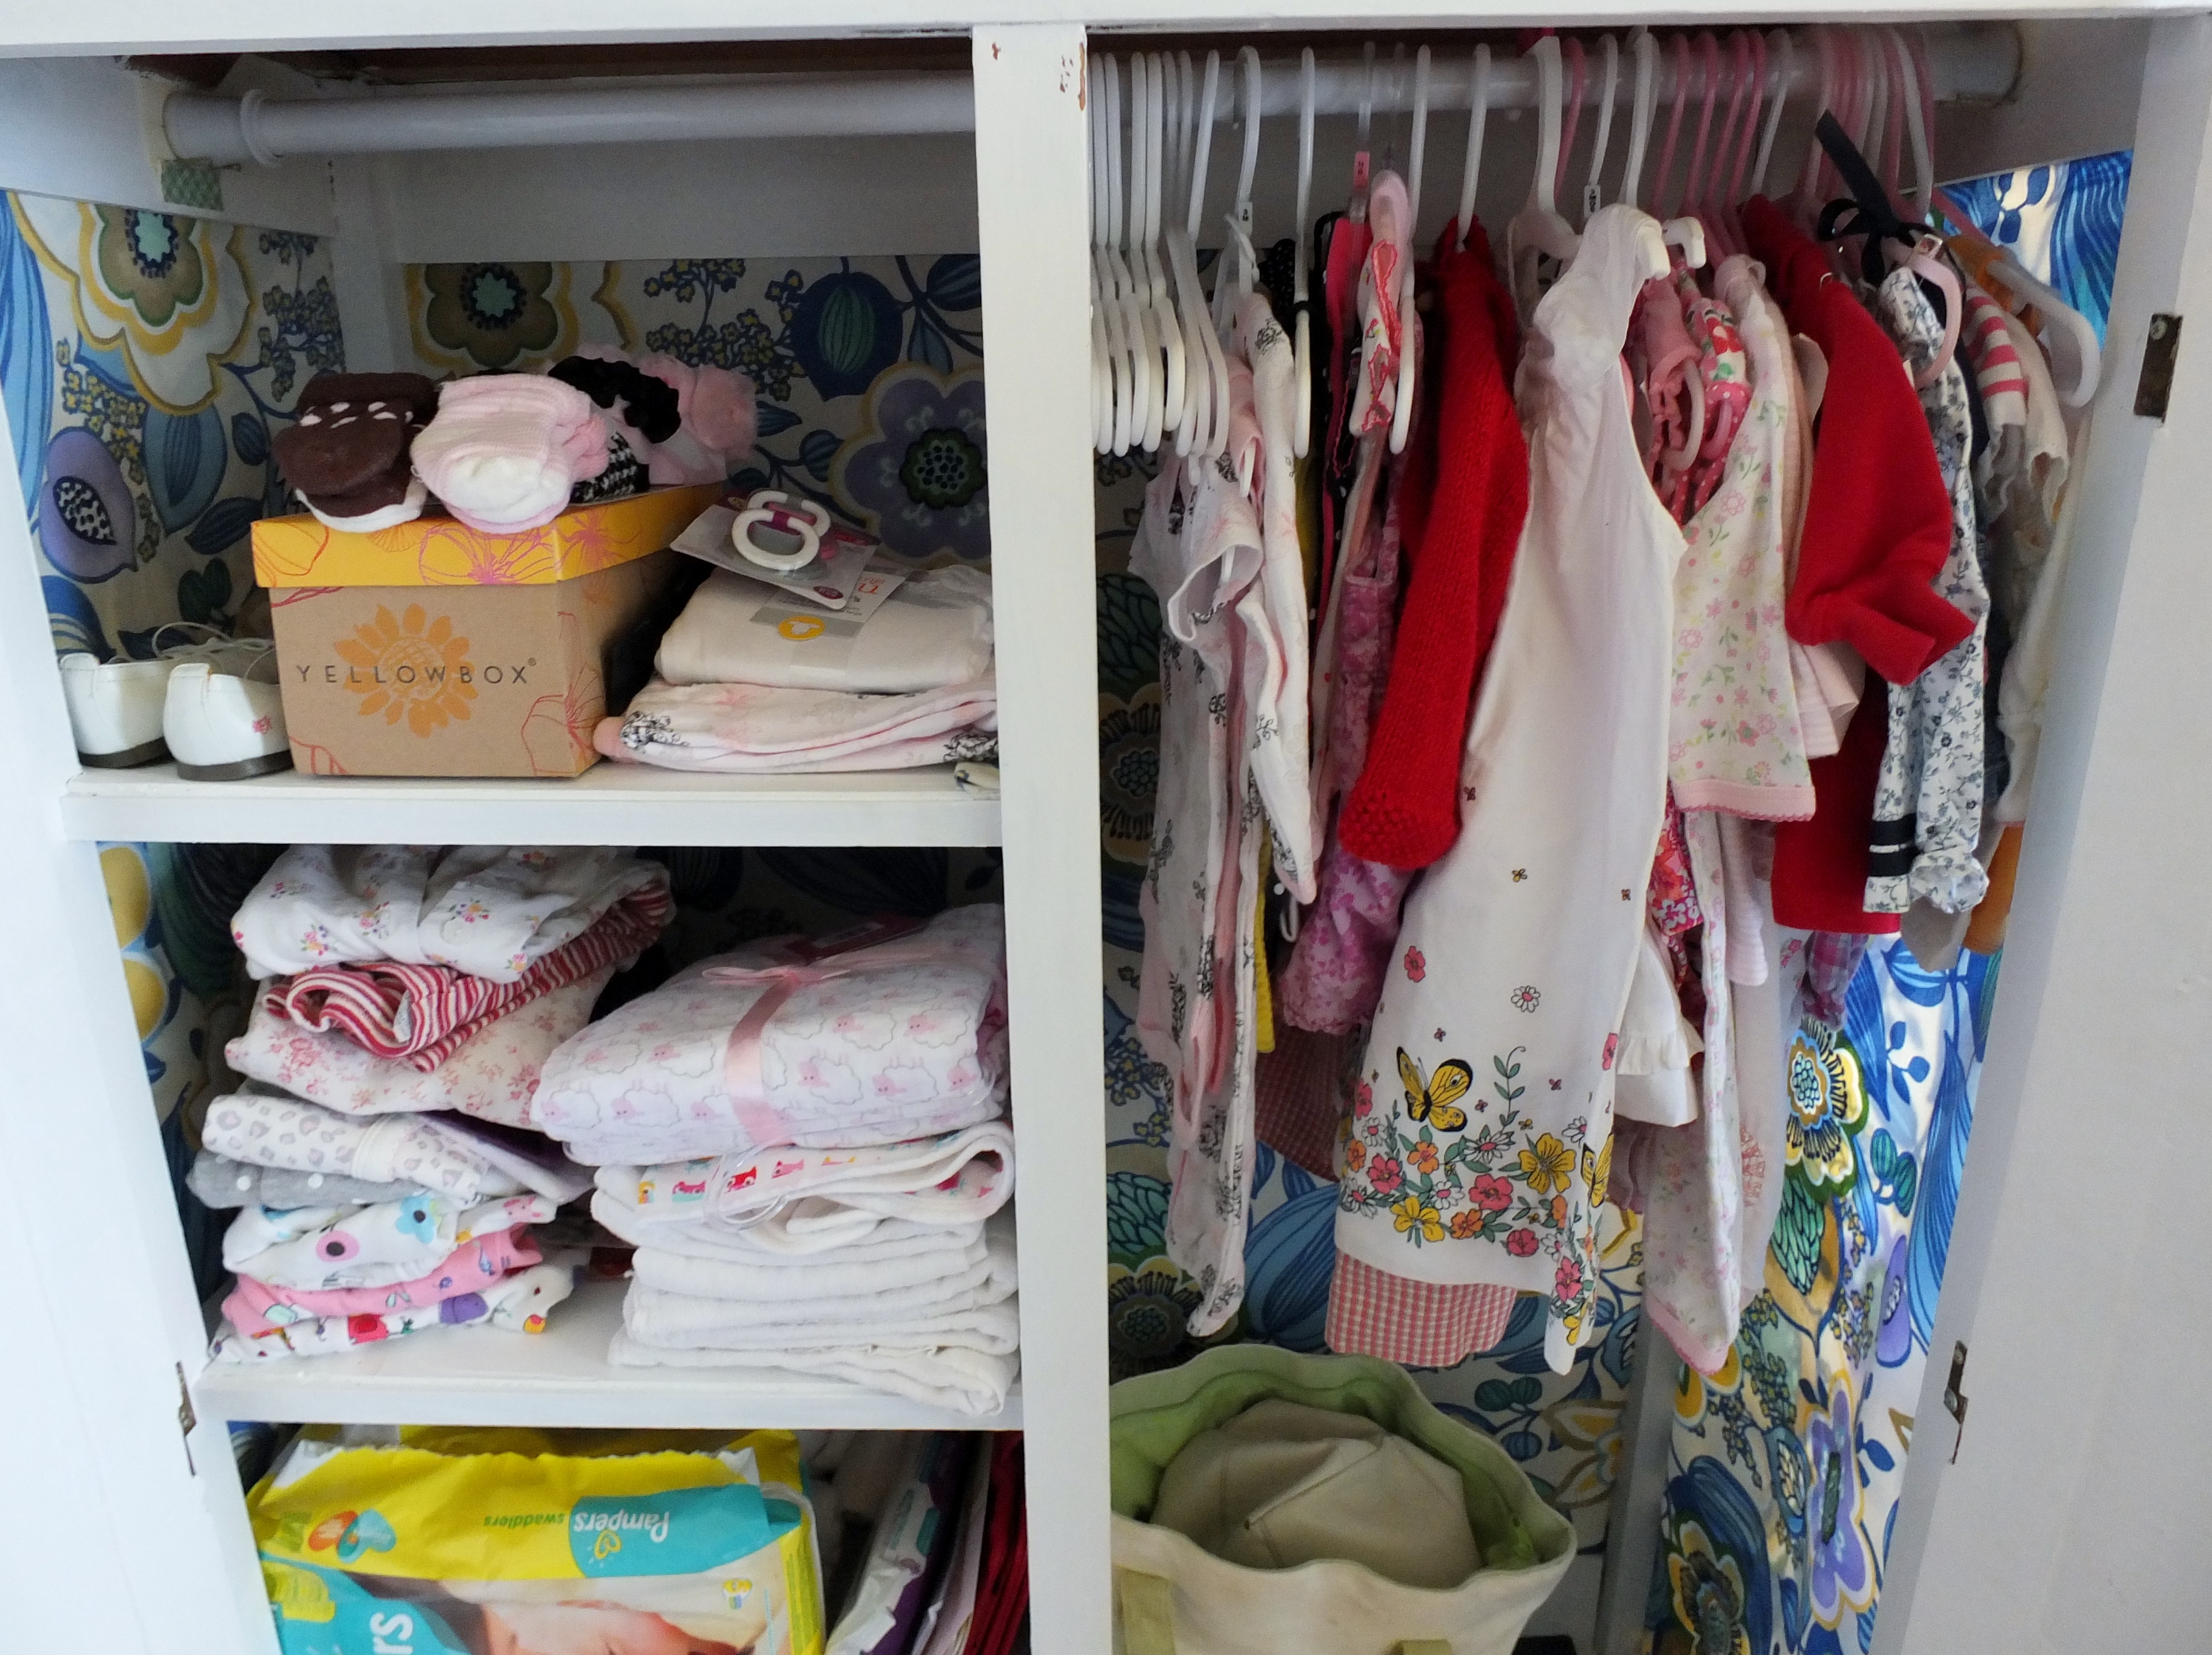
I also had great plans to make a whole bunch of clothes for her, but the more clothes that kept pouring in from other people, the less I felt the need. One thing I did want to make however, was a little outfit to bring her home in. It’s always a bit of a struggle, getting those little onesies over a newborn head and wrestling their curled up arms into the sleeves. Then I remembered I had had a few baby kimonos for the boys and really liked them, so I made one for my girl.

20140521-190802.jpg
There are a whole bunch of free patterns online, and you can either use snaps as closures, or little ties. I went for snaps here, with cotton jersey fabric and a bit of Alabama Chanin technique.

20140521-191004.jpg
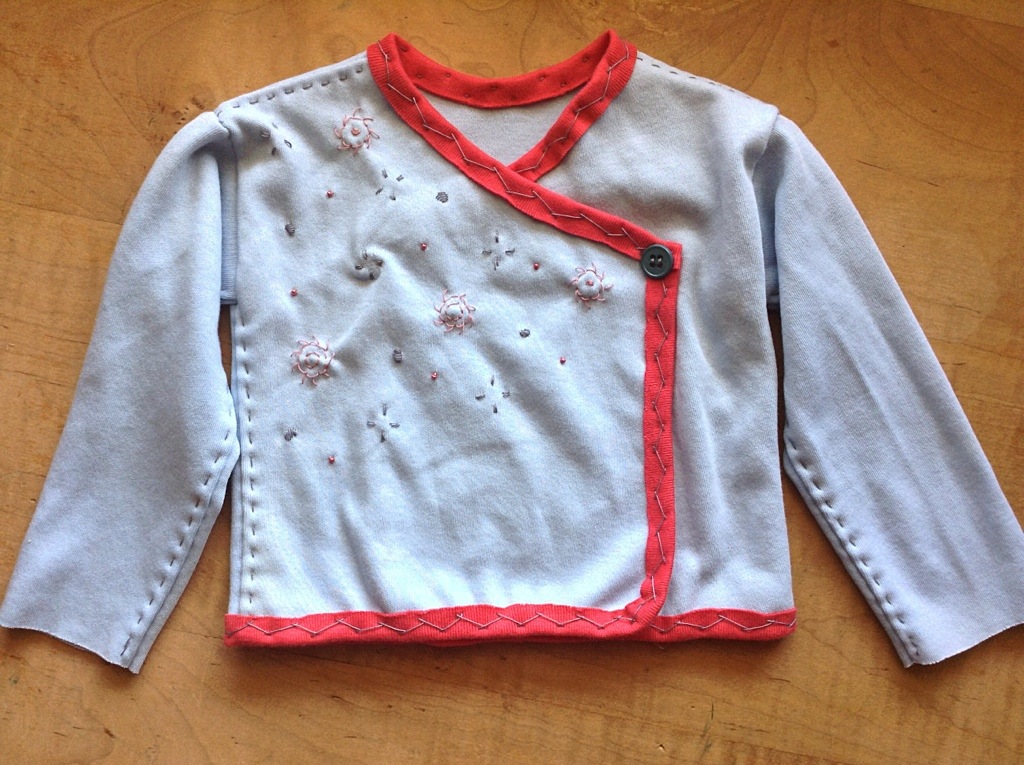
And I couldn’t resist just a little bit of embellishment. I also made the sleeves extra long, to cover her hands and keep her from scratching her face if need be.
.

20140521-191038.jpg
The pants were super simple as well- nice and stretchy with a draw string waist.

20140521-191134.jpg
That’s probably the last of the sewing I will do for her for now.

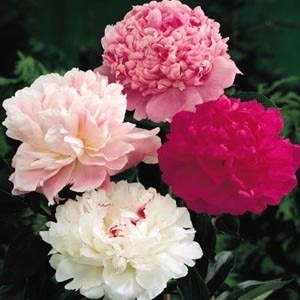
And just for fun, another doll, for a friend’s daughter. She asked for something pink and girly, maybe with flowers involved. I got some inspiration from the peonies my hubby bought me for my birthday last week. (These aren’t them, but they looked like this.)

20140521-191919.jpg
Blond hair with blue eyes seems to be the popular choice lately.

20140521-192039.jpg
I added some little blue flowers at the waist, just so the pink wouldn’t be too overwhelming.

20140521-192139.jpg
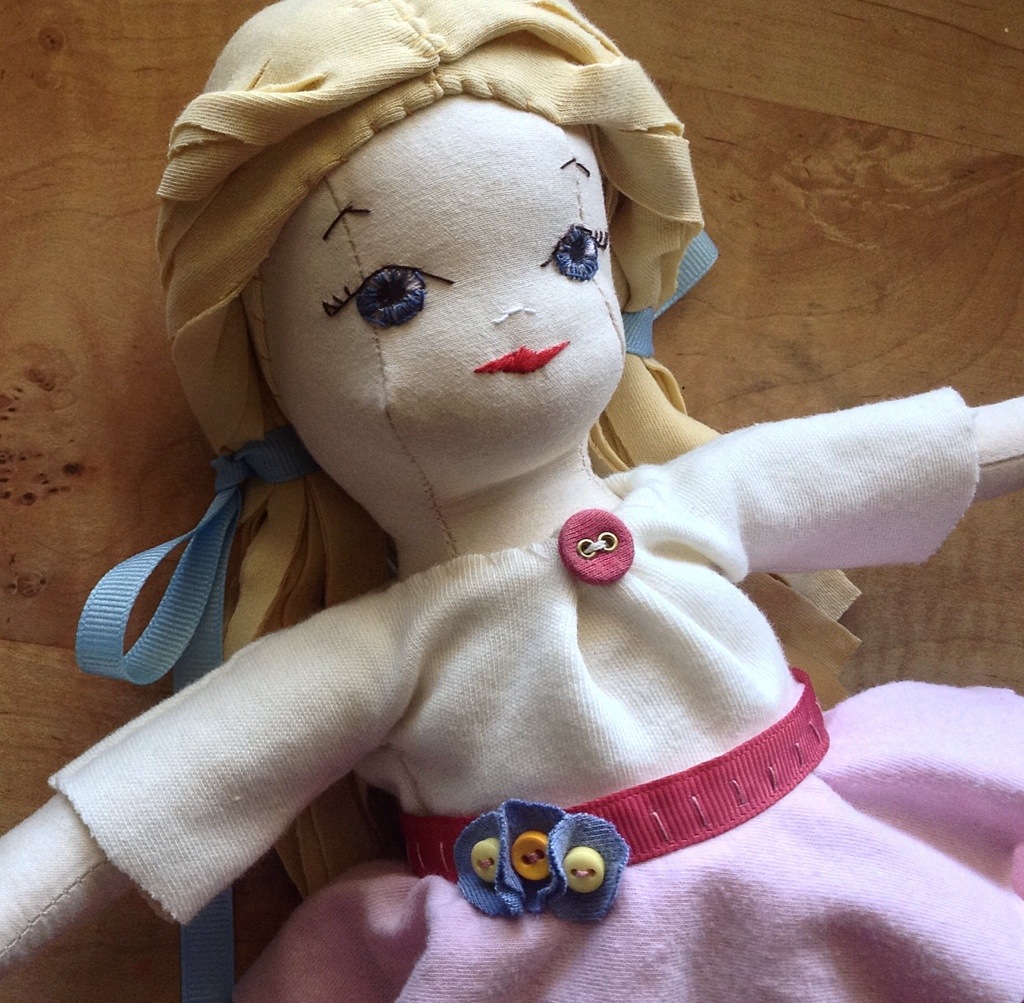
Hopefully, she is pink and girly enough!

20140521-192331.jpg
Pink has never been a favorite color with me, but I think I am getting used to it. And just in time! Who knows what I might post next!

Advertisement

Caroline’s Corner

Well, this was the last stage in my quest for baby space, and my last big project before this baby makes her appearance.  As I posted before,   I managed to find a little armoire for my girl, but I needed a place to put it, some clothing to fill it, and a crib of some kind.

After serving four boys, I had decided not to store all their old baby stuff, and so have been starting from scratch for this baby, as far as supplies go.

I made some lists of what I would need, measured and brainstormed, and finally decided to make this space Caroline’s corner.

DSCF1415

Yes, it is in my room, and yes, that is my closet, full of stuff.  But where there’s a will, there’s a way.  I won’t show you all four corners of this room.   Steve’s cluttered and paper covered office, and the other closet aren’t really worth mentioning. Suffice it to say, we did a lot of reorganizing, filing, and tossing of stuff throughout the room to help make space.

This beautiful chest that the hubby made in college was just too big (and too prone to be covered in clutter) so I ended up rearranging the whole living room to make space for it in there.

DSCF1421

Don’t you just love the chain reaction of reorganizing?

This needed to be done, however, because……

DSCF1430

…look what I found under all the furniture!  Don’t look mom!  Ugghh!

DSCF1429

I stole this much smaller chest from the boys room, dumped their train tracks, filled it with my fabric scraps, and decided that the top would be the perfect perch for a Moses basket, since I didn’t want to get a whole new bassinet.

DSCF1422

So this corner is actually where she will be sleeping the first weeks of her life.

DSCF1609

The Moses basket was a gift from the ladies at church.

DSCF1610

Now it was time to tackle the closet. It had been way too long since I had taken an honest reckoning of the contents of my closet. I had to ask those difficult questions like, “when is the last time you wore this?” or “do you really think you will ever be able to fit into that again?”

DSCF1416

I purged mercilessly and as a result, was easily able to fit my remaining clothing into the boys much bigger closet.  The shoes suffered a similar fate.  It was very liberating.

DSCF1423

Then it was time for the closet doors (which have been half-way broken since we moved in) to be removed.  I cracked up when I realized there was still a last remaining piece of the old pink carpet in there, which used to cover all our lovely hardwood floors.  Pink carpet!  It was a sign.

DSCF1428

Once everything was finally removed, I brought the armoire in. I had found another small shelving unit that would fit into the closet, which is currently housing all the unsold merchandise from my Etsy shop.  I thought Caroline might like the stuffed animals.

I had also hunted up the smallest pack and play/crib I could find online and thanks again to the ladies at church, was able to purchase it.   A few little decorative touches later and we were in business!

DSCF1607 DSCF1603 DSCF1605

It’s cozy, but I think it just might work for the time being.

And it has been awfully fun filling up the armoire.  As you can see, I am not too worried about coming up with clothes for her!

DSCF1611 DSCF1612

So that’s that!  Now I can put my swollen feet up and play the waiting game for the next few weeks.  Seeing that crib all ready makes me so impatient!

Fries for a Friday night

“Easy to make” is a relative term. Any skill is going to vary in its ease, depending on the person. Are they experienced at all in the skill? Have they practiced it? Are they determined to make it work? Do they have the necessary tools? Or perhaps, are they nine months pregnant and a little brain dead?
I tend to have a slightly different view of how easy a thing is to make when it comes to cooking. I don’t know how many times people have asked me how to make a recipe, and I have responded with “Oh, it’s so easy to make! You start by chopping an onion and some garlic…”
Then I get an eye roll, which says only too plainly- “You lost me at onion chopping. I want an easy recipe.”

So when I say these fries are really easy to make, I suppose they are not quite as easy as throwing a bag of frozen fries in the oven, but if you want a really delicious homemade fry, it doesn’t get easier than this.

When I am pregnant, I can easily dispense with the ice cream and the secret candy stash. I’m a sucker for the salty fried stuff. But it took me many years to get up the guts to deep fry at home. I always heard those horror stories of people getting burned in oil fires, and I myself once almost burned a house down while messing around with hot oil. And then there is the mess of it all and the expense of using all that oil, not to mention it doesn’t do much for the waistline. I’ve tried recipes where you soak the fries in cold water, dry them individually, toss them in corn starch and fry them once, sometimes twice in huge vats of hot oil. Tasty, but so much work.

All that to say, I didn’t do much frying until I came across this method on one of my favorite shows, America’s Test Kitchen. I sometimes wish I hadn’t discovered it, because I make fries probably more than I should now. But the America’s Test Kitchen method was discouraging because they required the potatoes to be squared off first, and then cut very small and exact. I think they even suggest using a ruler to get the precise 1/4 inch measurement. If you know me at all, I don’t use rulers in my kitchen. Even measuring cups are optional. So I decided to use the method on steak fries instead- just big hearty wedges of potato. And it worked beautifully. So here goes. This is what you need.

20140502-190502.jpg
Start with your potatoes. Yukon gold work best because they are tastiest and you don’t need to peel them, but russets would work too. Give them a quick rinse and cut off any imperfections.

20140502-190707.jpg
Then just slice them in half.

20140502-190741.jpg
Then slice the halves into four or five wedges each.

20140502-190832.jpg
Fill up a deep, heavy bottomed pan with as many fries as you want to make. I used my dutch oven here, and got the boys to help.

20140502-191235.jpg
Set your pan on the stove.

20140502-191302.jpg
Then add your oil. I love this recipe most, because instead of four quarts of oil, it only takes about four cups. It also doesn’t require any thermometers. Just pour the oil in (I use peanut oil) until it almost covers the potatoes. It’s okay if they aren’t completely submerged.

20140502-191455.jpg
Then turn the stove on high. That’s about it!

20140502-191603.jpg
These are going to take about 25 minutes to cook, but it’s hands off, so you can work on the rest of your meal.
After about 5 minutes, you will start to see little bubbles floating up.

20140502-191725.jpg
After about ten, the oil will have come to a full, rolling boil. The oil may splatter a tiny bit, but it won’t overflow.
Just let it go, and don’t stir it. The potatoes are very soft right now and will just get mashed up.

20140502-191844.jpg
After ten more minutes, you will see the edges start to brown a bit.

20140502-192011.jpg
Once they start getting really golden and have a nice crust, you can gently stir them with some tongs, or a slotted spoon, just so the bottom ones don’t burn.

20140502-192425.jpg
Then we are about done. Once they are a deep golden color, just remove them to a plate lined with plenty of paper towels. I usually do two layers, salting generously as I go.

20140502-192600.jpg
Serve them with whatever you want, like a big pack of pre-made Costco chicken wings and a big bag of precut Costco broccoli that the hubby brought home. Because who am I kidding- I am nine months pregnant and a little brain dead. I’m not deep frying and grilling at the same time.

20140502-192848.jpg
Oh, and quick clean up tip. I wait for the oil to cool down, then put a glass jar with a strainer in my sink (in case a little oil spills)

20140502-193109.jpg
Then I strain the left over oil into a jar and save it for the next time. I usually use the oil for three batches before I discard it.

20140502-193413.jpg
So that’s that! A fantastic, crispy homemade french fry that is “so easy to make!”