Sometimes people ask me how, or where I learned to bake. Did I take classes? Did I learn cherished and secret family recipes at my mother’s knee? Or was I simply born with a flour covered thumb? (Sorry, couldn’t come up with the baking equivalent to a green thumb). Much as I would like to say it was one of these things, none of them quite describe my haphazard, self taught methods of baking. My mother did teach me some things, I watched my dad when he would come home from the restaurant with some new recipe, but I have never been one to ask for help. Mine was the experience of trial and error- and lots of those.
The key to some success I am sure, was that I started very young, and I persevered through the errors; through my first under-baked apple pie with the unpeeled apples inside, through the Christmas day I spent with my hands wrapped in ice after spilling boiled milk on them, through the heavy bricks of attempted homemade bread. I once put 1/4 cup of baking soda in my muffins instead of 1/4 tsp. Talk about bitter.
And then there was the mixer incident.
I stumbled upon a picture while sorting out some childhood memorabilia the other day. I felt I had to share it, just to encourage anyone out there who might be despairing over failed baking attempts. It is a photo from the time where I was experimenting in cake making. I think I was ten or eleven, judging from the cherished homemade paisley vest that I wore throughout fifth grade. I have always been a careless person, and the day this photo was taken was no exception. I was new to using a hand mixer, and the concept of tying my hair back while cooking had probably been mentioned by my mother at least a dozen times without making the least impression on me. Well, you know what they say- experience is the best teacher.
I was happily mixing my batter and reached over the bowl to grab an egg. My long blond hair slid over my shoulder and voila-
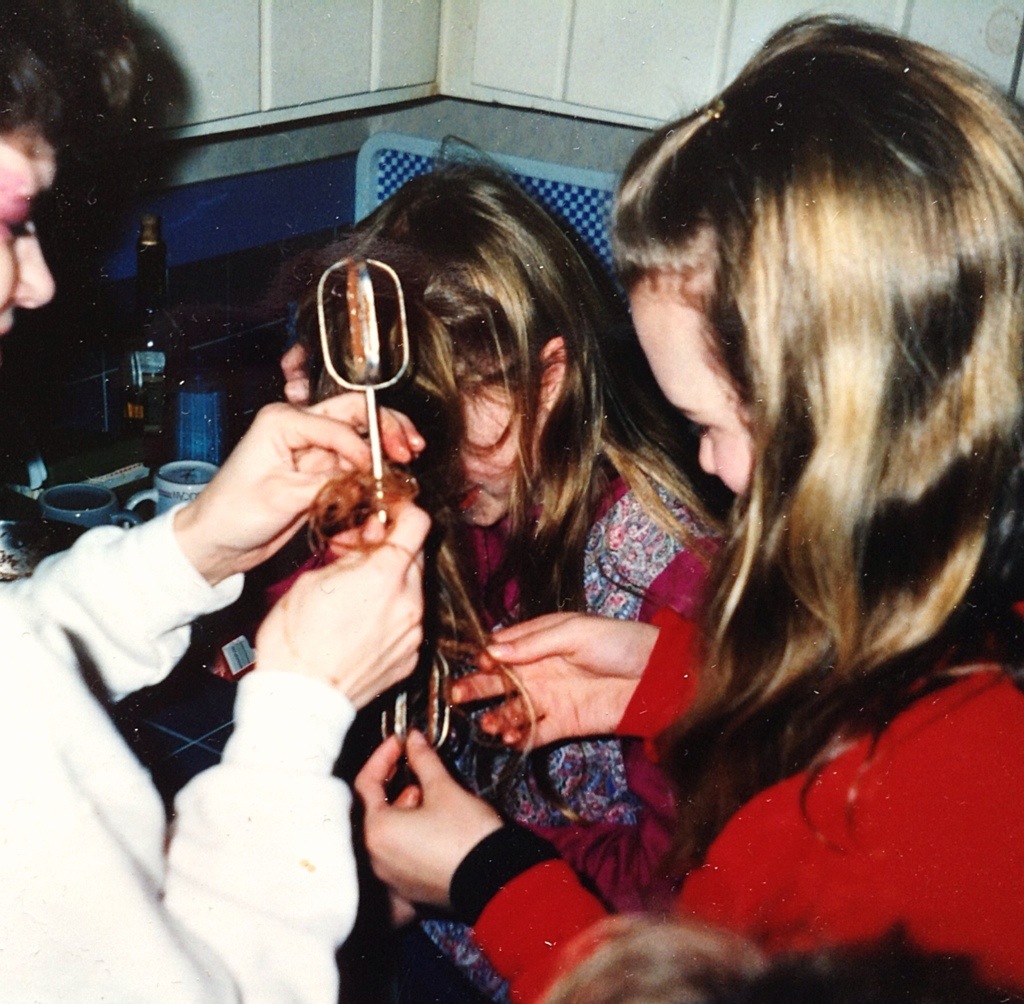
And lest you think the expressions on my families faces are expressions of concern after rushing to the kitchen and finding me with a mixer glued to the side of my face and winding my hair tighter and tighter every second while I hollered at the top of my voice, think again. The overall experience for them was one of absolute hilarity. My dad was the one holding the camera, and I am surprised that the picture turned out at all, he was laughing so hard. In fact, grabbing the camera was the first thing he thought to do. No doubt he wished we had a video camera so we could send it in and get some money. My mother was merciful enough to pull the plug and she and my sister painstakingly unwound my tangled tresses whilst cake batter oozed all over my precious paisley vest. I wouldn’t use a mixer for many years after that, but I did share in the laughter at myself.
After that lengthy prelude, I would like to share a fabulous cake recipe with you. I must warn you that this cake will win no beauty contests. More often than not, it comes out lopsided and a little lumpy looking, but it makes up for that in yumminess. So here we go.
These are the ingredients for the cake

And these are for the frosting.

Well, technically, it’s a ganache, but let’s start there.
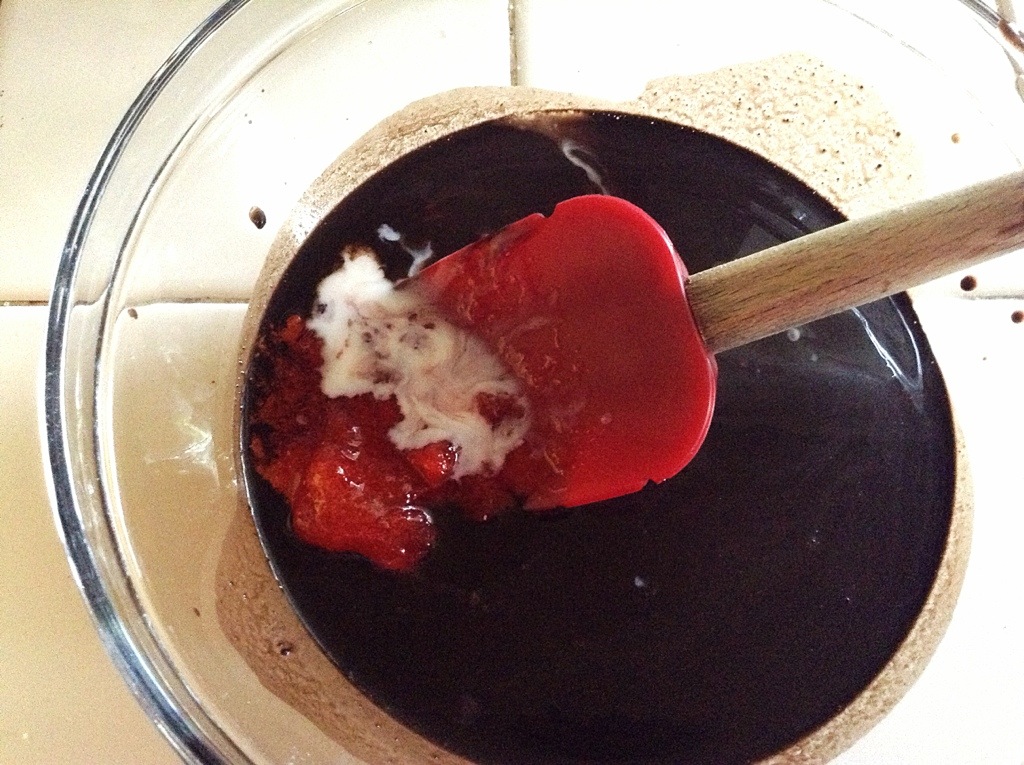
In a small saucepan, combine 1/2 cup each of chocolate chips, heavy cream and strawberry jam. The original recipe calls for seedless raspberry jam, which is also wonderful.

Melt over medium heat and stir until smooth. Then pour this wonderful concoction into a 9×2 inch round cake pan.
 That’s it for the frosting.
Now on to the cake. You’ll need two medium size bowls. In the first bowl, whisk together
1/2 cup boiling water
1/3 cup baking cocoa
1 tsp vanilla
1/3 cup of your jam of choice
1/4 cup of buttermilk. (It’s fine to use regular milk here, but I always use buttermilk in baking when I can. )
In the other bowl combine –
1 stick of butter and
1/3 cup each of brown and white sugar
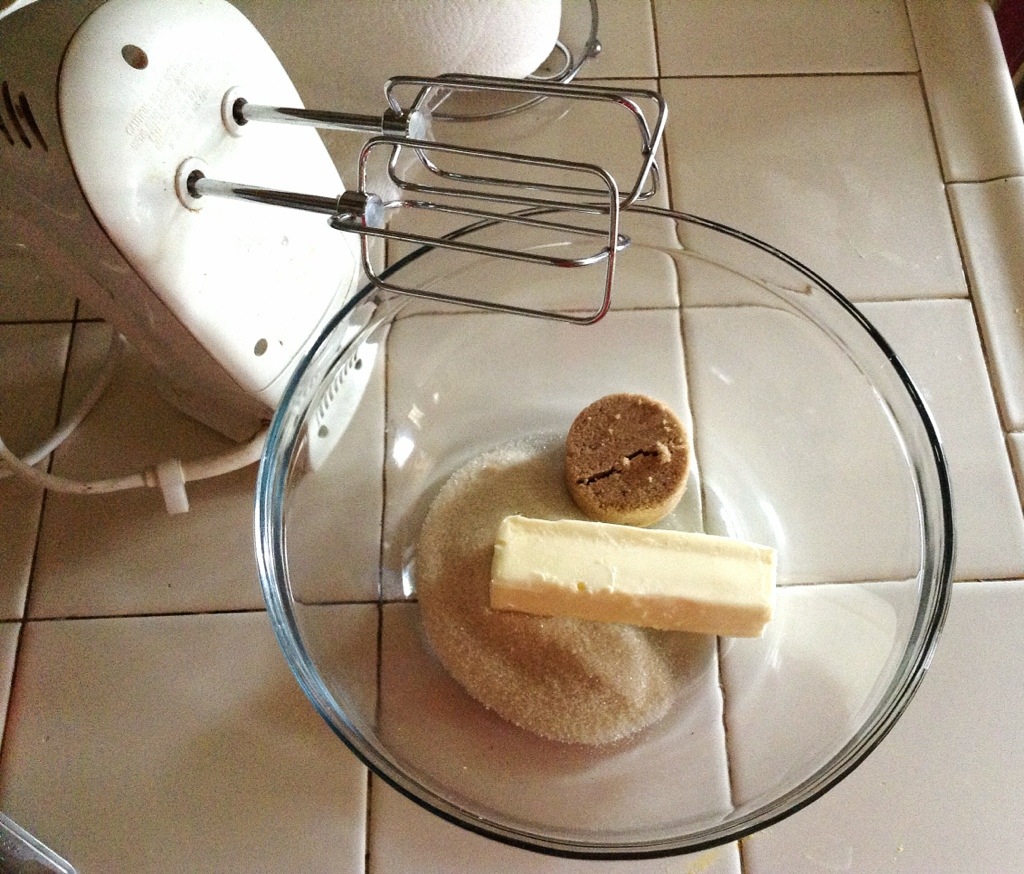
Now normally I would mix this in my stand mixer, but just to show that I have overcome my fears and triumphed over my past, I am using my hand mixer. My hair is short now anyway.
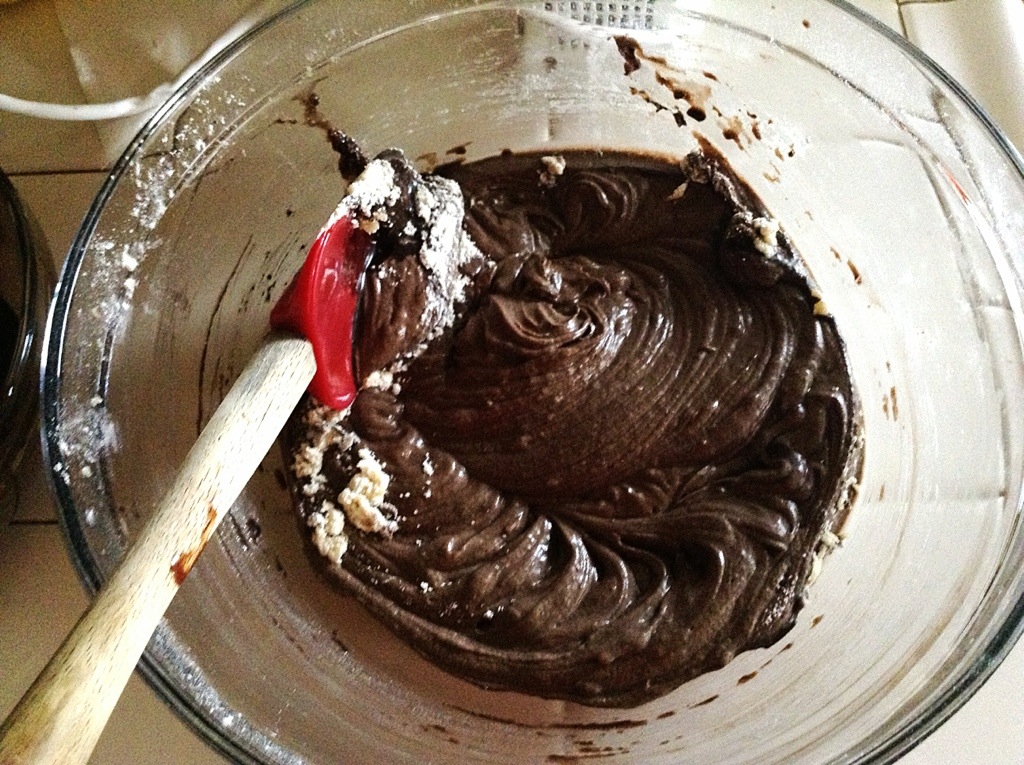
Cream it up until it’s nice and fluffy, adding two eggs along the way.
To this bowl, mix in 1 cup of flour and 1/4 teaspoon, I repeat, teaspoon of baking soda.

Then add your chocolate mixture, half of it at a time and scraping down the bowl as you go.
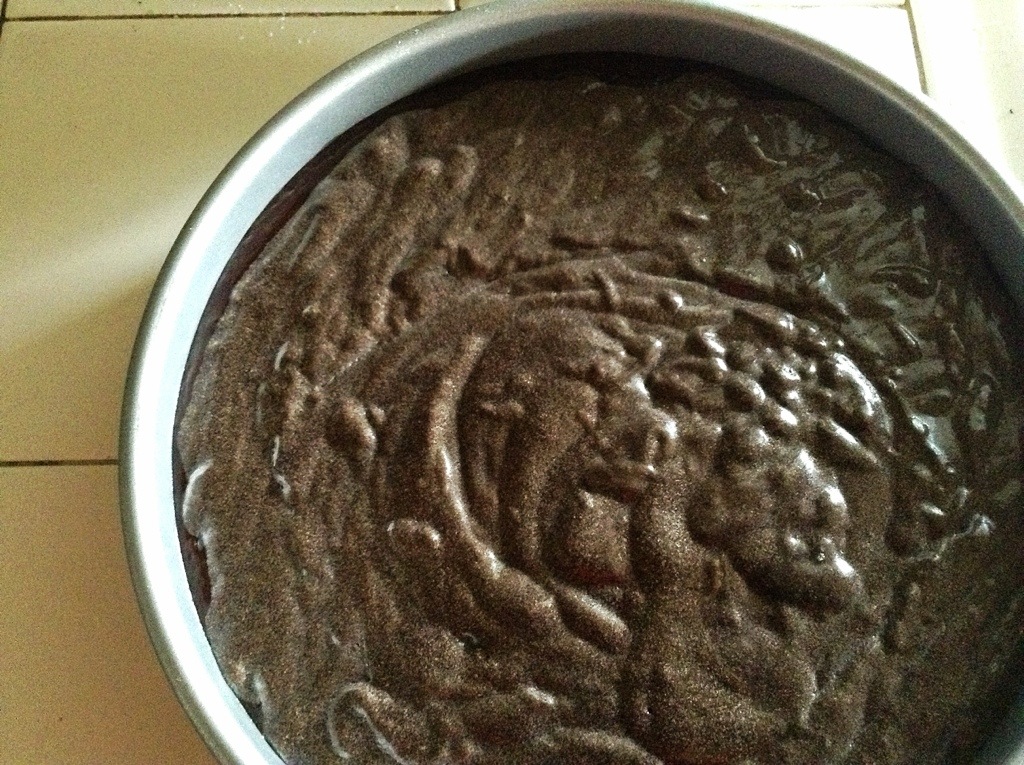
Now just pour the cake batter right on top of the ganache in the pan. This may seem weird, but trust me. Can you see the darker ganache creeping up the outer edges of the pan?
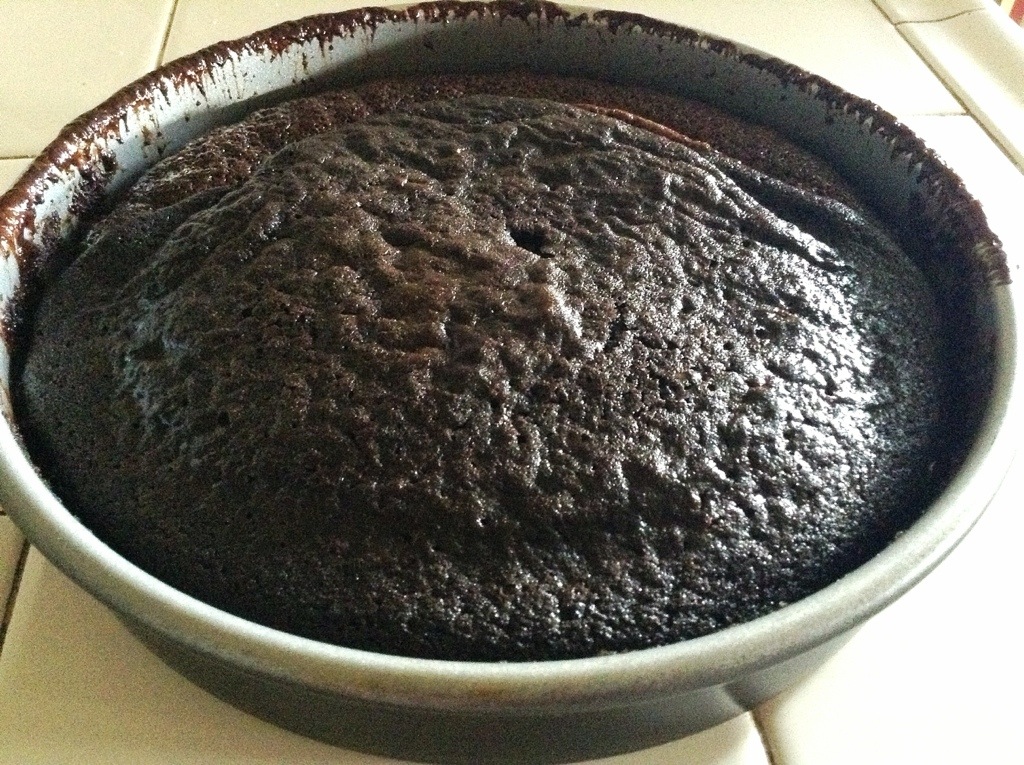
Bake it at 350 for 25-30 minutes, until the center is set. It tends to puff up quite a bit and then sink back when done. Pull it out and let it cool just for a minute.
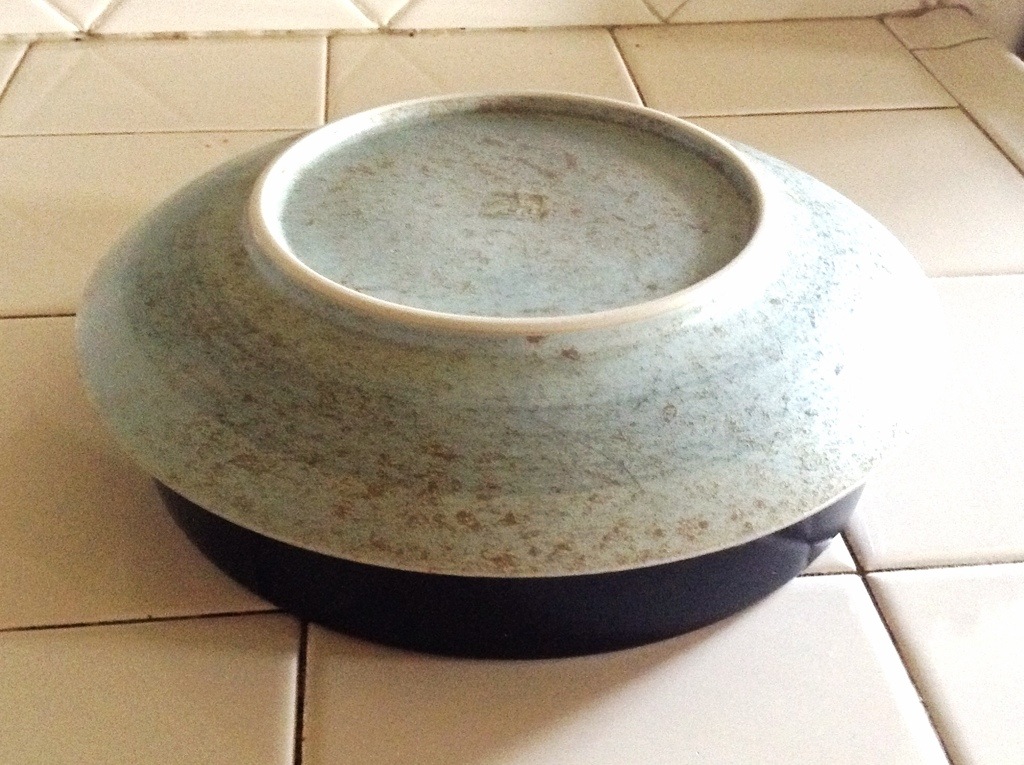
Run a knife around the edge, and carefully, using hot pads and a plate that is larger than the pan and so has room to catch the pooling ganache, flip the cake over.
Pull the pan off, and your cake should be bathed in wonderful rich chocolate frosting. Scrape any remaining ganache from the pan and smooth out the top as best you can. If it still looks sloppy, add some strawberries or raspberries on top.

That, I will tell you, is the easiest way to look like a pro in baking. Everything looks more impressive with fresh fruit on it. So enjoy, and go on to conquer your baking fears!

Mmmm!!! This one is just for me!
This is flourless- I kept re-reading to see if I just missed it. Hooray…I can eat it! 🙂
Hang on brite- there is a cup of flour! It’s added after the butter and sugar. Sorry if that wasn’t clear. I wonder if you could find a flourless cake recipe and do the ganache on the bottom thing. Or maybe substitute almond flour? Now I’m curious….
Sent from my iPad