Sorry to leave you all hanging after my last blog post. I’m sure you are all on the edges of your seats, waiting to know how my projects came out!
Again, I wish I had taken better pictures of the process, but let’s just dive back in with what we have. As I mentioned before, I was tackling three projects- two scarves and a skirt for my ten year old niece. The scarves are super simple. I found two good quality t-shirts with colors that complimented each other nicely. (BTW, I am picky about the jersey I use. For the most part, I look for Pima cotton, found most often in men’s polo shirts. It is very soft and durable, and won’t pill.)
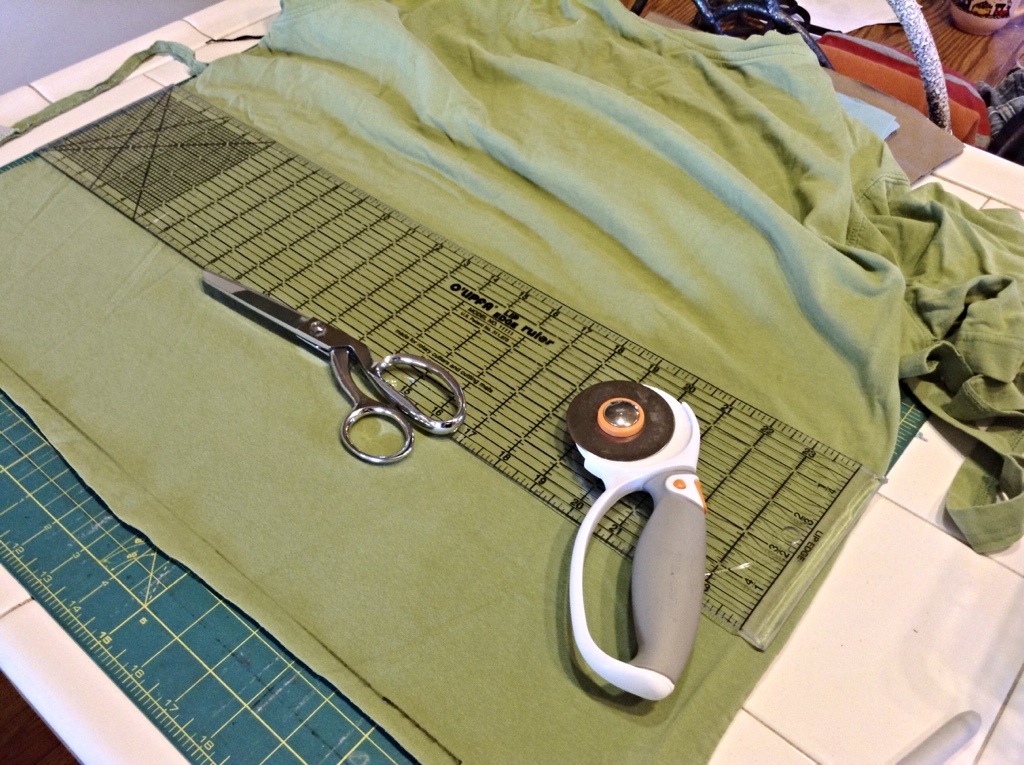
For my mom’s scarf, I chose a navy blue and a leaf green shade. For the gift exchange scarf, I used a cheery bright red and a silvery gray. Using a rotary blade and mat, I cut about a ten inch width off the bottom of my shirts, front and back. (Just make sure it’s wide enough for your stencil to fit)
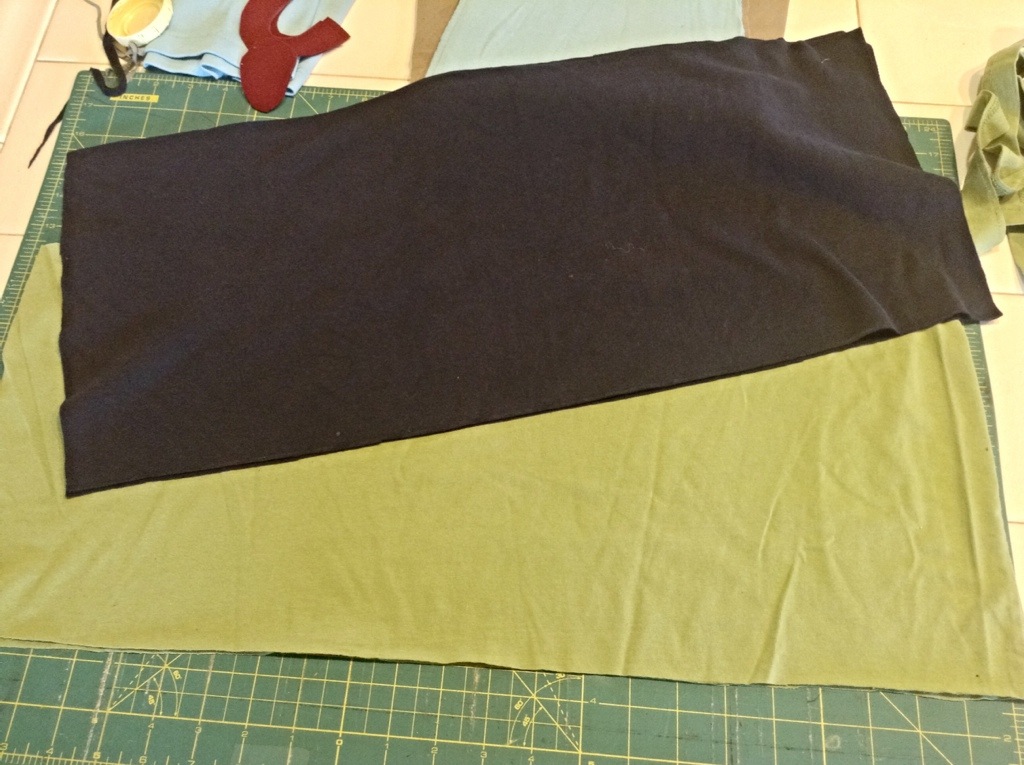
I left one side still sewn together with the original shirt seam and cut the seam off the other side. Make sure your two colors are equal in length.
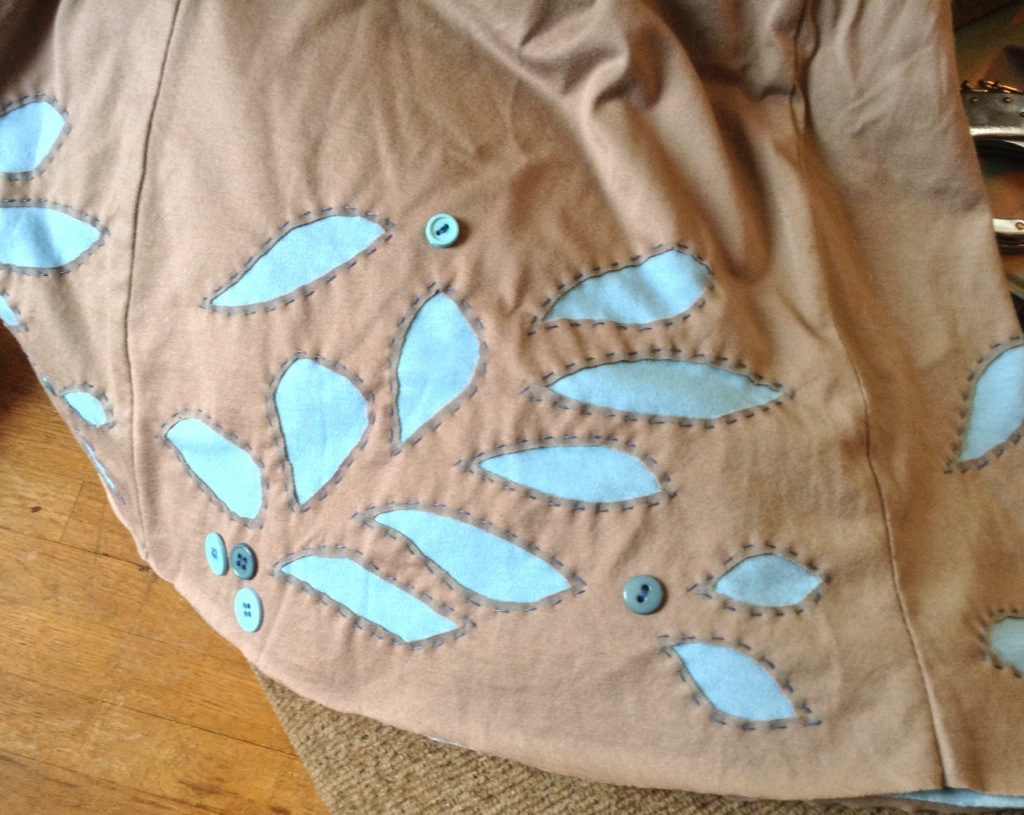
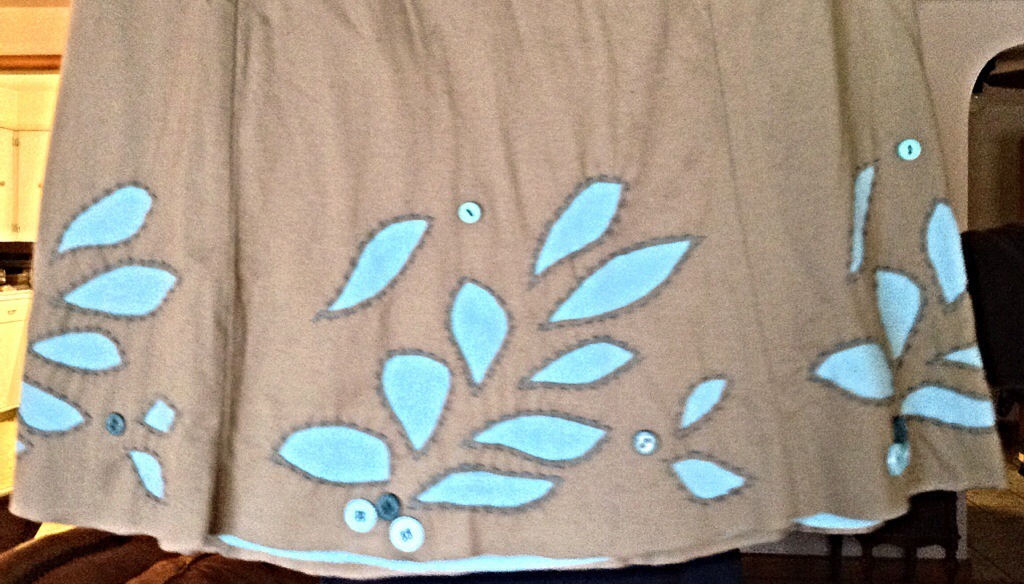
I won’t use this post to show you how I made the skirt, but I used the most basic Alabama Chanin skirt pattern. It’s only four pieces, and I used a soft brown, with a bright blue-green for the appliqué.

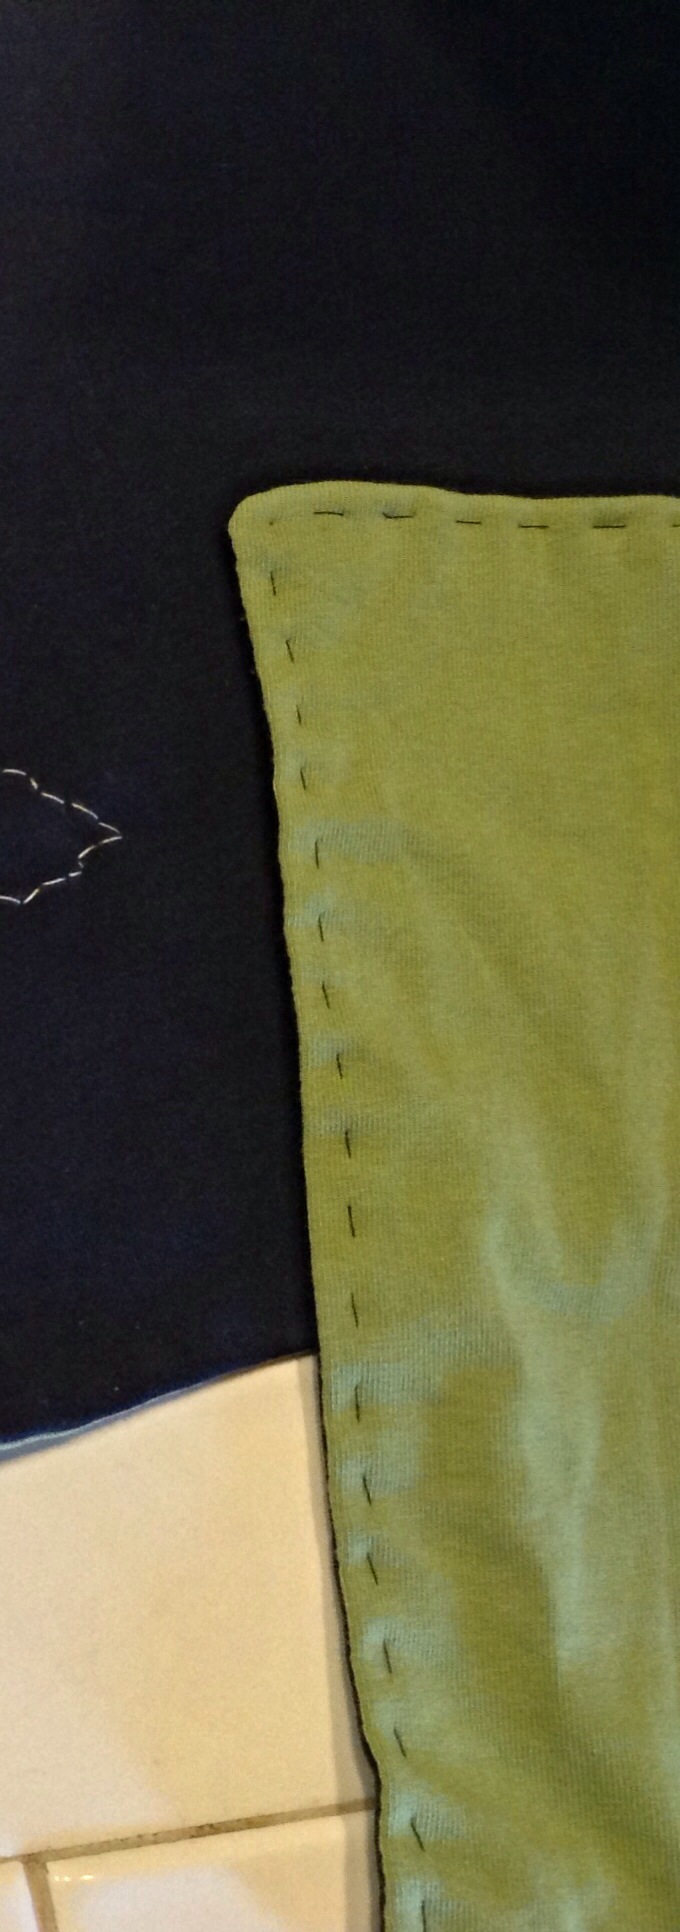
Pin the right sides of your scarf together, and sew the edges. I usually do this by hand using a simple running stitch, since my machine doesn’t handle knit cotton very well. Leave a few inches unsewn, so you can turn it inside out. (Sorry I forgot to take photos of this step!)
Once it is turned inside out, I like to sew the edges again with a running stitch. It makes everything look neater and more professional.
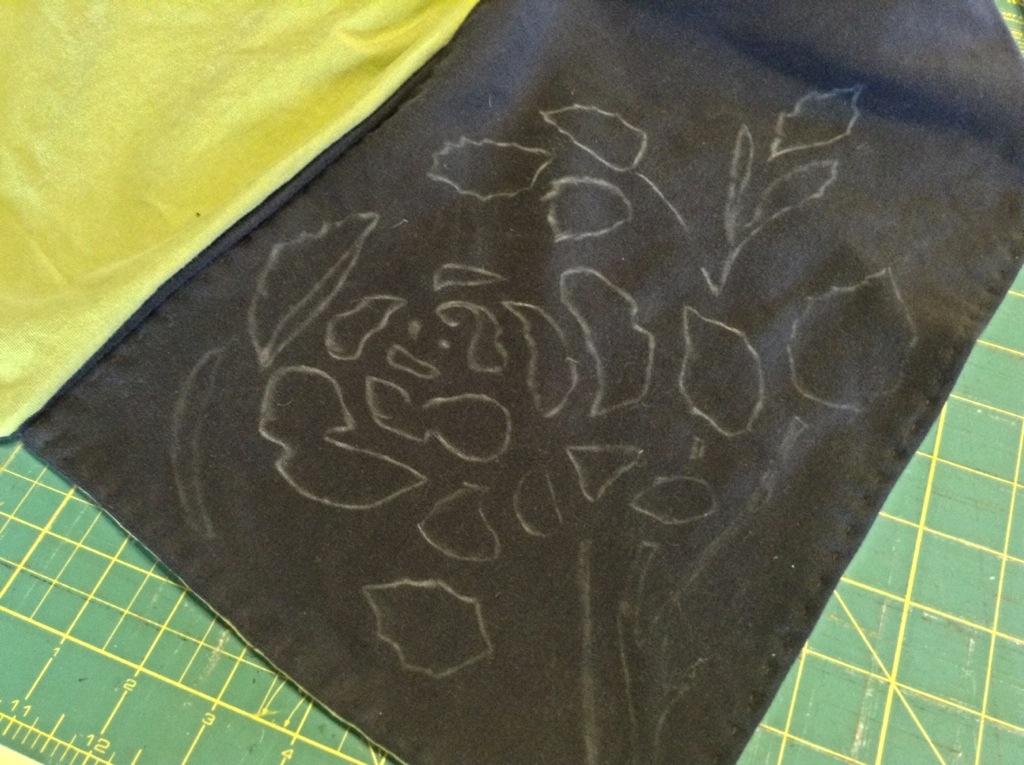
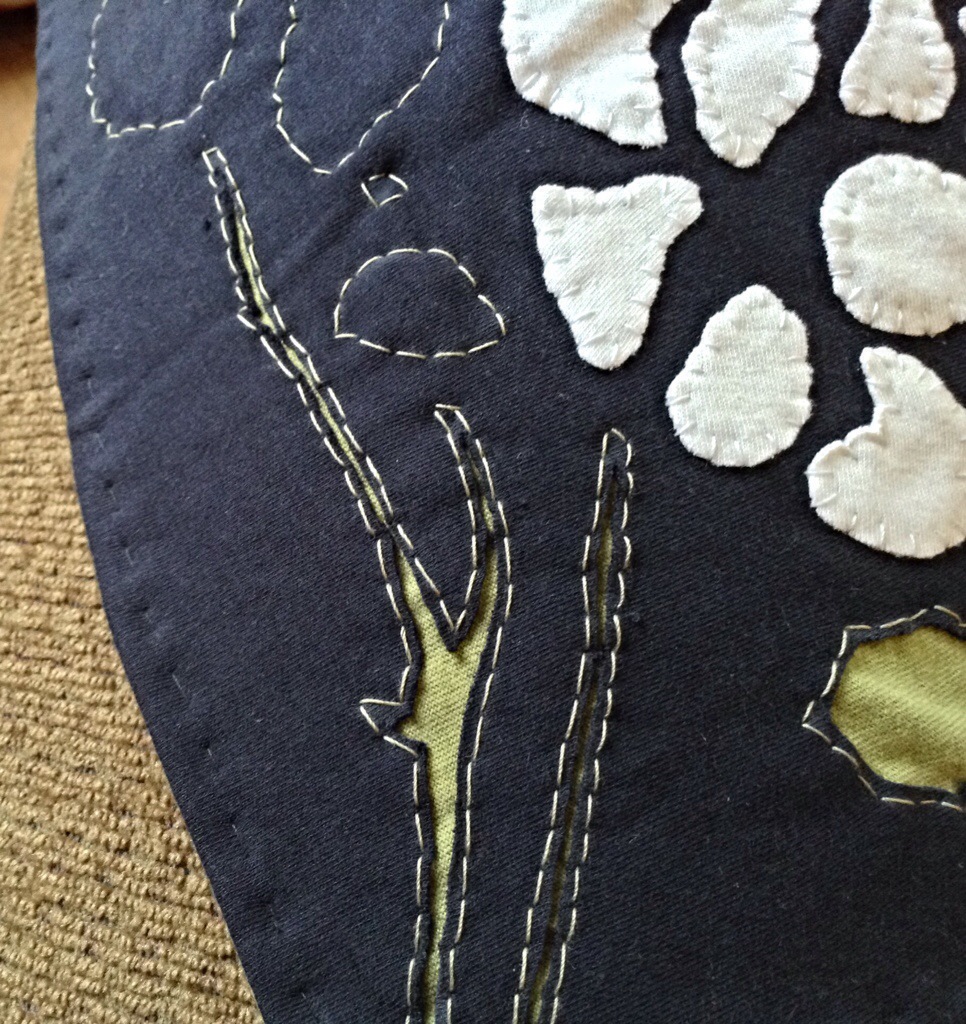
Now here’s where we get to use our stencils. For the navy scarf, I traced the rose stencil using a chalk pencil, since ink won’t show up very well on dark fabric.
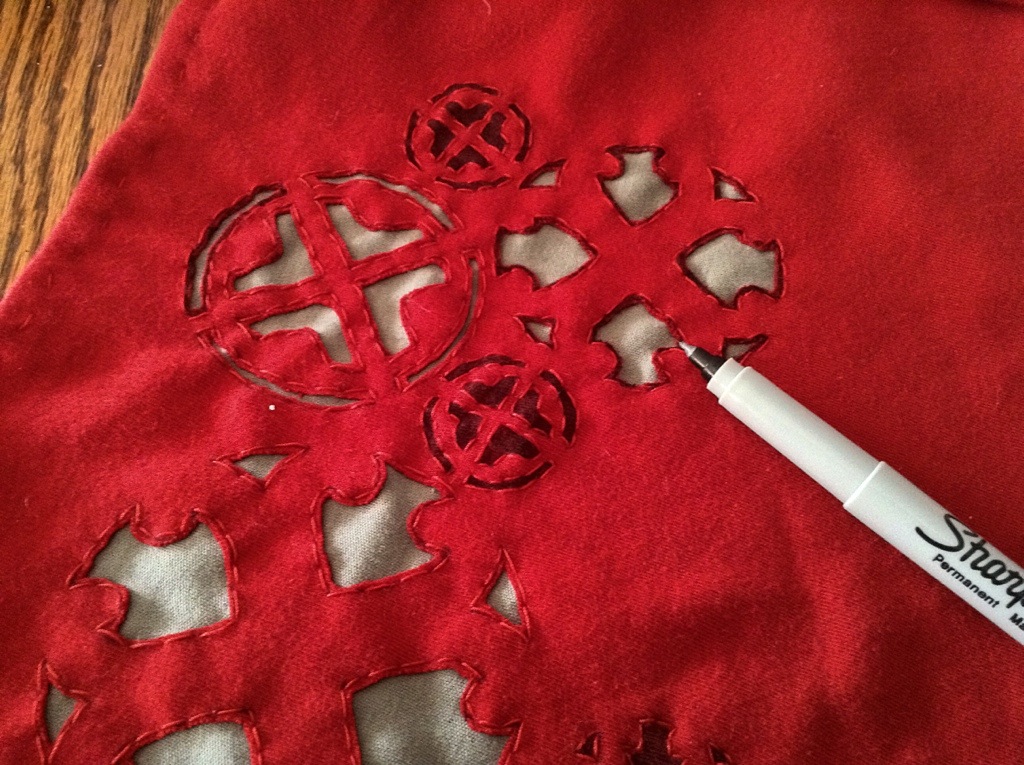
For the red scarf, I used the medallion stencil from my book, and traced it with a disappearing ink pen.

For the skirt (not pictured), I used the leaf pattern, also from my book. You can do your stencil lay out however you choose.
Now, you can just use an outline stitch to trace the stencils and secure the front and back together. But I really wanted to make the rose stand out, so I traced just the flower onto white jersey and cut out the petals. Then I pinned the petals to the navy, using the stencil as a guide.
 Then I secured them using a blanket stitch.
Once your outline stitching is done, we can do a little more to make the patterns stand out. Take your sharp little scissors and cut out the center of the leaves and medallion shapes, taking care to leave a small border around the stitching. We want to see the color underneath!
Sometimes, if the shapes are too small to cut out, I just color them in with a sharpie! Be creative!
Once, they are all cut out, you are done!

I failed to get a photo of the red one completed. My newly married sister snagged it in the gift exchange and went off on her honeymoon before I could get a shot of it. But this is the skirt, outlined, cut out, and embellished with a few buttons for fun.
It has been fun to get away from doll making for a few weeks and go back to some Alabama Chanin projects. I’m sorry if this ‘tutorial’ has been a little unclear. I will try for better pictures and instructions next time. But here is a question. I have been thinking of adding scarves and skirts to my shop. Would it be worth my time? Would you buy one?
